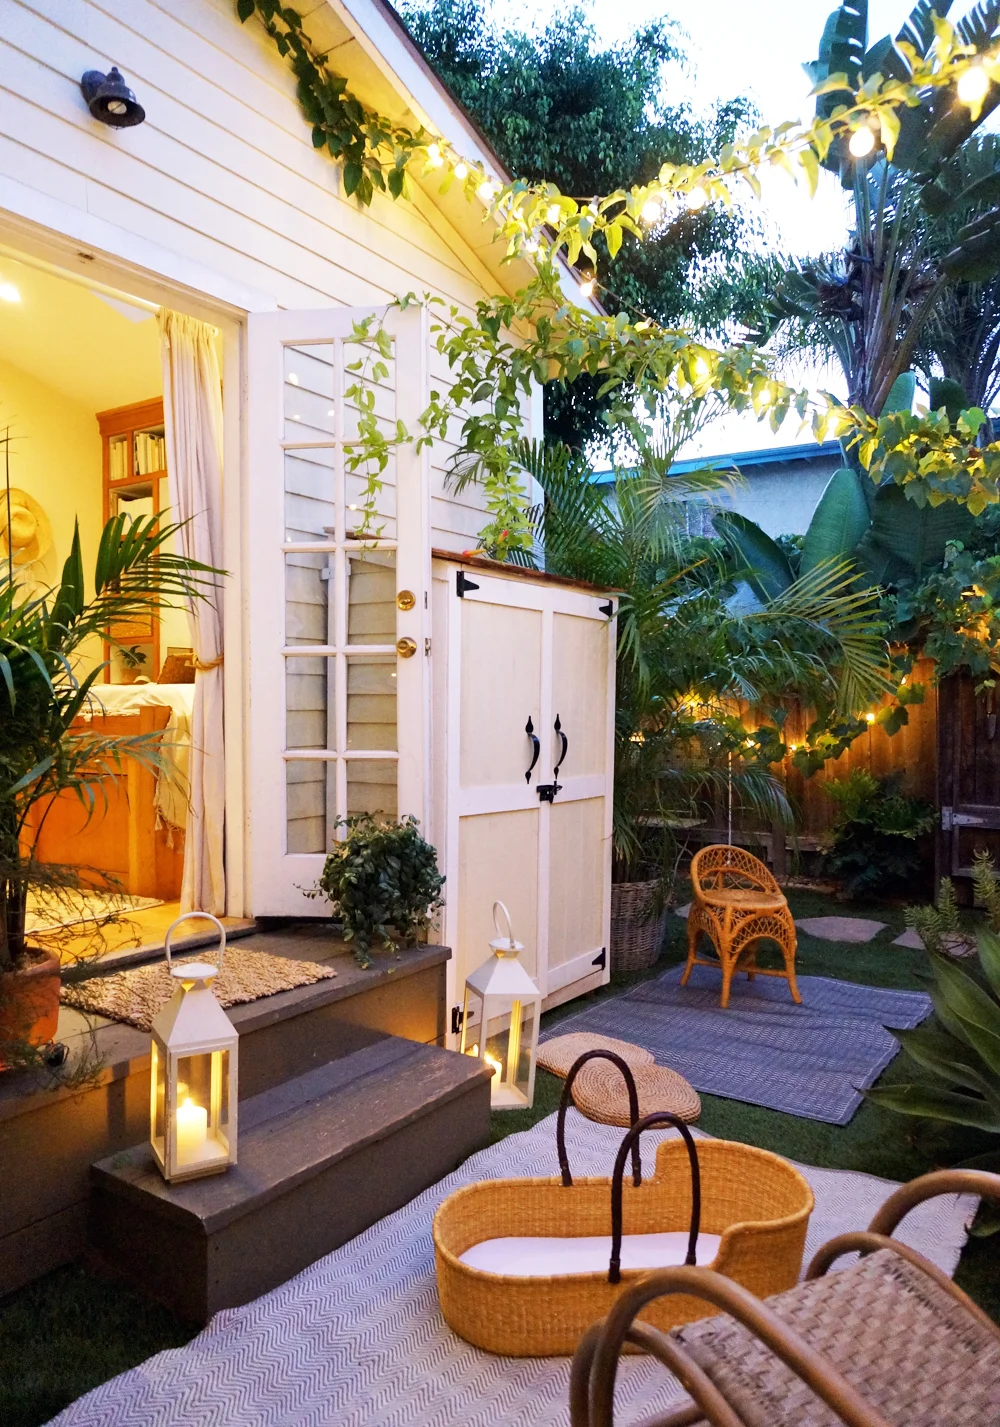

Tiny House Closet Nursery - The Baby’s Bay
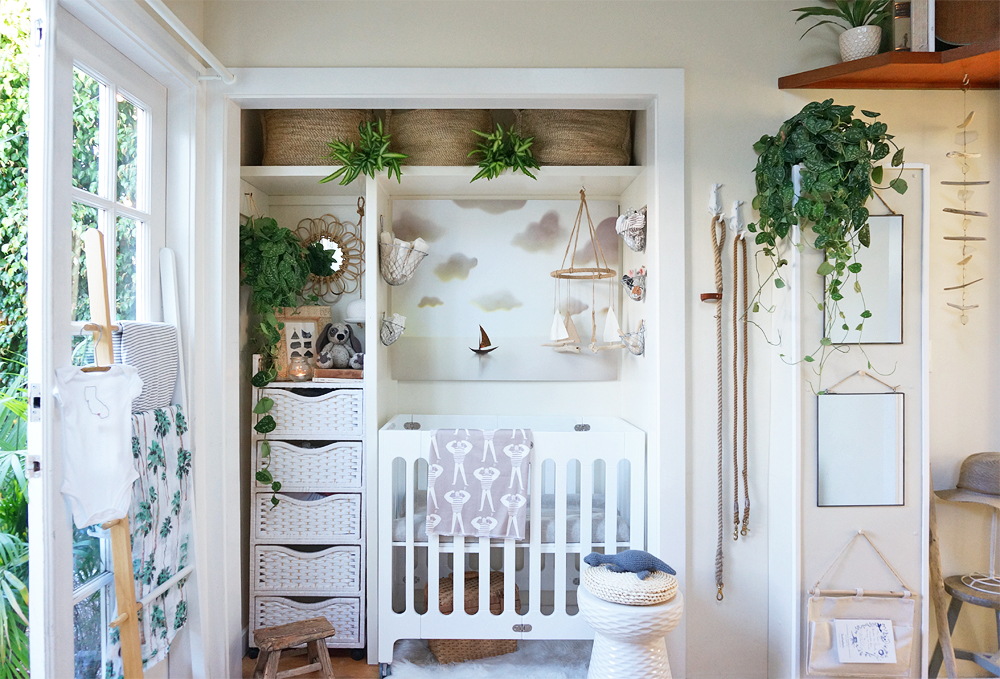
When selecting a dedicated area for our son’s nursery, we did what many small-space dwellers do and opted to convert our closet into his little room. I didn’t intend to have a “theme” for the space, but it happened on its own over time. The colors, textures and prints I selected were sandy and neutral, and the artwork I loved most reminded us of our lives here along the ocean. Before I knew it, we had a subdued coastal vibe going on. As such, I started referring to the little alcove as "The Baby’s Bay."
There were some basic updates that needed to happen before we could safely and practically convert the closet into the Bay. Thankfully they were all simple:
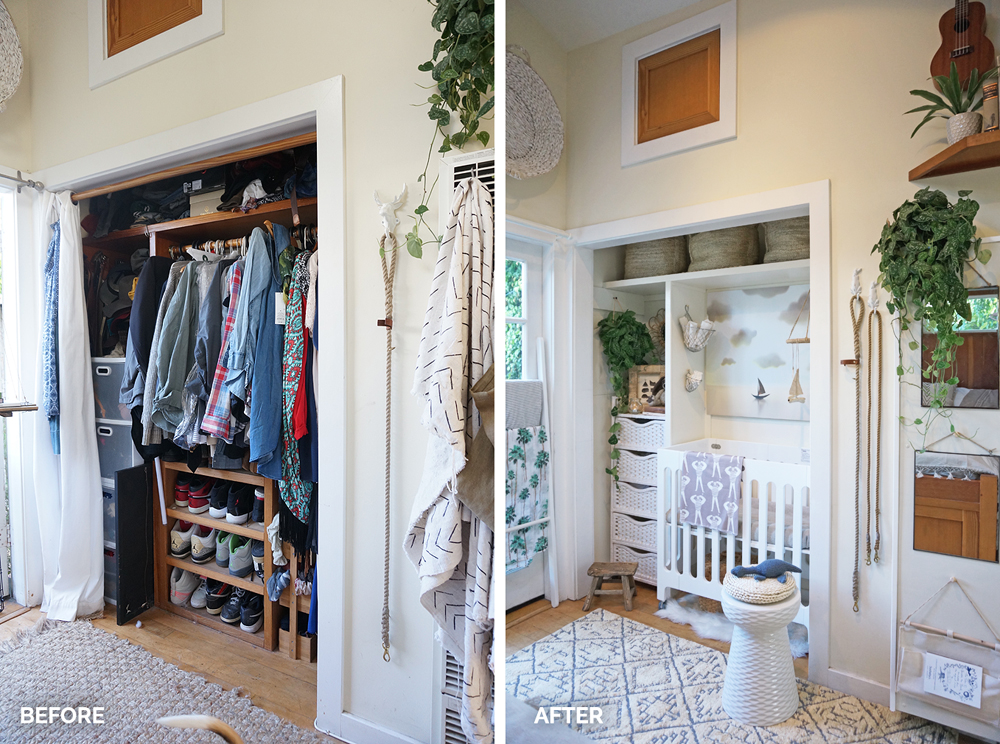
1. Deconstruct the built-in shoe rack, and fill in the gaps left behind after its removal. We hired a local handyman to do this. He ripped out the built-in shoe shelf, and then used a mix of old and new materials to fill in the gap in the floor where the shelf previously stood. Meanwhile, I visited The Home Depot to pick a trim that matched the rest of the closet, and had it cut to fill in the gap in the molding left over from the shoe rack removal:

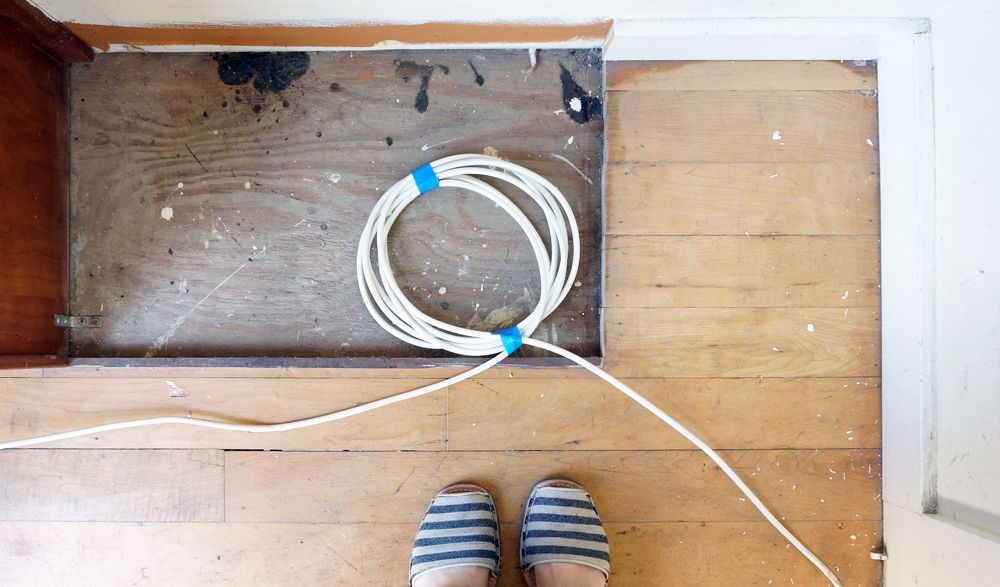
2. Remove the internet cable cord, which was fastened to the molding on the perimeter of the closet. Our internet provider sent a technician to help us with this process. He removed the ugly cords that sat inside for years, and relocated them to the crawl space under the cottage.
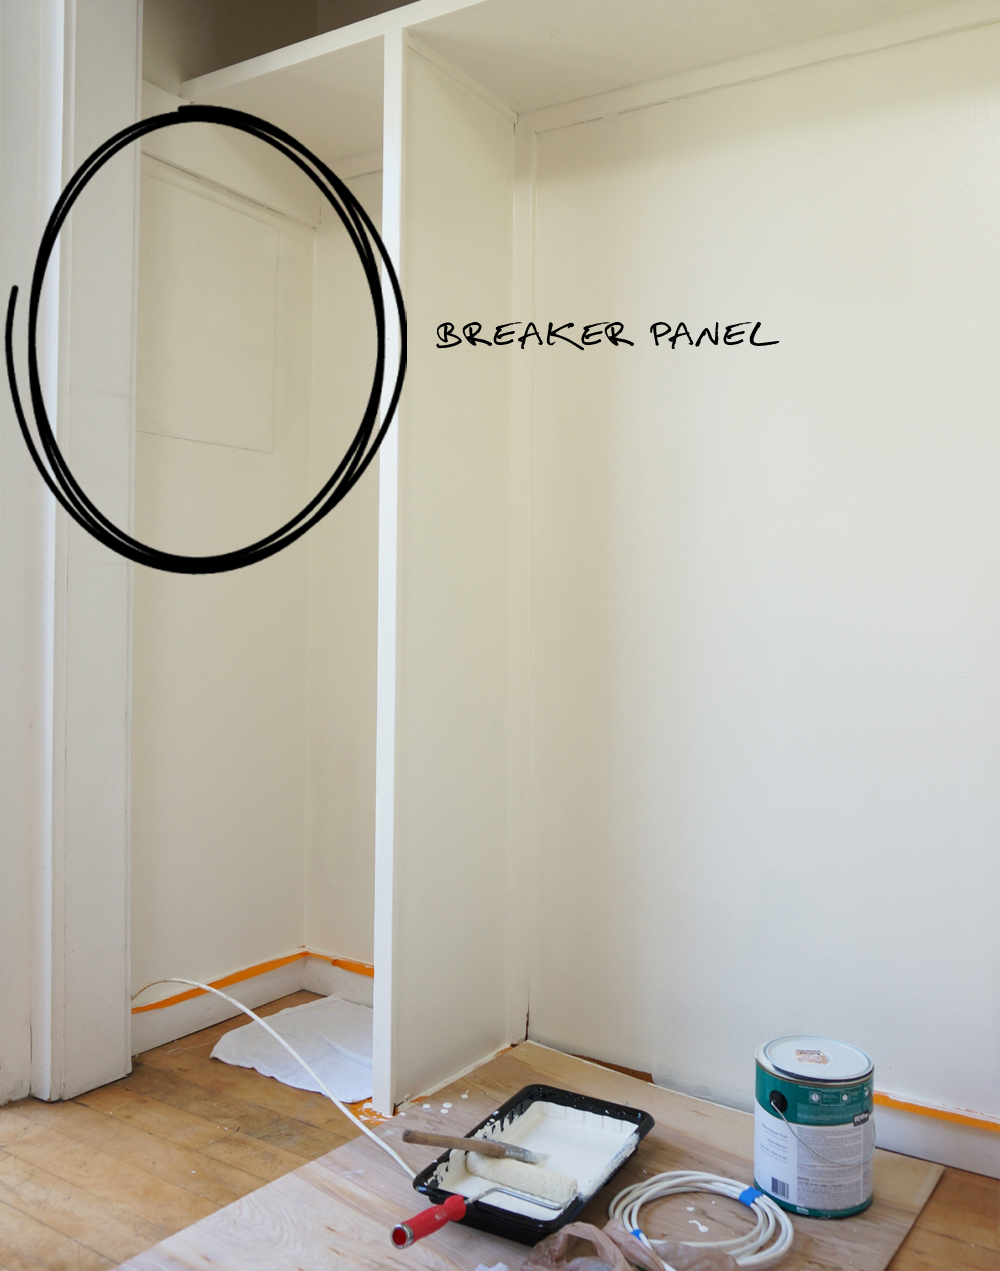
3. Cover the breaker panel, while still leaving it accessible: There’s a standard grey electrical panel on one side of the closet. We need to maintain easy access to the door, but I wanted to cover it up for the nursery. I used a magnetic sheeting overlay to mask the hardware, and painted it to match the color of the wall:
4. Remove the heater control panel box, closet dowels, and miscellaneous hardware. We had an electrician help us with all necessary wiring modifications. Beyond that, it was a simple matter of applying spackle and wood-filler where necessary before repainting everything.
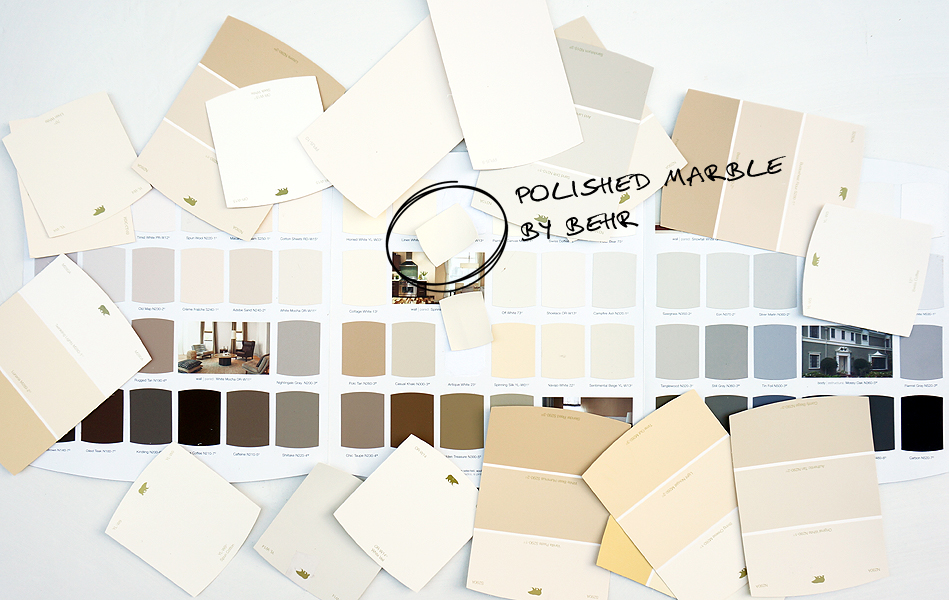
5. Leave the remaining built-ins (a high, closet-wide horizontal shelf and vertical divider) in place to help protect the baby from items that could displace during an earthquake, but better-blend those walls into the overall space. We always planned to leave the remaining built-ins within the closet for safety, and aimed to work with them when outfitting the space. But the dark wood lines drew attention to the dividers, and made the alcove feel even smaller than it is. So we chose a paint color that’s a few shades lighter than our bedroom walls to brighten up the previously shadowy Bay. I selected “Polished Marble” by Behr. I love how it appears to blend with the rest of the room, even though it’s actually quite a bit whiter:
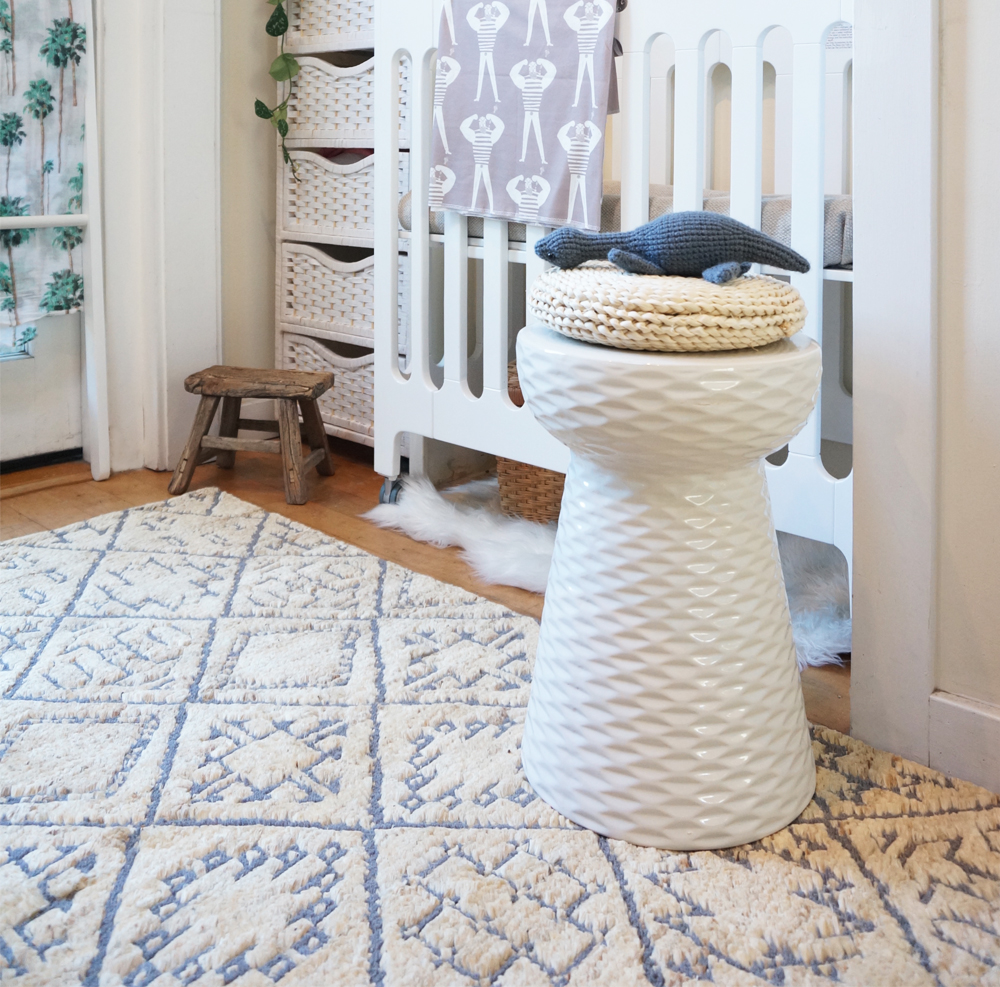
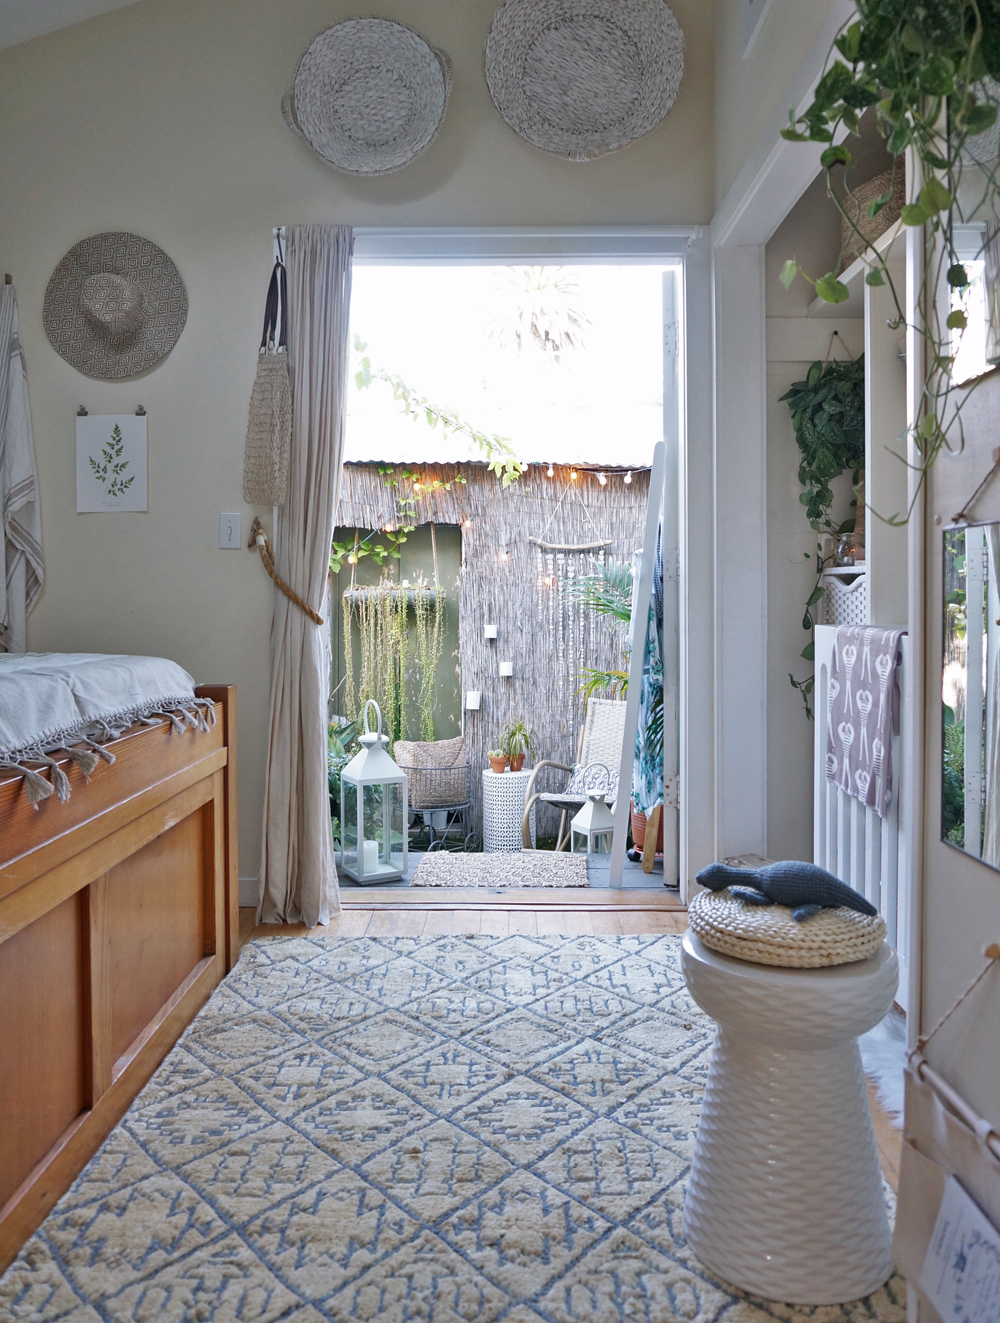
Once we had this new, blank canvas, I could finally visualize the nursery. I found a little white garden stool from The Home Depot’s décor brand, Home Decorator’s Collection. I placed it by the crib, and I sat there rearranging and restyling the room in my mind for hours. The space then came together easily, despite its size.
Before we updated the closet, I used to obsessively close our curtains to avoid seeing the overflowing contents behind them. Now the closet is a bright, airy, and happy component of the Cottage. It feels as though it should’ve always been outfitted this way.
You don’t need to start from scratch to transform your existing square-footage into a space that better suits your evolving needs. With a bit of creativity and paint, you can turn a box into a Bay. You don't need to live large to live beautifully!
I acknowledge that The Home Depot is partnering with me to participate in this nursery makeover project. As a part of the project, I am receiving compensation in the form of products for the purpose of promoting The Home Depot. All expressed opinions and experiences on this blog are my own, and are written in my own words. My post complies with the WOMMA Ethics Code and applicable Federal Trade Commission guidelines.