Before + After: Creating a Canopy of Vines
We have two fast-growing, seasonal vines in the garden of our tiny house: grapevines, and trumpet vines.

While the grapevine plant recedes completely and becomes bare in winter, the trumpet vine recedes only partially, so we can enjoy it in varying degrees of fullness year-round.

When we first moved in 9 years ago, the trumpet vine was only a few feet high:
Above: Years ago, when the trumpet vine was just a handful of feet high (as seen on the right in dark green), and tucked beneath the grapevine.
Now it spans the entire length of our back garden. (See the video here.)
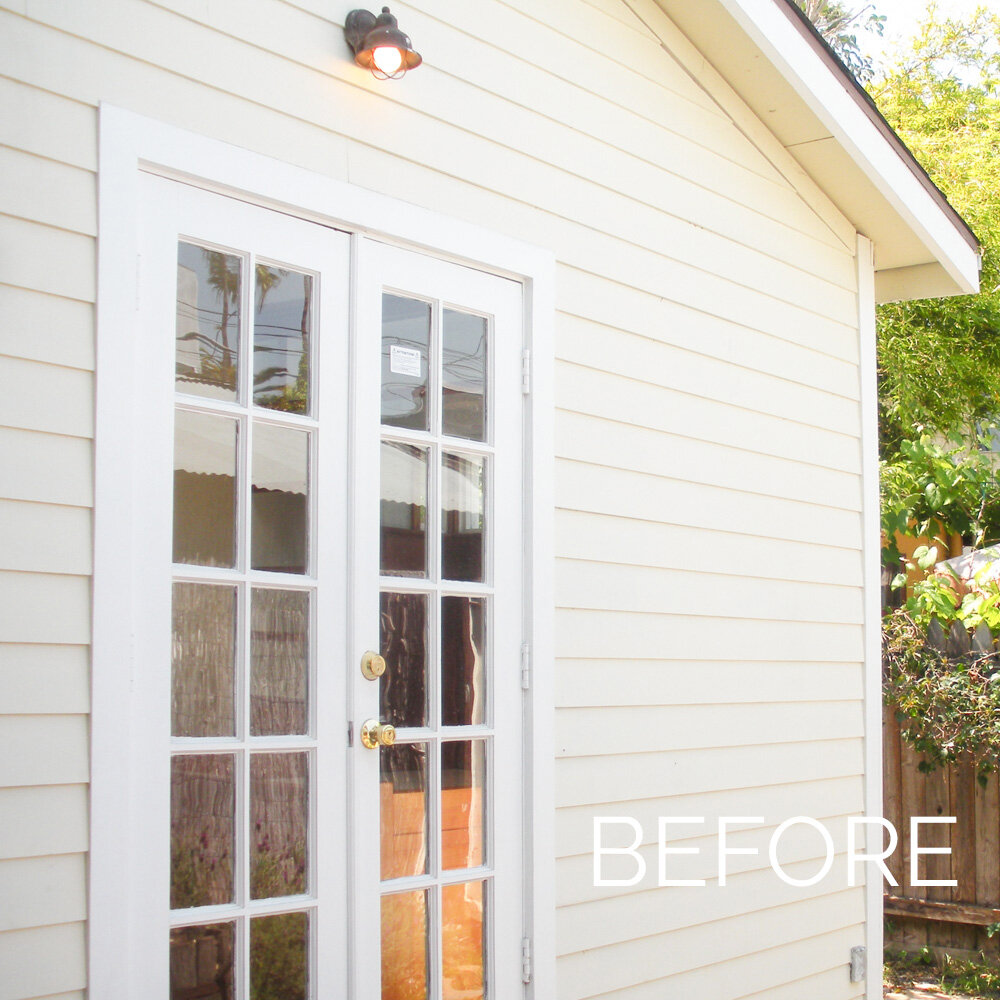
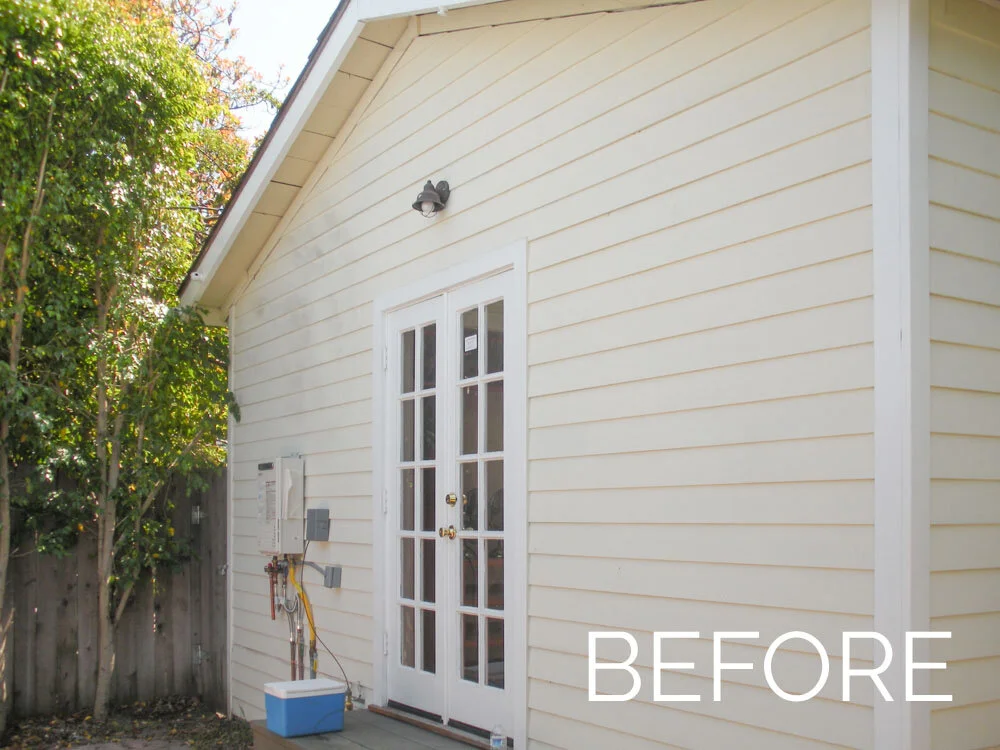
Above: The house when we moved in 9 years ago.
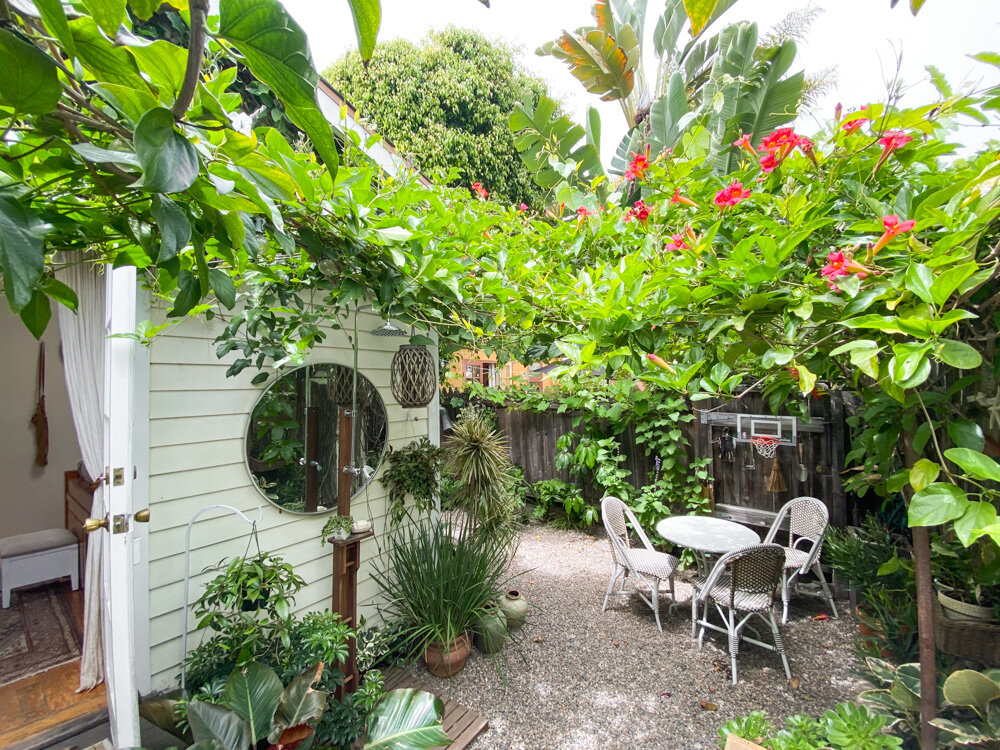
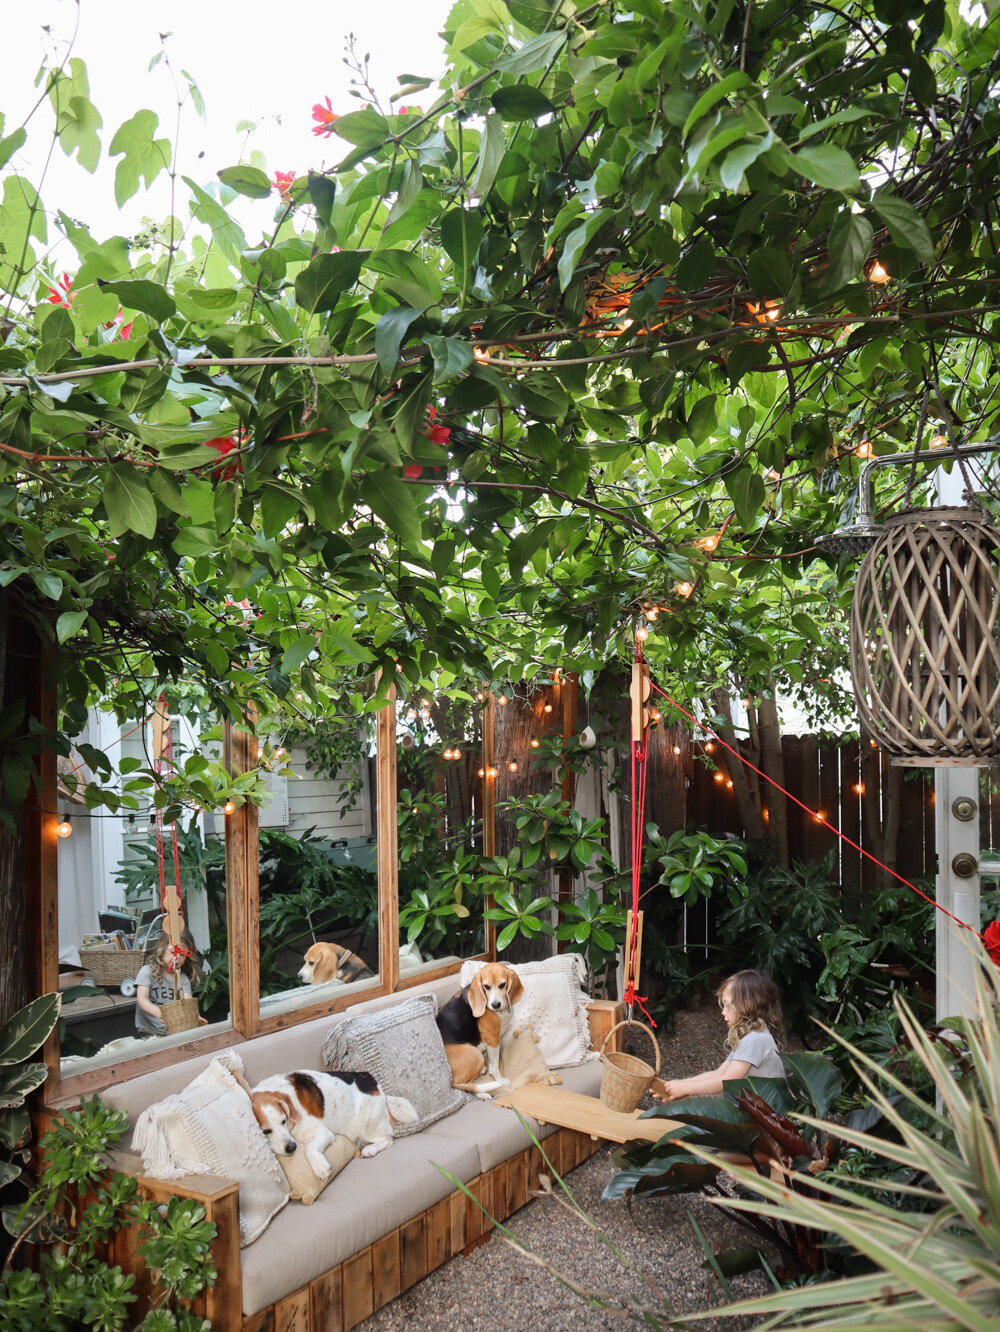
Above: The house in Spring 2020.
Bright red flowers burst out in Spring, just as the tiny grapes are starting to form on the other vine:

For the most part, the grapevine is trained along our side garden and fence line, as it originates on our neighbor’s property.

But it spreads from there via strong branches and slim creeping tendrils that latch on to anything within reach, ultimately landing on the roof of the cottage.

The trumpet vine is mainly concentrated in our back garden. For years we watched as our string lights drooped lower and lower under the weight of the greenery— so much so that Adam and I had to duck beneath them to traverse the compact corridor below, and to ensure that we wouldn’t disrupt any birds’ nests.

Above: Baby hummingbirds in their tiny nest in the trumpet vines.
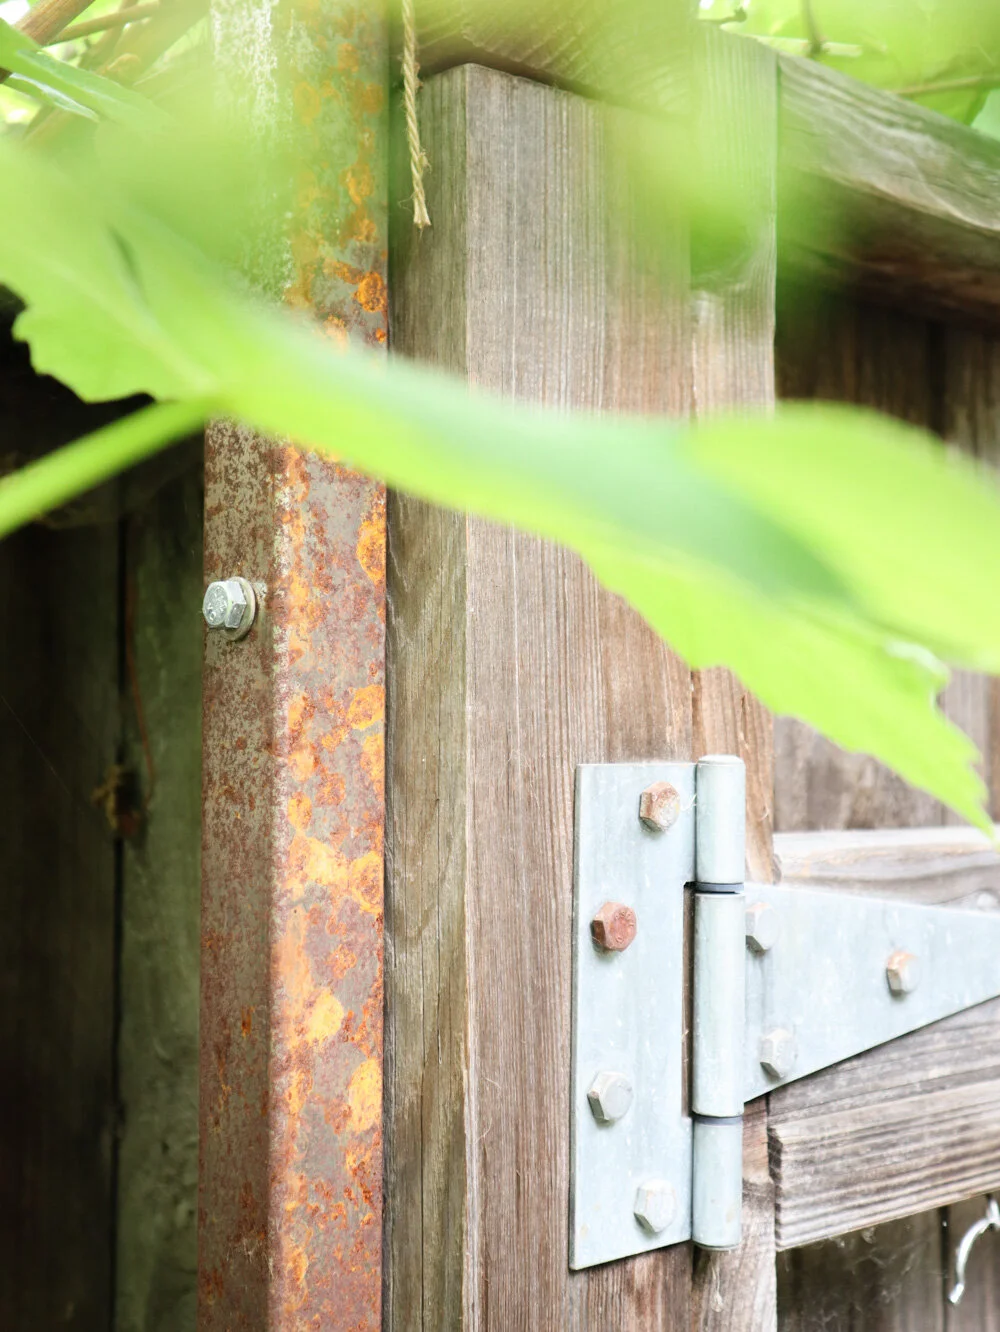
Last year we worked with our friends at Big Red Sun to lift the vines out of the walkway, and up towards the roofline. They installed 3 slim vertical steel beams in the garden via concrete as anchor points to start the job.

One post was attached to our back gate/fence.
The other 2 were positioned on either side of the space allocated for our custom sofa and mirror set, which was in the process of being crafted here in LA.

Above: 2019, immediately after the posts and sofa were installed.
From the posts, the Big Red Sun team attached strong cables, which they then anchored to various points along the house.

Above: Fall 2019
They zip-tied the vines to the new cables as a method of wrangling the mess, and left us with a beautiful zig-zag of greenery that followed the path of the twinkle lights intertwined within it.


Above: A close-up look at one of the 3 posts.
As the trumpet vine continued to grow and branch out, I then used lightweight wire to connect the stretches of space between the main cables, so smaller tendrils could then span the open areas to create a more comprehensive canopy.


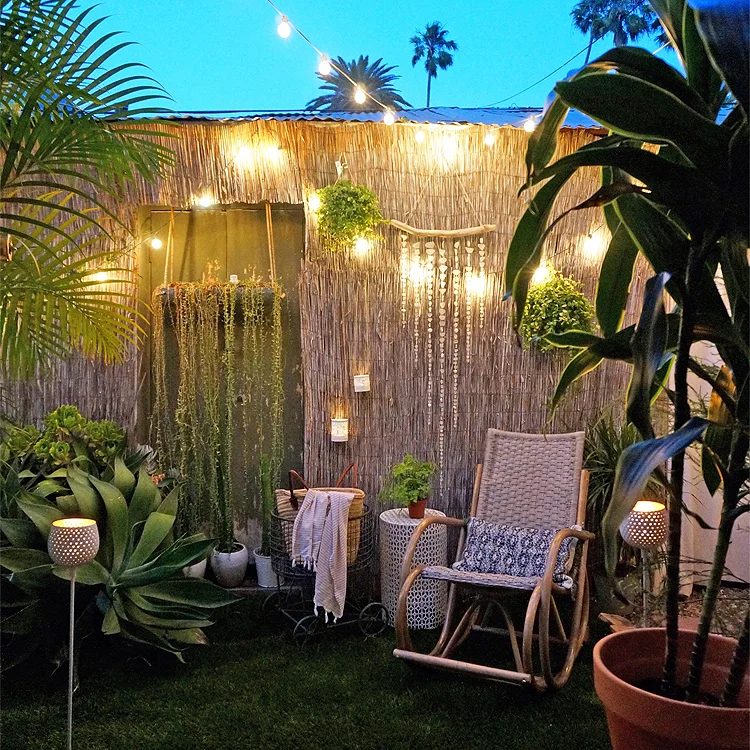
The canopy has a few larger gaps that allow sunlight to pour through and pass across the garden throughout the day. But otherwise it’s almost as though we have a living ceiling of green out back.
This provides us with much-appreciated relief from the intense sun during the summers.

It also creates a safe home for hummingbirds, as well as a spot for bees and butterflies to congregate and rest.

Above: The view while standing on the garden sofa and breaking through the main/bottom layer of vines.

I’d never had a garden before this one, and I had no clue what I was doing when I started out. The yard was cracked, dry and bare.

This “before & after” is proof that even the most barren patch of city soil can give birth to a sea of life.


Lil’ Garden Makeover (Part I)
This blog post was sponsored by The Home Depot. As always, the imagery and words are my own.
When Adam and I were planning our home-wedding 3 years ago, one of the obstacles we had to tackle was our garden. We’d stopped watering our grass long ago due to the California drought, so the grass went from lush to patchy to non-existent. Most of the yard was a giant dirt-patch, surrounded by ficus trees, bougainvillea, and a single succulent barrel (which we’d planted with my mother upon moving into our home several years prior).

We didn’t want our guests standing in a dusty (or muddy) pit. So, in an effort to find a quick, budget-strict solution for the garden floor, we opted to cover the surface with faux grass.
The design of artificial grass has come a loooong way, but despite the more subdued color of the green and the higher, denser blades, I was never comfortable with the concept of glorified turf. (To each her/his own! That’s just me— I’m a North Florida girl at heart, so artificial greenery in general just isn’t my thing.) But the grass served its purpose for our wedding, and for that I’m grateful.

I had hoped to quickly pass along the rolls of turf to someone else and replace the foundation of our yard a few months after our wedding, but by that point I was working non-stop and in my third trimester. Then, once West was born and I began writing my book while working full-time, my available time to tackle a garden makeover completely evaporated.
Luckily, while working with The Home Depot on our more recent kitchen updates last summer, I mentioned my frustrations about the garden, and we realized that we could also partner for the overdue garden makeover. They offer everything from soil to gravel to drought-tolerant greenery to planters... and even outdoor showers.
I set about the redesign of the garden with the local designers at Big Red Sun. (More on that to come via a later post.) When conceptualizing the space, I communicated that I appreciate the delight in the aesthetics and low-maintenance of desert-inspired landscapes, but that our particular setting feels much more like a deeply nestled old cottage than it does a modern beach bungalow. As such, I wanted a design that felt ALIVE, with branches and leaves that would move with the wind and be soft to the touch, all without requiring too much water.
The first step was to determine what would (and wouldn’t) work as the main ground cover. We had several factors to keep in mind:
The main thoroughfares throughout the garden sit above paths of pipes leading to both our home and the neighboring tiny cottage. As such, oversized custom pavers, grasscrete (which I love), and decking were out of the running as options, as they’d be too cumbersome to move if and when we have to dig up the yard.
Depending on the season and size of the Ficus trees, the same spot in our outdoor space will get anywhere from 30 minutes of soft light to 8 hours of blazing sun per day. That pendulum swing is huge and tricky when it comes to selecting grass and creeping ground cover that can actually thrive in such wildly varying conditions.
Our yard gets SO MUCH TRAFFIC. It’s obviously small, so every usable inch is traversed numerous times per day.
We have dogs and a toddler. There WILL be messes... of all sorts. And some surfaces are easier to treat than others.
The main pathway through our garden is not only a racetrack for our delightfully wild son, but it’s also used by our neighbors. We wanted a walkway that wouldn’t easily trip anyone (we used to stumble on our pavers ALL the time), but could also be forgiving in case of a stumble.
The solution appeared to be Pea Gravel.


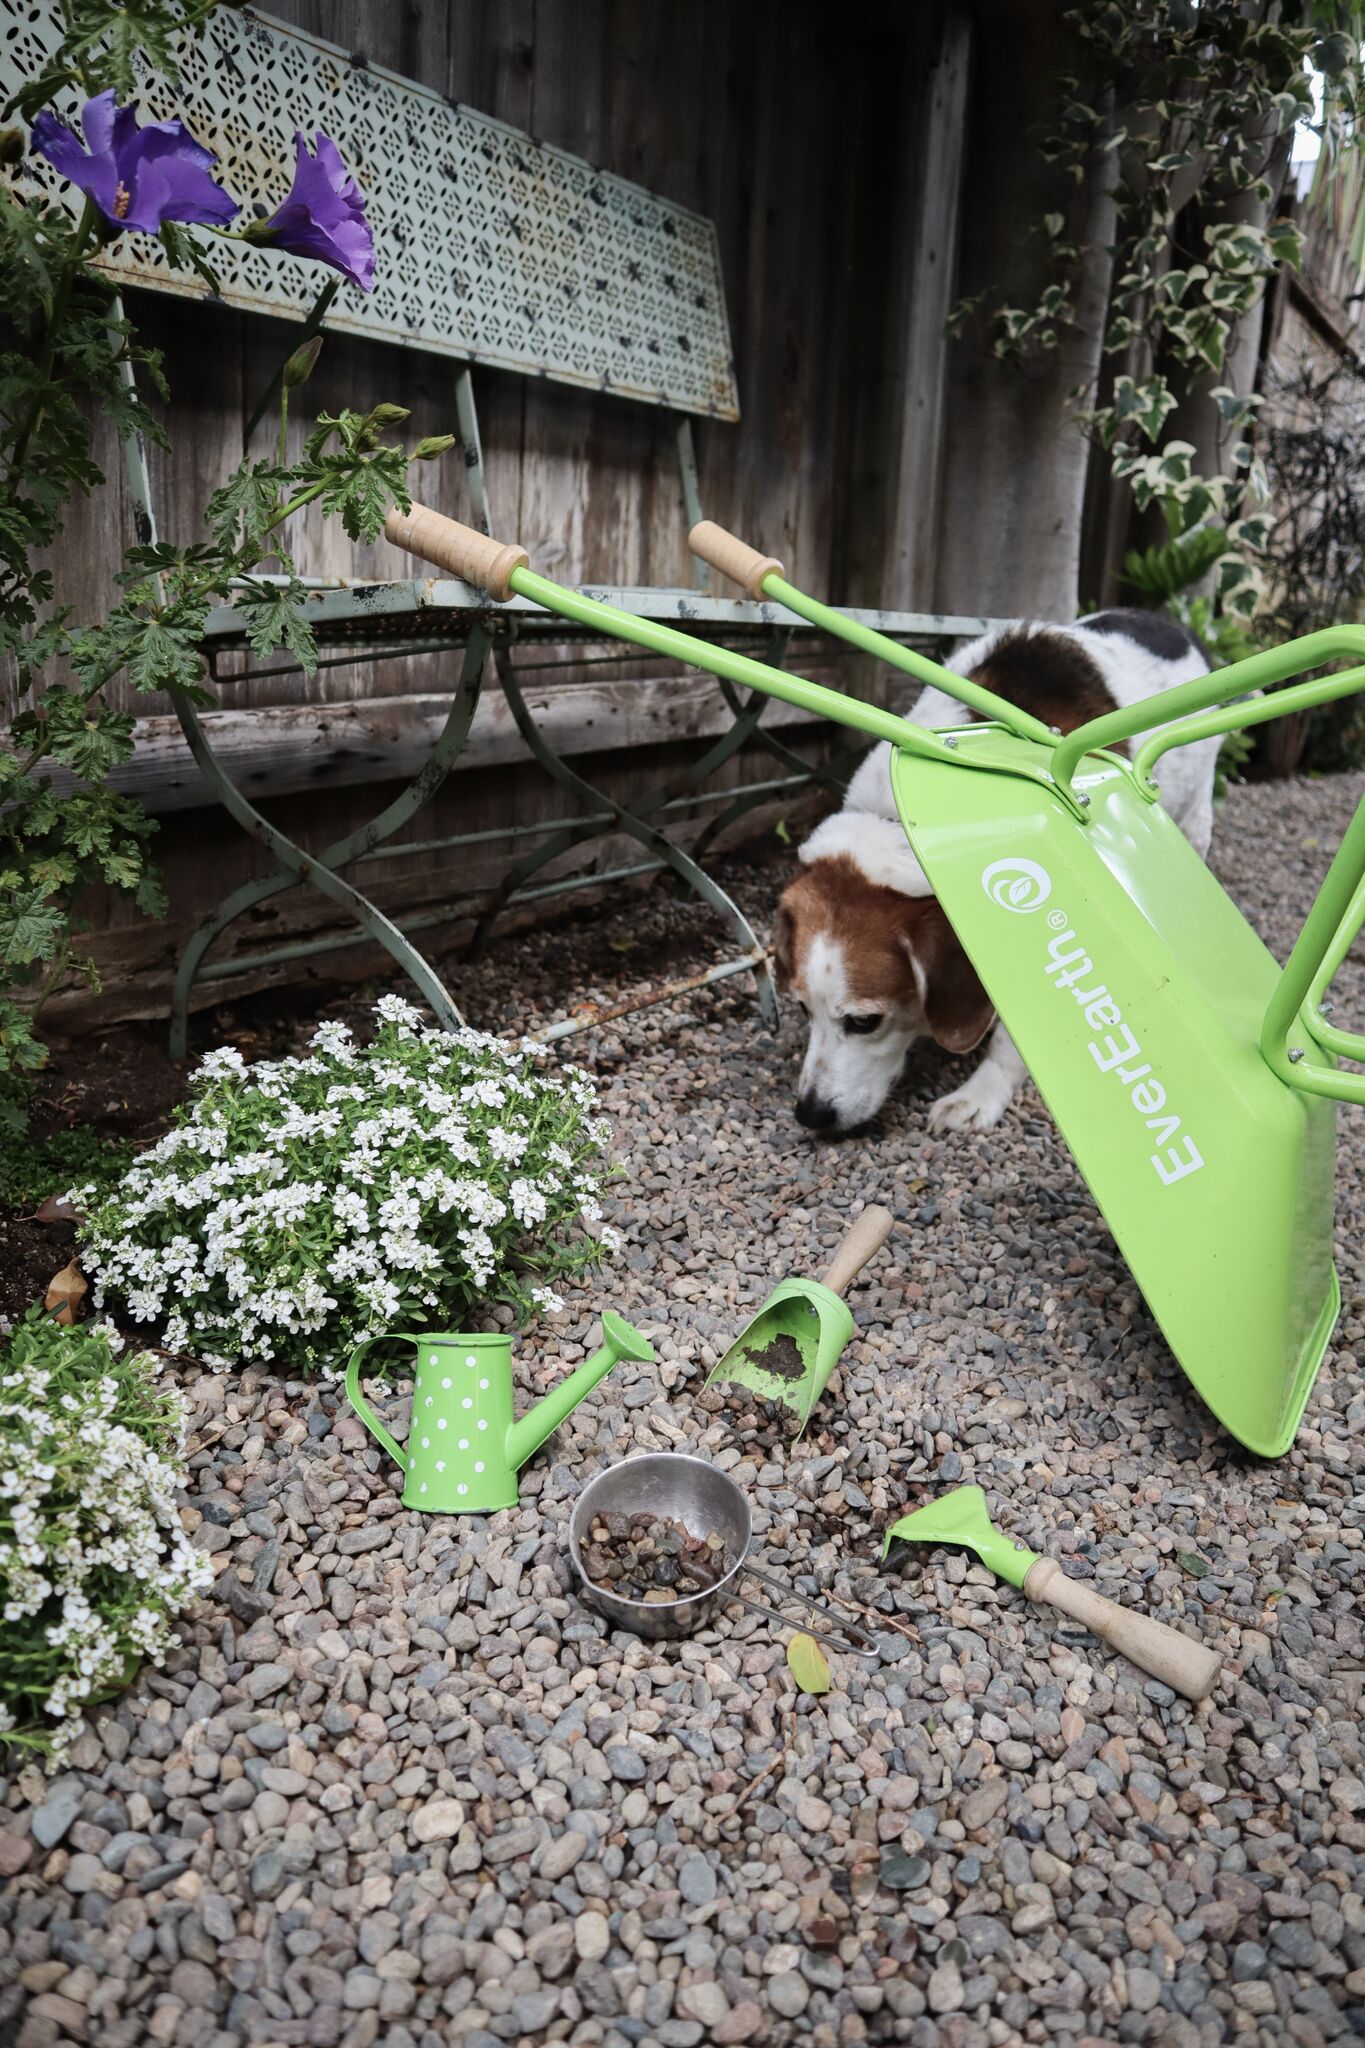
At first I was hesitant, knowing that the dogs and West would kick it up and deliberately skid through it. However, after dumping out a couple of tester bags and seeing how much they enjoyed the tiny pebbles, which inspired outdoor activities and imaginative play, my fears dissipated.
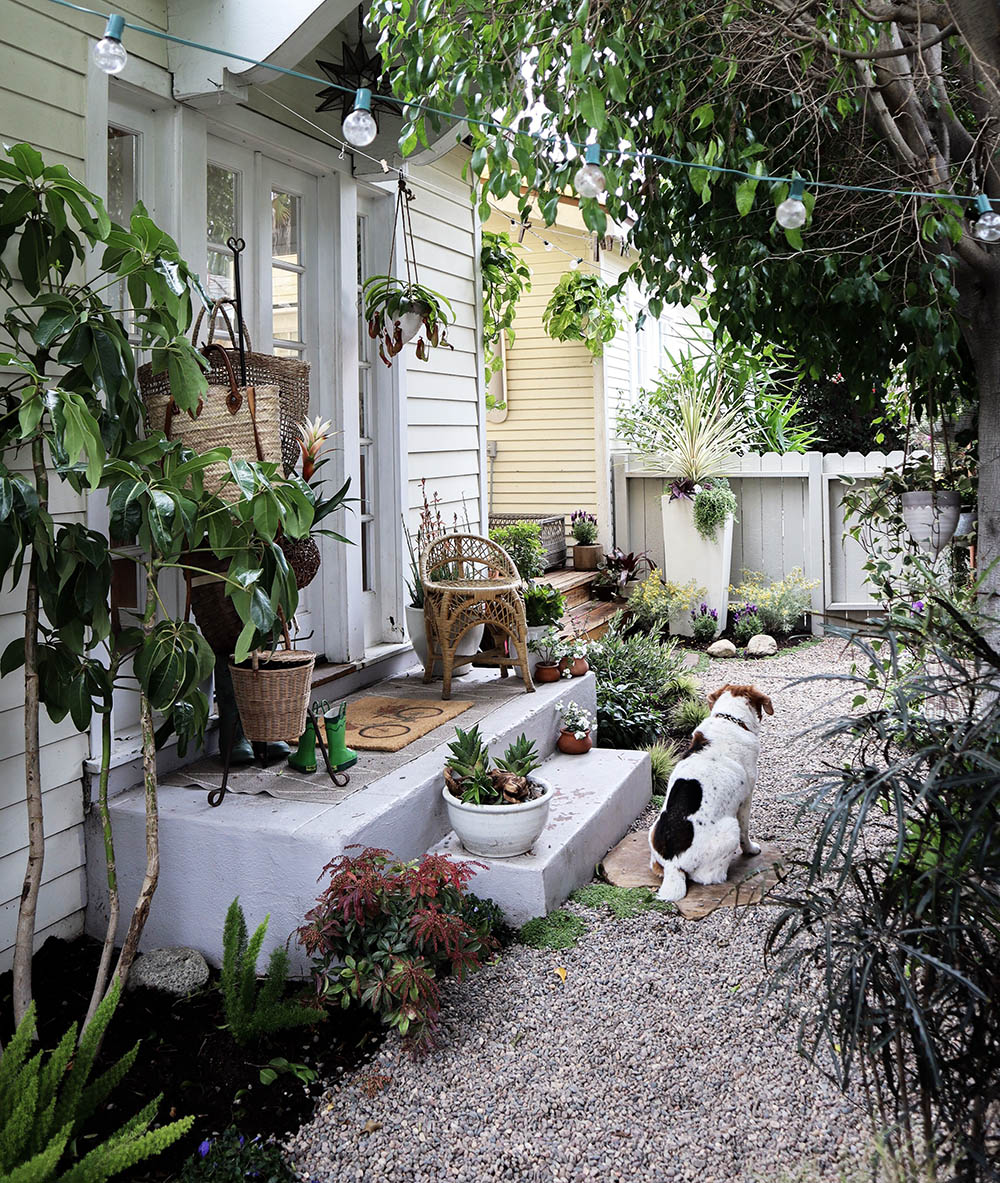
I get such satisfaction from hearing and feeling the crunch of the gravel underfoot, and I like the look of the grey and beige rocks when they’re wet as much as when they’re dry.

The gravel also drains easily and naturally without trapping odors, which helps if the pups have accidents between walks.

Watching the fake grass come out was so satisfying:


I will miss the uniform look of the green (oh how I yearn for REAL, healthy grass). And it goes without saying that I sincerely regret the waste. But I am thrilled to now have a natural foundation in our outdoor space.

We raked and tilled the dirt that had suffocated under the turf, and added fresh new layers of Kellogg organic all natural soil. It helps establish strong roots, and adds organic matter to the soil, and retains valuable nutrients. Plus Kellogg is locally made and family owned.
We topped the soil with the Pea Gravel, which won’t attract pests (a concern here when it comes to termites and ants). The gravel will also help retain moisture and reduce erosion. Plus it will be easy to build upon if ever we have to tinker with the pipes.
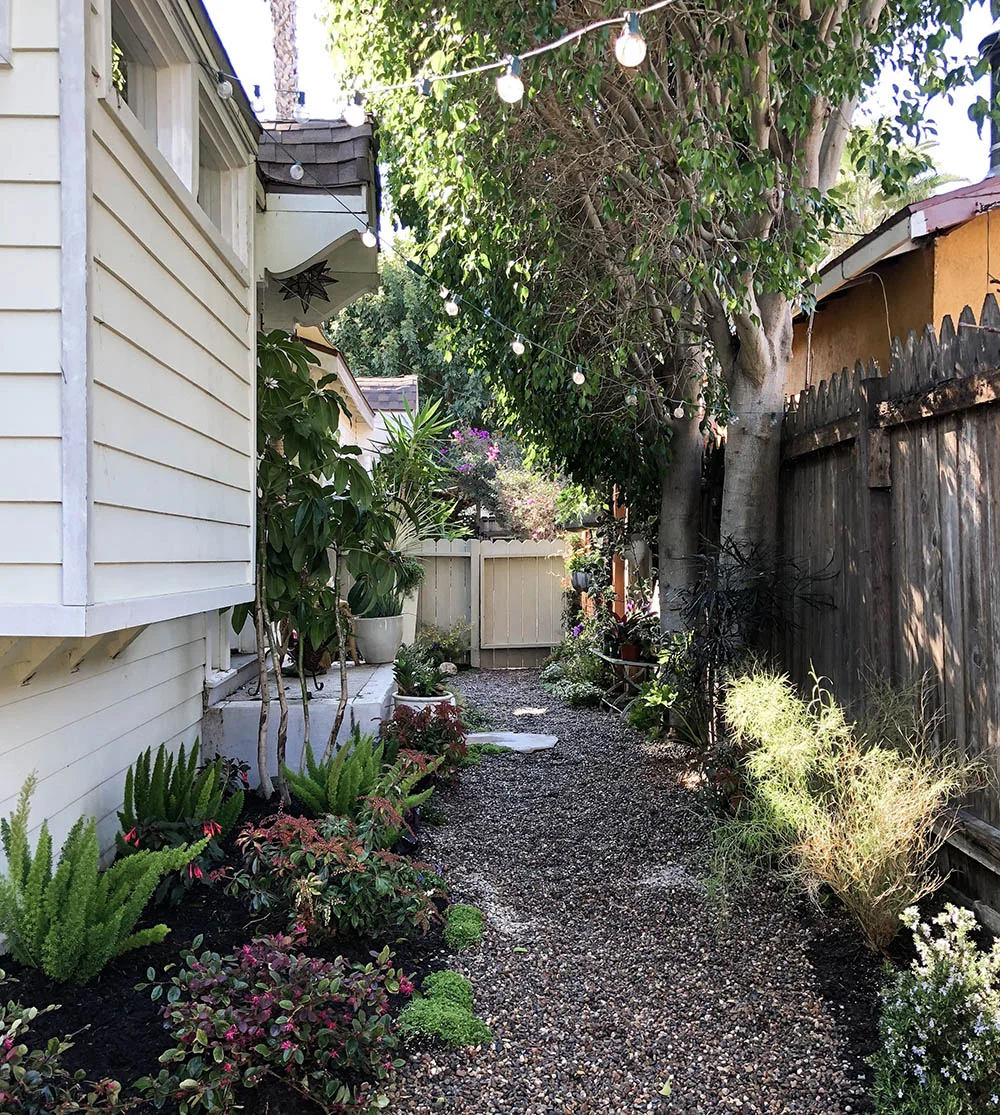
Next came the plants.

We potted most of the greenery that had long been living in scattered pots, and we replaced some of the overgrown plants along the perimeter with alternatives that were more fitting for the space and how we use it.

For example, I really loved the bougainvillea that grew mid-way along our main path, but it caught our hair, skin and clothing multiple times per day. It also wove through the ficus branches and grapevines in a way that made it feel impossible to manage on our own. So it was trimmed down and relocated, as was the plant growing beneath our bedroom window.

The mixture of new plants adds texture, color and depth to the narrow space. Certain types will welcome butterflies and hummingbirds, all while being able to thrive in varying sunlight. When the young plants grow in a bit more, I expect that the yard will appear so lush and lovely.

The Home Depot’s plants are no longer treated with neonicotinoids, so precious bees will be safe, too.
Strategically placed groupings of Mother-of-Thyme, Pennyroyal and other gound cover tucked between the rocks and the plant beds will spread beautifully while smelling deliciously fragrant and repelling fleas and ticks.

If planting Pennyroyal or any new plant in your outdoor space, please research standard toxicity warnings before-hand so you can make your own informed decisions about what will be safe and work best for you and your family. Luckily our pups and son don’t try to ingest things they shouldn’t.

One of the major motivations behind the garden makeover was to provide West with a safer outdoor environment. I was never sure what chemicals were in (or being released from) the fake grass, and I never trusted that it was properly draining, as it was installed in such a rush. Since we’ve gotten heavier rains in recent winters, messier grapevine debris in the summer (thanks, raccoons), and daily wear-and-tear in between, I always cringed when West stepped off of the outdoor rugs or pavers onto the turf.

In fact, that’s the main reason why we converted our 8’ porch into a playroom. But now that the garden is a safer space as far as chemicals and surfaces are concerned, our son has spent hours upon hours outside with the pups by his side, enjoying the gravel and his garden activity table. West is also eager to use the new outdoor shower, as are Adam and I.

Since removing the shed from the back garden, I’d envisioned adding an outdoor shower to the space.

We live a short walk from the beach and right next to the canals, so the 5 of us often return home with sand or muck on our skin (or fur and paws), clothes and gear. In the warmer months, an outdoor shower will be such a joy! By adding a shallow teak tray beneath the platform (and by using a simple, organic shampoo + soap bar), we can collect water to use for the plants.

I’m working on another blog post about the garden design and details, as well as our new composting system. I will share that soon! In the meantime, I want to thank The Home Depot for helping us create a healthier, happier garden here at our tiny cottage.


Tiny Garden Tips
Do you have a tiny yard? Or perhaps just a stoop or fire escape? Don't overlook the possibilities-- even small outdoor spaces can be beautiful and functional! Below are a few helpful mini-garden tips that routinely come in handy here at the Cottage.
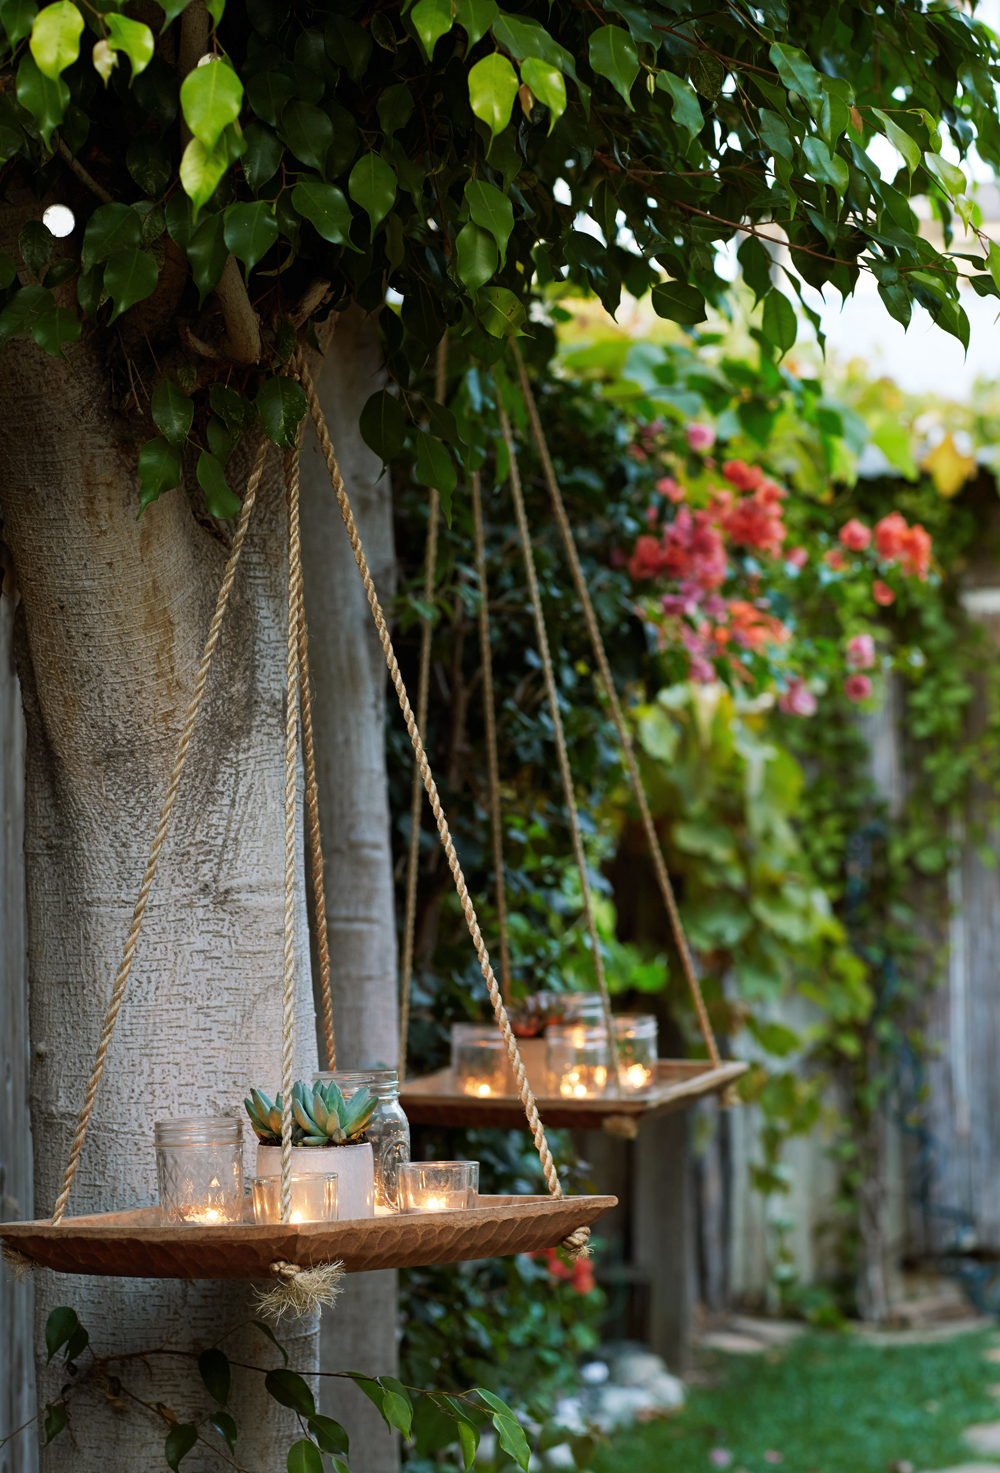
Photo of the Cottage garden by James Tse for THE NEST / THE KNOT Magazines.
1. GO VERTICAL - This is the best piece of advice I can offer folks living in small spaces. Be creative, while always remembering to please be safe and smart when getting crafty with your vertical decor. Hanging trays, suspended starter beds, and "gutter gardens" are a great way to begin growing your greenery, and they function particularly well in window frames, and on external walls.
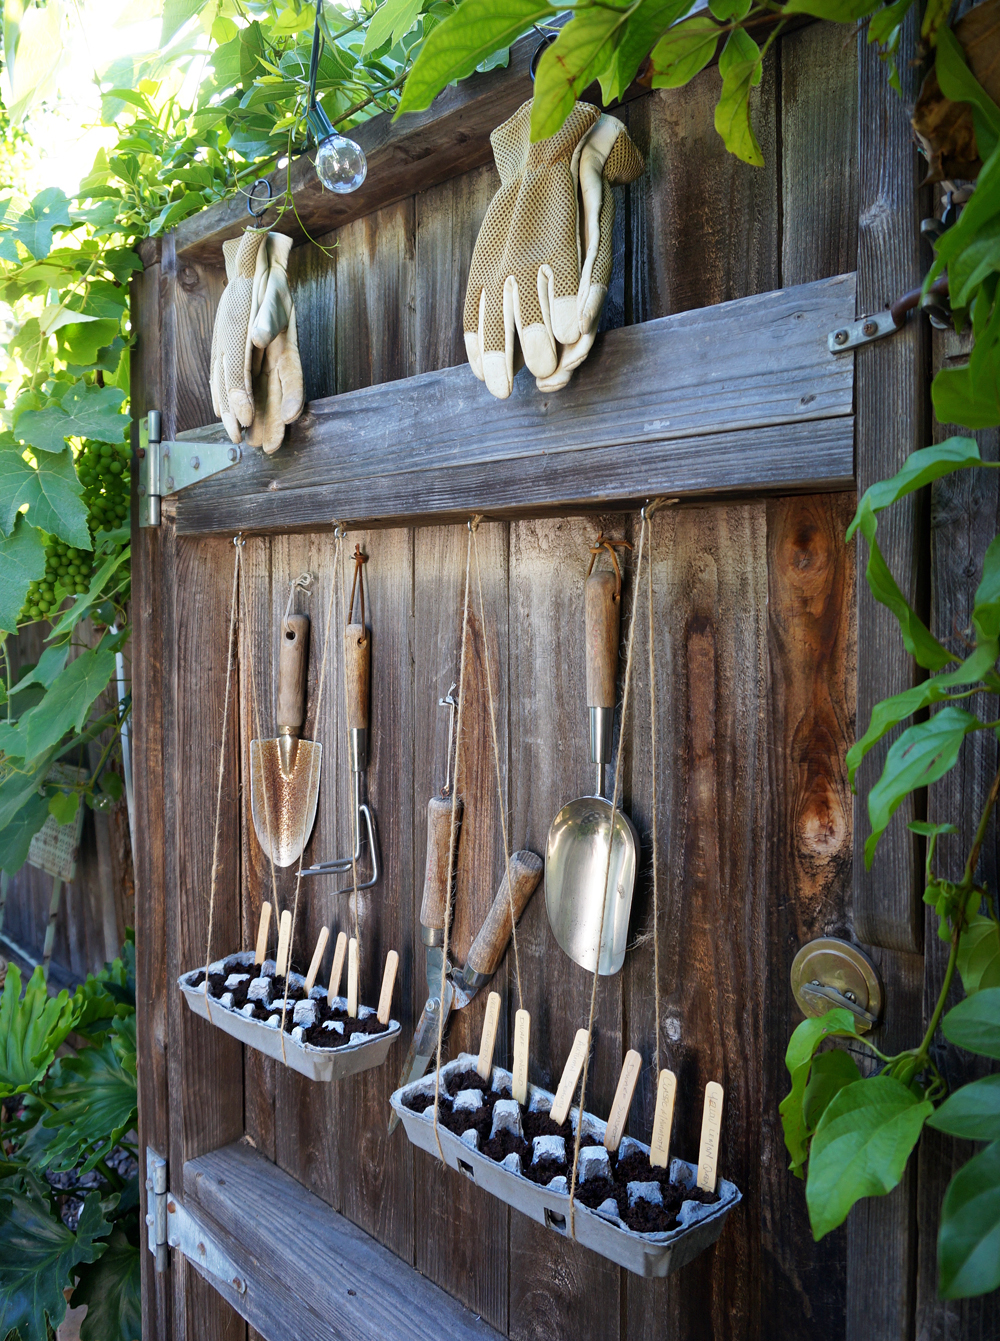
For our home wedding last month, we gifted a mix of Grow Kits from Terrain to all of our guests. We loved the tagline from the kits: "Grow Happiness in Small Spaces." (How perfect is THAT?) The kits are all made in the USA, and are simple, pretty and eco-friendly. We kept two for ourselves ("Grow Herbs" & "Grow Sunflowers") so we could continue to expand our garden. Rather than keeping the egg crates inside the house, we strung them from our back gate, along with our gardening tools.


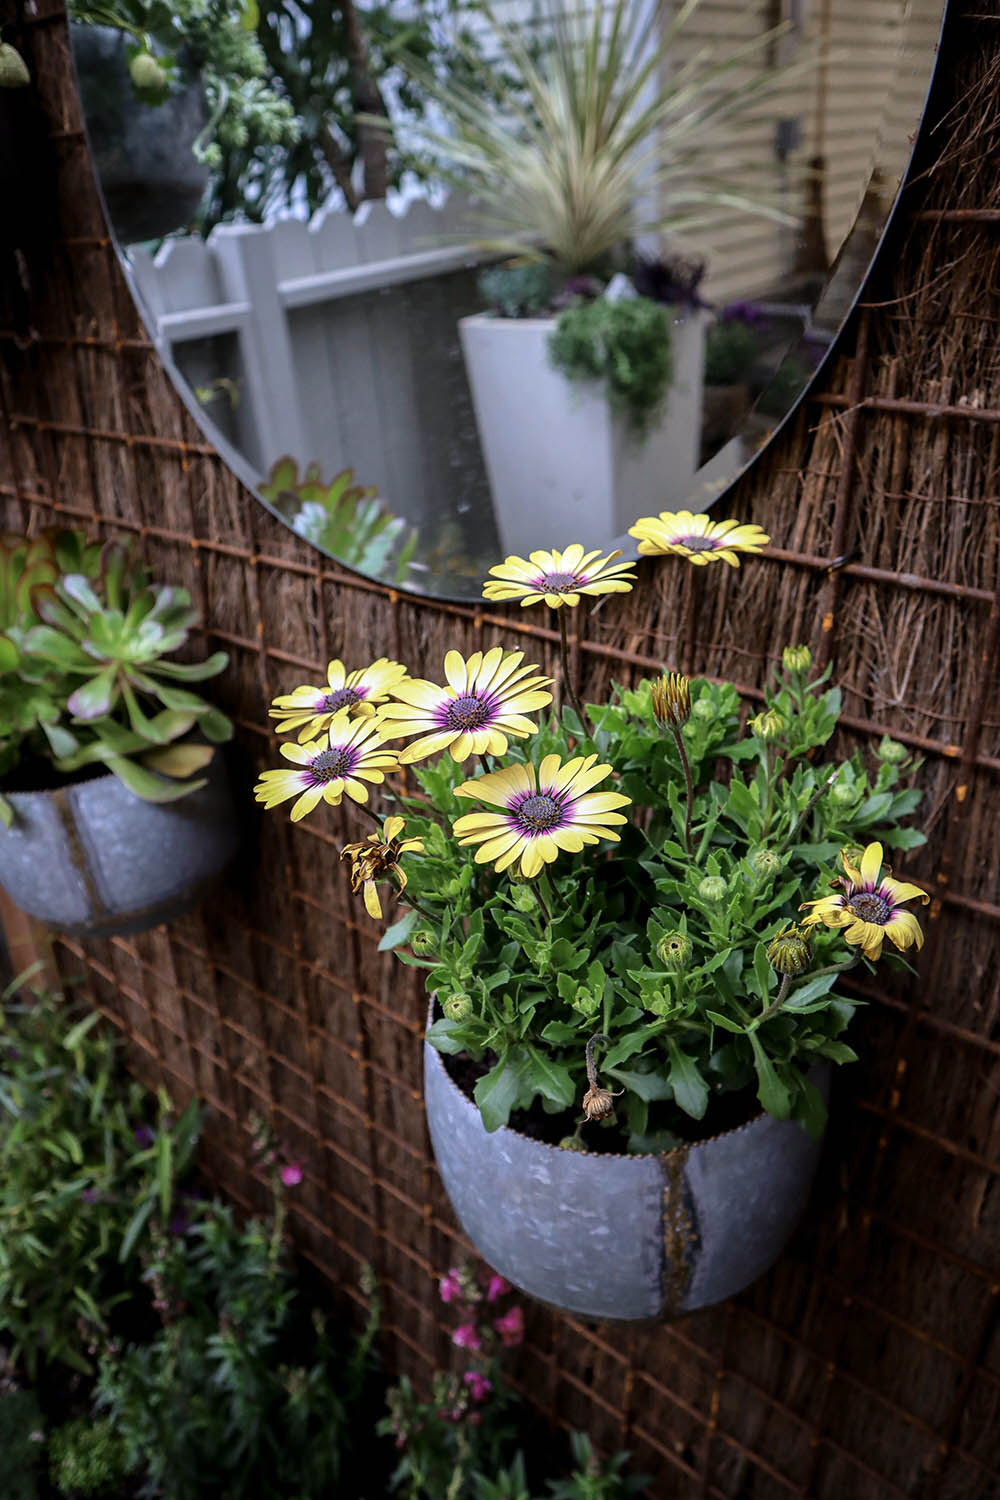
2. SEMI-CIRCULAR DESIGNS - Another handy concept for small outdoor spaces are half-circle tables and accents, like this planter along our fence:
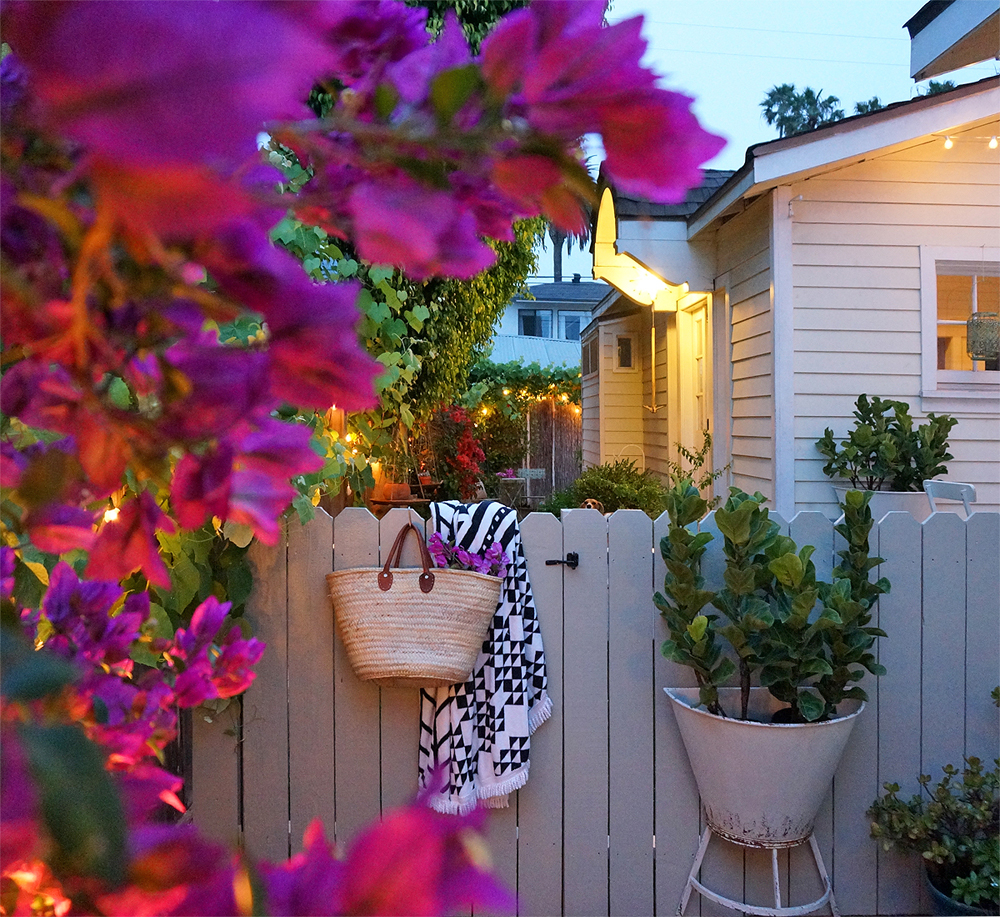
We have two of these planters, which we move around the property depending on the occasion and season:
3. LATTICE GARDEN - One of our favorite outdoor areas here at home is the porch, where we have an 8'-wide lattice garden. Balcony planters and pots hung with "S" hooks enable us to switch up the plants and their placement regularly. The vertical, potted garden offers some additional privacy from the neighboring house, while also beautifying our lounge area:
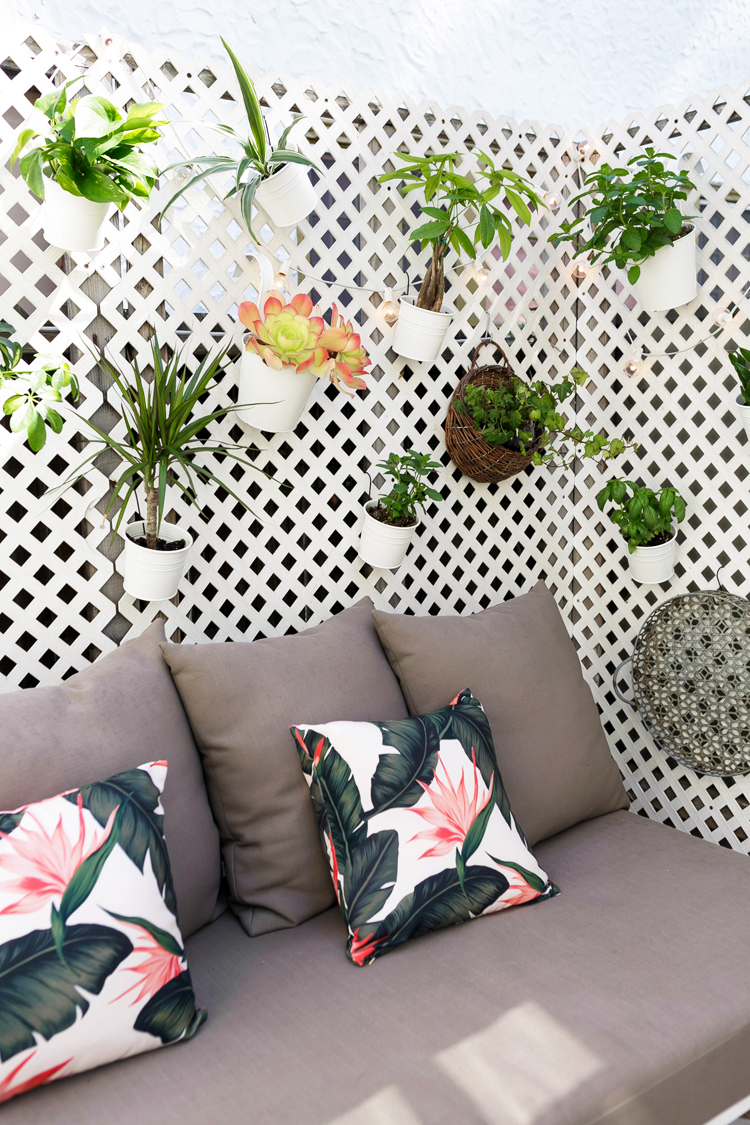
Photo of the Cottage porch by Monica Wang

Photo of the Cottage garden by James Tse for THE NEST / THE KNOT Magazines.
4. MULTI-TIERED CARTS - No room to go up? Try layering plants on a compact, vertical, multi-tiered rolling / bar cart:
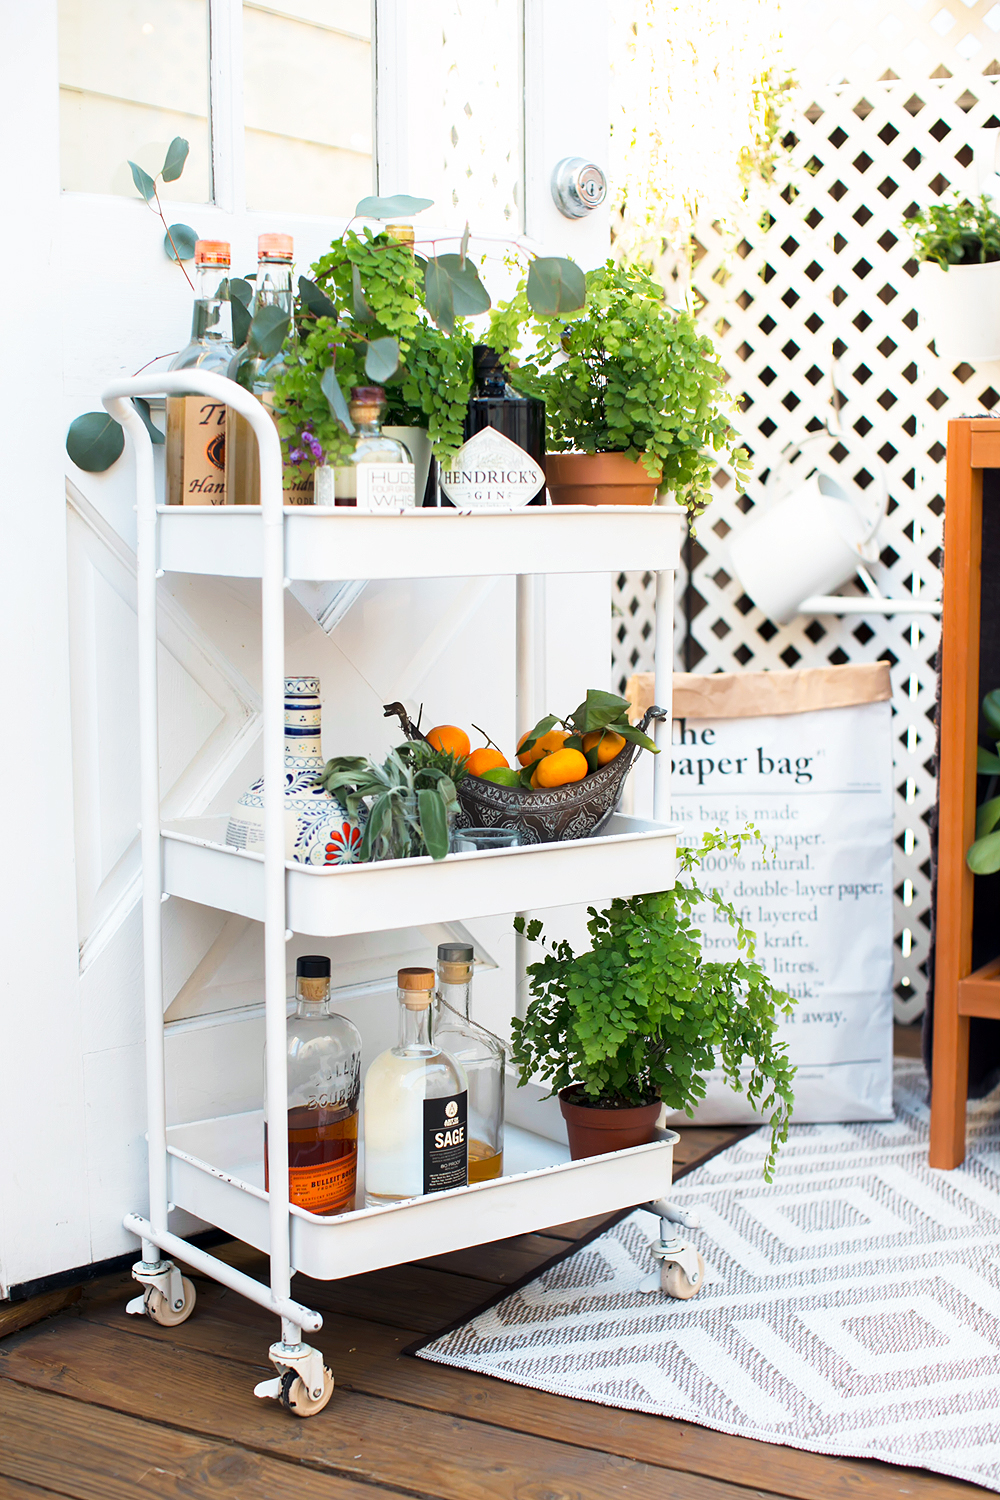
Photo of the Cottage porch by Monica Wang
And don't forget: plants, cafe lights, outdoor textiles, and patio rugs can transform even the smallest, shabbiest spot into a lush getaway in your own backyard!


Here are a few more ideas we love for displaying your clippings and small plants: A garden chandelier (read more), yard stakes, wall vases and miscellaneous hanging planters: