
Tiny French Farmhouse: Repairing the 2nd Floor Ceilings
When we and our partners purchased the Tiny French Farmhouse on the final day of 2020, we knew we’d have to tackle the repair of the 2nd floor ceilings as soon as possible. The water damage within them was evident from the realtor photos, and after visiting the property in our stead, our surrogates in the region confirmed the rot was indeed extensive.

Luckily our neighbors and friends are highly skilled in various areas of both home construction and repair, and are knowledgable about the specific materials commonly used throughout older homes in the Aveyron region.

When our family was finally able to visit the property last year, we connected with our neighbors, who generously agreed to handle with the removal of the toxic ceilings as part of the roof restoration for which we’d hired them.
The process was layered, but here’s the gist:
The low, rotted ceiling panels of the upper floor were removed
The aged and water-logged insulation was removed and safely discarded
In select areas, drywall and plaster were replaced or added
In certain spots, electrical wires were reorganized in safer arrangements
As part of the roof restoration, three VELUX skylights were cut-in and installed— one in both bedrooms, and one above the dark stairwell

As of now, the ceilings of the second floor — including the beams that were once fully or partially wrapped — remain unfinished. After seeing it first-hand, we’ll determine next steps.

Even unfinished, it is already greatly improved. Areas that were previously filled with soggy overhead boards (that encouraged bending and stooping) are now vaulted and spacious.
We’re not anticipating dramatic temperature changes within the home without the interior insulation. The roof now provides insulation via numerous materials / layers beneath its original stones, and the home is so small that it isn’t difficult to heat with the built-in system or petite space heaters left by the previous owners. Plus the large fireplace sits beneath half of the upper floor, and its chimney extends upwards throughout the main bedroom and 1/2-bath walls.


Of course, only time will tell! But since we’re in this project for the long haul, we’re unhurried and, currently, quite content.

Tiny French Farmhouse: Lauze Roof Restoration
Since our last trip to the Tiny French Farmhouse, a fantastic team (who we’re lucky enough to call friends) restored the original, stone roof of the 1800s, <800 square-foot residence.
My family will be headed there next week, and we’re eager to enjoy their expert handiwork in person.
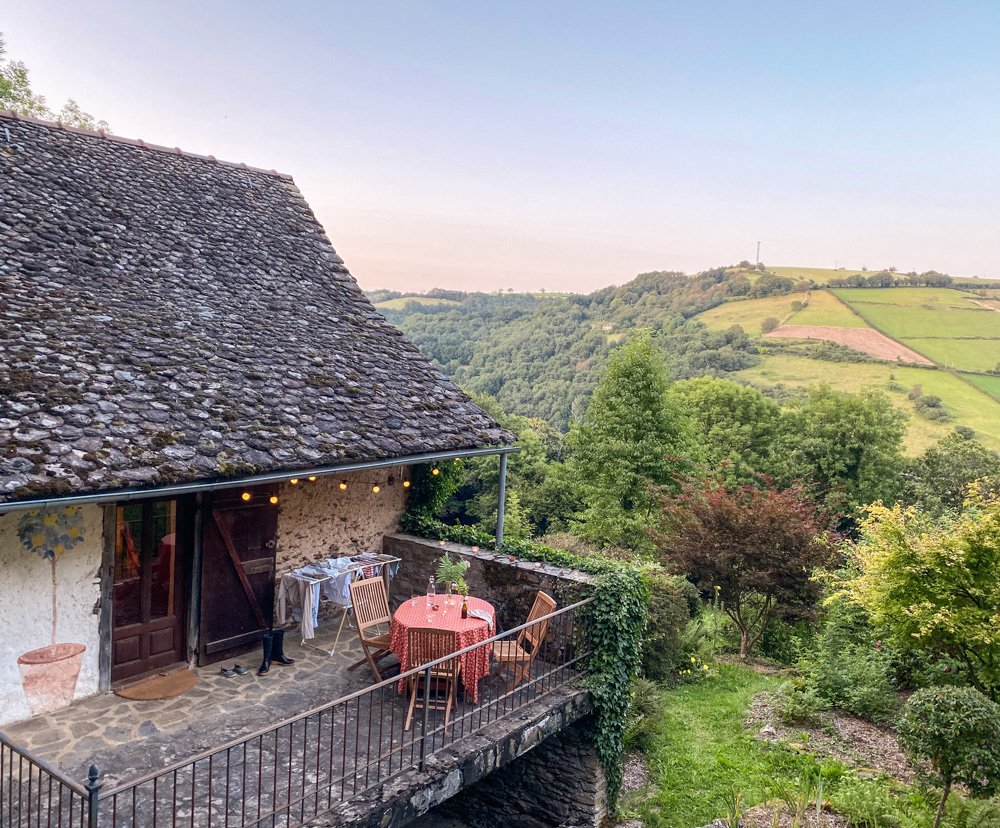
Before
This type of lauze roof is very common in the Averyon region. It’s not uncommon to pass one that’s being repaired, just as it’s not uncommon to pass one that has caved in after years of neglect.

Before
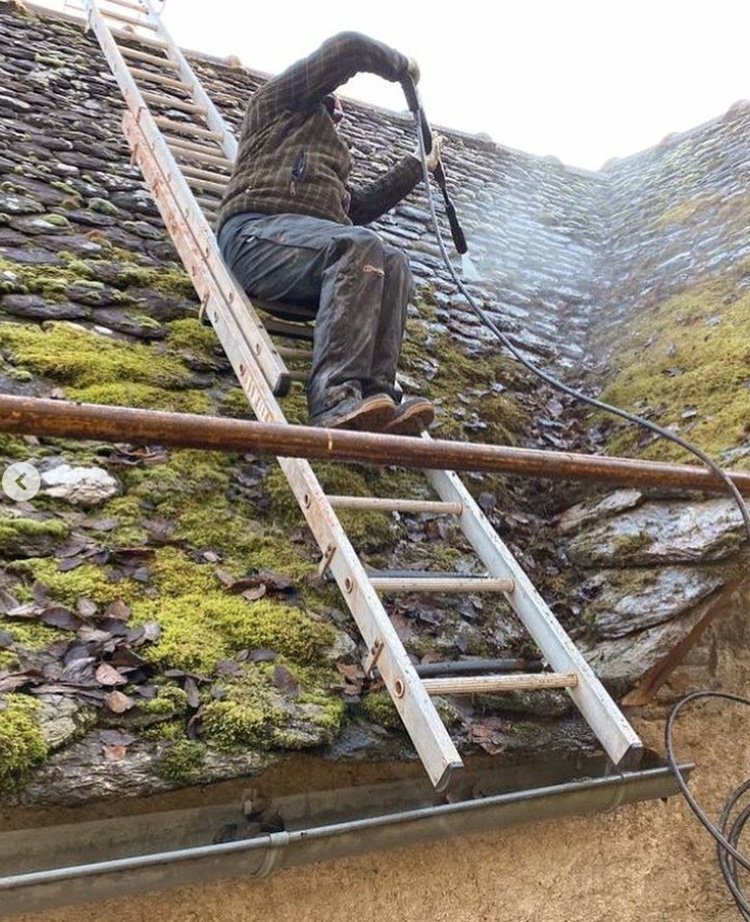
The stones gather green moss over time if not maintained, as ours had. In my opinion, the moss is beautiful, and allows the home to sink into its natural surroundings. But since the moss captures moisture and further weighs down the roof, it must be cleaned.

I covered the restoration process extensively across my social media channels*, but neglected to extend that coverage to the blog. (It’s been a sleepy year here on this site, I know. I was prioritizing time with our baby, while overseeing the new little cottage build in the Southeast. But I plan to get back into the full swing of posting later this summer.) *Much of that coverage has been saved to my Farmhouse Highlights on IG Stories.

Repairing the roof involved several technical steps, but the gist of it is:
The scaffolding was erected
The stone tiles were manually removed
The nails were removed one by one from the wood
The wood was allowed to dry out over several sunny days
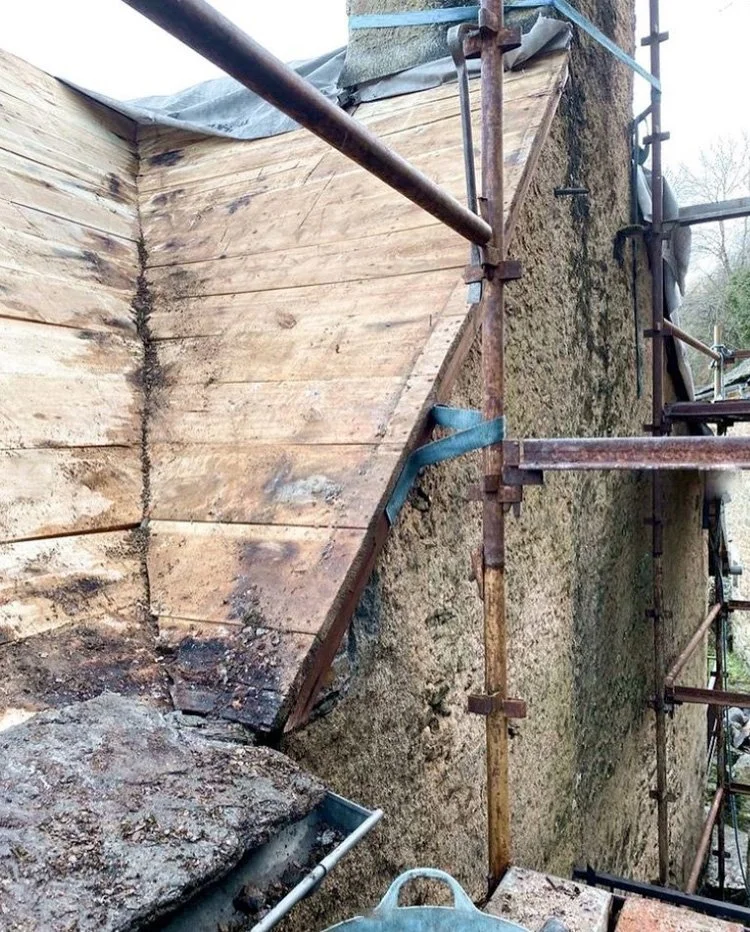
The rotted components were removed and replaced, and the hips cleaned
Several layers of weatherproofing and insulation were applied above the wood
The tiles were individually and meticulously scrubbed clean and left to dry
The tiles were replaced, layer by layer, beginning at the bottom / soffits, and extending upwards towards the peaks.

From what we gather from the photos, we are thrilled with the end results. The before/after stand in stark contrast of one another, and yet the roof still looks like it’s beautiful, original self (plus the tiny skylights).



The entire process took a team of two about 4 months (including the ceiling work outlined in another recent blog post), as they worked around winter and spring snow and showers.
As far as budgeting for the restoration was concerned, let’s just say that the work was worth every penny, but that it was only possible to pay thanks to the multi-steward partnership behind the property acquisition.