Decluttering & Remaining Clutter-Free for the Long Run (Updated)
Have you ever gone through the process of decluttering and downsizing, only to find yourself slipping back into an overstuffed life a few months down the road? You’re not alone. Every day I receive questions about how to declutter and maintain the results.

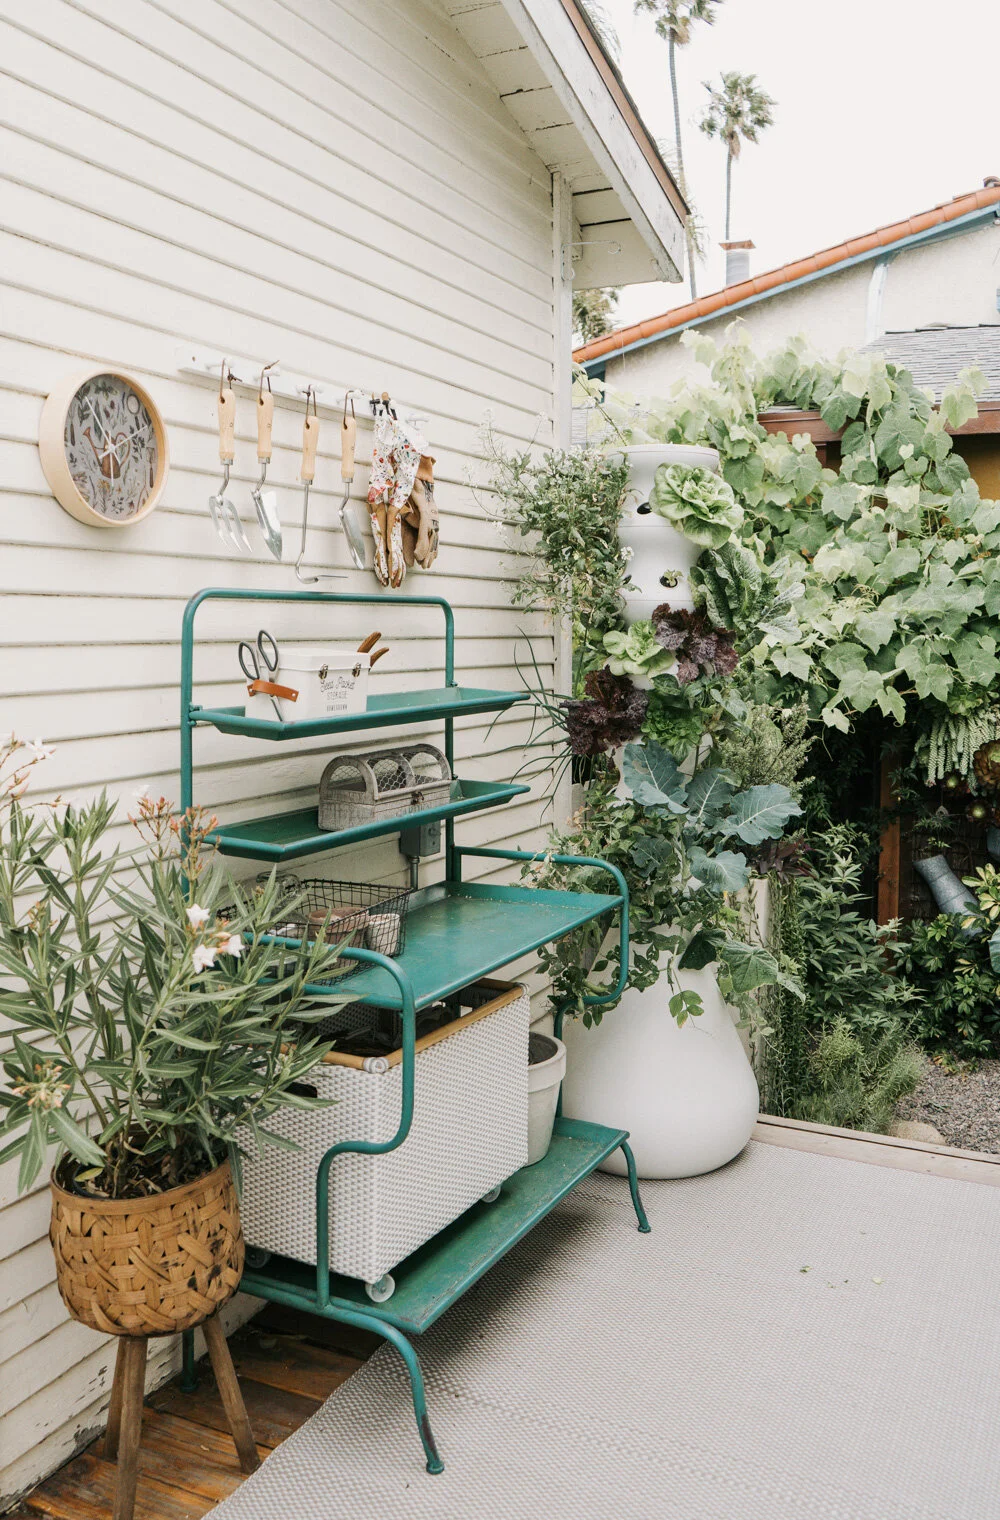
First and foremost, I think it’s important to find a dedicated home for everything with which you part ways, as 80+% of donations end up in landfills, and there’s a bunch of privilege wrapped up in the concept of decluttering in the first place.

Secondly, before you declutter, I’d recommend pledging to stop the influx of new, unnecessary goods after doing so. Otherwise the cycle repeats itself, which is no good for your space, wallet, the planet, and the disenfranchised populations who statistically live closer to landfills and toxic manufacturing and waste facilities.

Finally, if an item no longer works for you and can be put to better use with someone else, then letting go is a gift for both parties! I’d suggest asking yourself what purpose(s) each piece serves if any, and then take it from there responsibly.
With that, here are some easy tips for remaining clutter-free for the long run.

Avoid Triggers
Identify your more reckless spending triggers, then take care to avoid them. For example, do you find yourself buying items off social media links or major retail sites when you’re bored, stressed or unable to sleep? Tuck the phone away and pick up a book, meet a friend, or take a walk instead. Do you buy junk at the airport during layovers? Bring your own snacks, bottles and entertainment with you, and don’t even step foot in the shops within the terminal.
Pause Before Purchasing
When online shopping, challenge yourself to wait at least 24 hours before checking out. Chances are you’ll realize that you don’t actually need all (or any) of the items in your cart.
Get One, Give Two
If you do commit to acquiring a new item, try giving away two items in its place. Keep in mind that it’s important to find a dedicated home for everything with which you part ways, as 80+% of donations end up in landfills.
Reduce Opportunities for Impulse Purchases
Once you’ve swapped your common disposable goods (such as paper towels, cotton rounds, cleaning supplies, diapers, and tampons) for reusable options, you’ll have far less shopping to do. And with fewer trips to the store, you’ll have fewer opportunities to make impulse purchases.
Decline Freebies
You don’t need to accept every free item and bit of SWAG dangled in front of you. Just walk away, or use the magic words: “No thank you.” If you still somehow end up with freebies of wellness products or clothing that can be of use to organizations in need, leave the goods sealed/unopened and donate them as soon as possible.
Donating Gifts
If someone gives you a gift you can’t use and/or don’t like, shake off the guilt and donate it immediately. It doesn’t do anyone any good for the thing to rot away in a box under your bed. Pay their generosity forward by regifting the item(s) to a fitting non-profit, local school, etc.
Ask Qualifying Questions
Before you purchase a new object, ask yourself the following questions— you might be surprised by how few items actually clear these hurdles to earn a coveted place in your home:
Do I already own something that serves the same purpose as this new item?
Was this product produced ethically and with sustainability in mind?
Can this piece multitask? (Of course this question doesn’t apply to all goods, but it can apply to many. Multi-functional pieces will reduce the number of items you need in your home, saving you money and reducing your footprint.)
Where will this item be stored when NOT in use? And do I have the space for it?
Lastly, if the piece(s) you’re considering pass all of the questions above, then ask yourself: Is there a vintage or handmade option of this item that I can find locally instead?

You can do it. For your sanity, for your wallet, for your home, for your busy schedule, and — above all — for the planet.
First/key photo from the cottage taken by Lucia Doynel.

Simplified Video + Photo Editing
For years, I used to love all things tech. My work life and personal life have long been deeply intertwined, and, as a result, my large desktop, accessories, and my collection of reference books were items I used constantly and couldn’t imagine functioning without.
But technology changes, as do priorities. And, after having West, I realized that the majority of the tools I relied upon for business for were no longer tethered to my dedicated work area or desktop computer. They were increasingly accessible via the phone in my pocket, and through my tablet. It dawned on me that I could truly conduct most of the administrative and creative aspects of my job from anywhere.

Above: Photo by our professional videographer, Tinylicious.co.
As a result, I streamlined and pared down my equipment and office in general, passing on select items to folks who could use them, and swapping out my lift-desk (full details on that here) in exchange for mobile work zones.
My office supplies are now totally corralled in a single drawer nestled within one of the three built-in cubbies in our multi-purpose room. My reference resources are no longer on our bedroom bookshelves, and instead are either accessible online or via our local library.
When I need to physically be in my content, or when the project requires a polished and professional look, we work with our exceptionally talented friend Lucia Doynel of Tinylicious.co. Otherwise, I happily do most of my content creation myself.
With this shift in how I create came several reader questions about the software / apps and devices I use to edit my media, and what tasks I accomplish via each.

Above: Our masks drying on the line over our stoop— a normal sight these days, but one I never expected to get used to. Shot on my compact Canon and edited via Lightroom + ColorStory.
So here is my very 101, unfussy and unabashedly amateur method of editing my videos, Stories, and photographs.
CAMERA
Canon EOS M50 mirrorless
I use my camera for most brand and blog imagery.
iPhone 11 Pro Max
I rely on my phone for nearly all of my IG photos (as they’re taken in-the-moment), and for ALL of my videos. (I also use my phone for most of my editing… more on that below). When using your phone, ALWAYS wipe off the lens first. It makes a huge difference in the quality of the photo or video.
VIDEO
Adobe Premiere Rush
I use Rush (on my iPhone and iPad) to cut and arrange and compile video clips. Beyond organizing and tightening content, I also use Rush to alter the speed of select footage. I also use this app for basic exposure adjustment.
Filmm App
I use Filmm via my phone to add styles / effects to videos exported from Rush. It also has stock songs that can be applied to footage, or you can import an audio file of your own to add to your video.
PHOTOS
Lightroom (mobile)
Before anything goes up on my blog or Instagram, I adjust it in Lightroom. I don’t use any presets, as I prefer to edit every photo to tell its own story.ColorStory
I use ColorStory for all the fun stuff in photos, like more playful effects and filters. I also run some of my Stories videos through this app.Snapseed
To quickly target areas of a photo for more precise editing, I’ll sometimes adjust a photo in Snapseed after using Lightroom.
STORIES + TEXT OVERLAYS
Unfold
I use Unfold or Template to format ALL of my Stories. They’re simple apps for adding various frames, scrapbook-style visual accents, and text overlay to both videos and photos alike. Plus they’re handy for creating Stories in advance, as well as creating title-card style video frames to add into Rush and splice into larger video projects.