Small Space Laundry Zone Solution for Air Drying Linens
When I designed our new cottage, I considered several locations for the laundry zone.
When I lived in Manhattan in a ~350 sqft apartment, I had a combination single washer/dryer unit in the kitchen in lieu of a dishwasher. When we were in our ~400 sqft cottage by the canals, our stacked washer and dryer unit were in a bike shed that we shared with our neighbors. And in my ~200 sqft studio on Venice Beach, there was a slim, thoroughfare laundry room on the ground floor for all the tenants to share.

I took all of these experiences and others into account when deciding what we approach we should take in our new home. An shed setup beneath the house was out of the question due to the extreme climate and likelihood of flooding in this region. A kitchen setup would’ve been doable, but I was concerned that having our cleaning AND cooking hub in the same zone would lead to daily congestion. And we’re far too remote to efficiently rely upon a community laundromat.

The logical location, in this case, was the bathroom. I first considered situating our bathroom counter over a side-by-side washer and dryer, but I really had my heart set repurposing a rescued slab of wood for the vanity, as well as designing a custom hutch for laundry + bathroom storage. So when I discovered a narrow, ventless, stackable washer and dryer, I knew it was the answer for us. Tucked into a custom nook opposite the shower and sink, the electrical would be far from splash zones, and the entire setup wouldn’t require any of the space needed for navigation and comfort within the room.
Even though we’ve typically always had access to a dryer, we’ve long preferred to air dry our linens whenever possible. But given the realities of the climate here, including frequent sudden downpours and tropically humid months on end, I wanted to reserve free space within the house for drying, rather than relying solely on our retractable outdoor laundry line. What would be the most suitable areas for this in our relatively compact home?

That’s when I began to picture the shower as a potential crucial component to our laundry room.
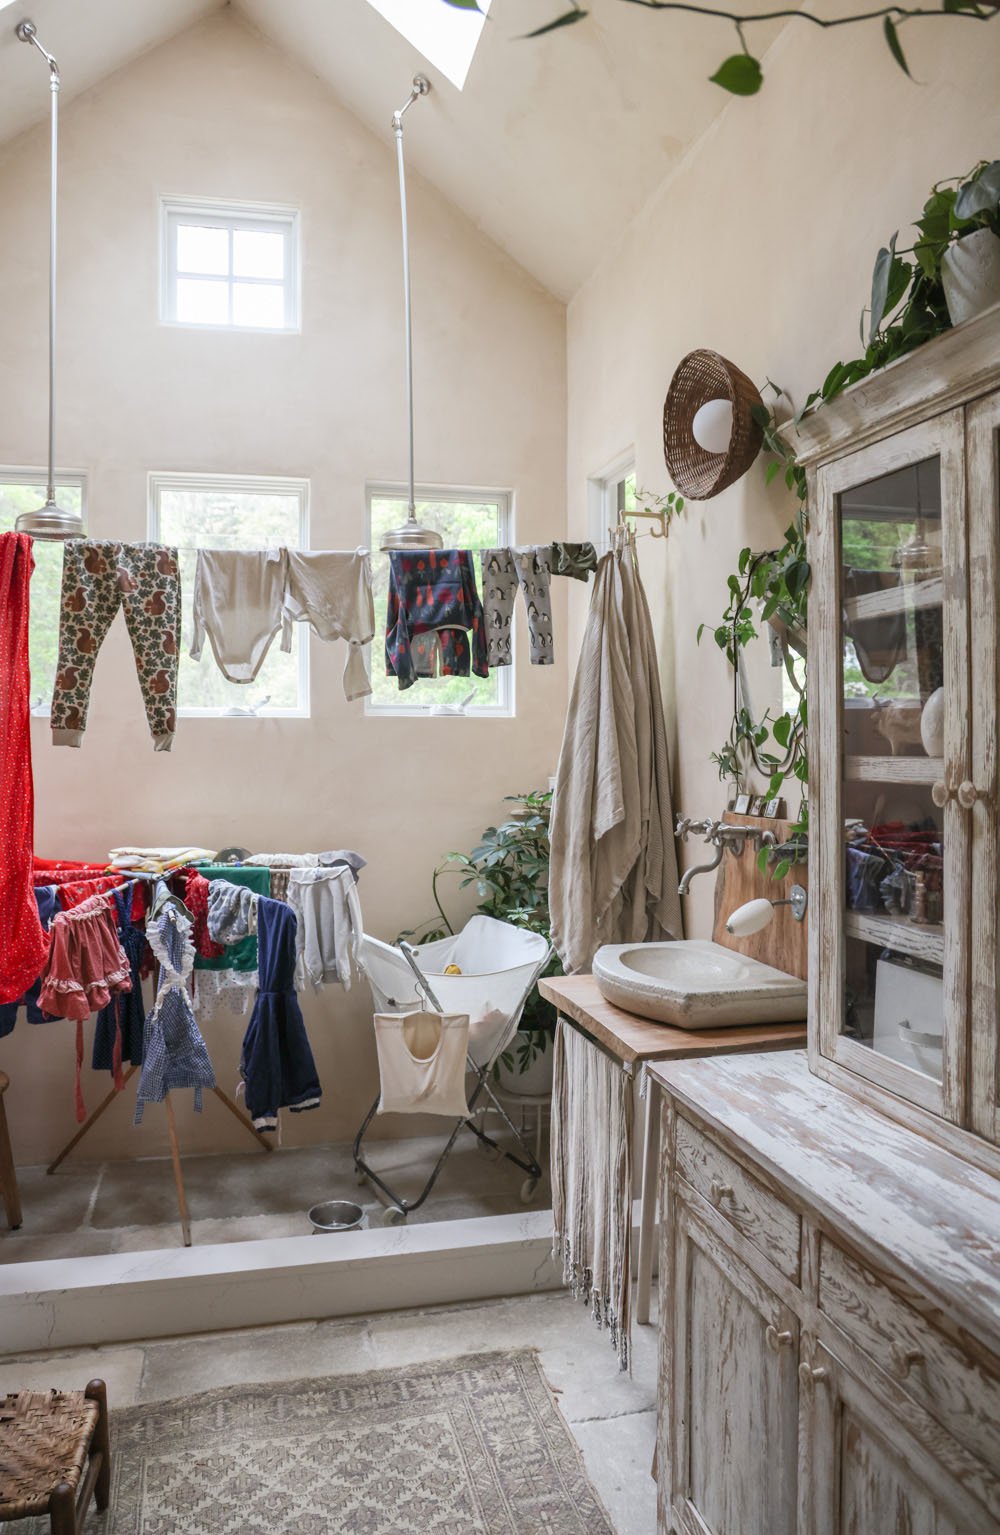
We usually try to conserve water by bathing quickly, so our shower is really only in use for about 10 minutes daily. As such, the bathing area’s real estate is largely available for 23+ hours per day. So when approaching the room’s design, I crossed out the option of a glass partition along the shower curb, along with the alternate option of a low / pony wall. Uninterrupted access would be easiest with a curtain.

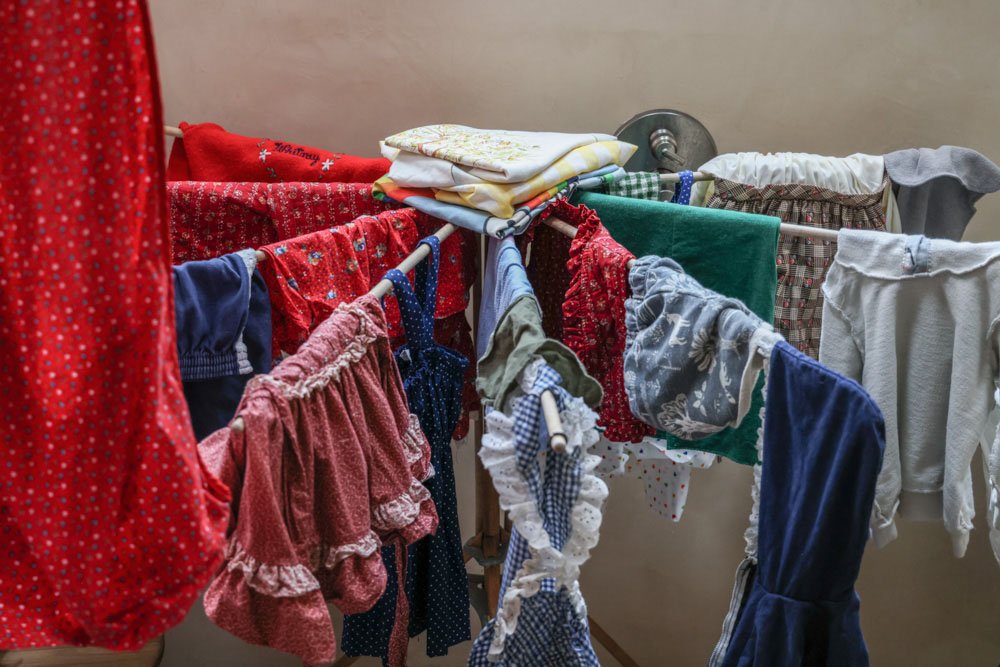
Since we didn’t want a horizontal curtain bar running in front of the mindfully placed windows, we installed two towel hooks directly above the inner edge of the curb line on either side of the bathroom, giving us anchor points for stringing up a removable drying line that could also hold our shower curtains. In addition to the line, we have a vintage, collapsible drying rack (that fits under our bathroom vanity when not in use), as well as our fold-down, repurposed baker’s bread cooling shelf for more surface space for drying laundry.

The end result is a room that’s fully in use throughout the day. It works perfectly for our small home and our family routines.

Our New Cottage's Combo Bathroom + Laundry Room
We didn’t expect this, but our favorite room in the new house has turned out to be the bathroom / laundry room combo.

While it’s bright and airy thanks to the windows and venting skylights, it is also intimate and grotto-like with it’s plastered walls and stone floors.

The entire space was an experiment. If we had windows on the three surrounding walls, could we manage the extra long shower down-rods? If we used a neglected slab of recovered Cypress wood as both a counter and a backsplash, could we waterproof it, customize the faucet, and get it all to fit within our slim parameters? If I designed a custom hutch, would it offer all the storage space needed for bath + cleaning + self-care products for a family of four? Could the shower remain in use throughout the day for laundry and rehabilitating plants? Could we create privacy while also keeping everything so exposed? Would the ventless washer / dryer combo take up too much space?

Somehow it all worked out exactly as we’d hoped. It’s not perfect— there are wonky lines and odd dimensions and out-of-the-ordinary combinations of materials and textures. And we are loving it all.

Due to its versatile design, the room is constantly in use by the entire family for activities beyond the obvious, so the square-footage (about 8’w x 10’l) is earning its keep.

At some point I’ll publish a detailed before + progress + after post about this unique space, but after seeing it under construction for so long, the last thing I want to do now that we’ve finally moved in is relive that lengthy process.

For now, I simply want to enjoy how it all came together. I hope you do, too! More images + sources are below.

Sources are listed at the bottom of this post, and below are some responses to commonly-asked questions:
• While we were initially eyeing raised-tank, vintage-style toilets, we eventually opted for a toilet / bidet combo and are happy we did so.
• We string up a basic line of twine and an oilcloth tablecloth for a curtain when we shower, offering complete privacy from the rest of the room.
• We chose a pocket door to save space, as always.
• The stacked washer + dryer combo is ventless, allowing it to be enclosed in a custom cubby. We pull the curtain aside when the machines are on, just to be safe.
• The pull-down drying surface is a vintage French bakery cooling rack, which we attached to the wall with four mug hooks and leftover leather cords. The lock that holds it flat against the wall when it’s not in use is a scrap of driftwood.
• The wooden sink vanity is coated with matte Rove & Dwell Finish Coat.
• The items attached to the sink backsplash on the right of the faucet are a vintage match holder and a rotating French soap holder.
• The skylights both vent / open, and have screens.
• The casement windows have optional screens, and the hardware isn’t problematic for water given their height and the rain-style showerheads.
• The concealing curtain over the laundry zone is cut from a flat sheet.


Thank you as always for sharing our li’l home with us by visiting my blog.

Sources:
Tadelakt Plaster (Color: Nue) by Color Atelier
Montpellier Stone Floors by Historic Decorative Materials
Custom Hutch by Tumbleweed & Dandelion
Skylights by VELUX
Windows by Marvin
Curb (Color: Colton) by Cambria
Recovered Cypress Slab from Goodwin Company
Small Space, Ventless Washer + Dryer from Haier
Linen Hanging: Garnet Hill
Folding Laundry Cart: Vintage via Etsy
Two-Tier Basket Table: Vintage via Etsy
Folding Drying Rack: Vintage Bread Drying Rack via Etsy
Wood Sealer: Rove & Dwell Finish Coat
French Wall Soap via Vivi et Margot
Baskets via Connected Goods
Fixtures via Delta and Signature Hardware
Extra-Long Hand Towel + Robes for the Entire Family via OddBird
Sconce: Reveal Home via Etsy
A Compact Thoroughfare Laundry Room Makeover (<$250)
For thirty years, my folks have been meaning to spruce up their tiny, windowless, thoroughfare laundry room. They enter and exit their house through this compact space multiple times per day. Not only has the room been long overrun with household cleaning products and dog gear, but it’s now also packed to the gills with all the typical COVID-era necessities as well.
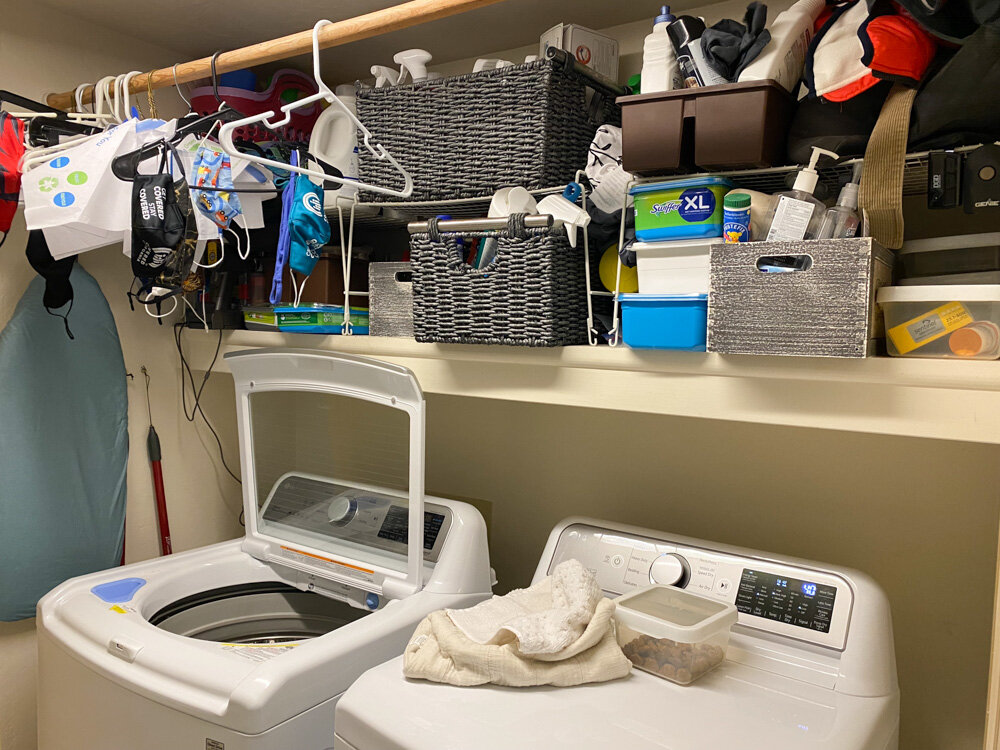
The main issue with this hallway / muck room / laundry bay isn’t its size. It’s that the overflowing supplies are on full display when the interior door to the room is ajar, which it usually is since for one reason or another.
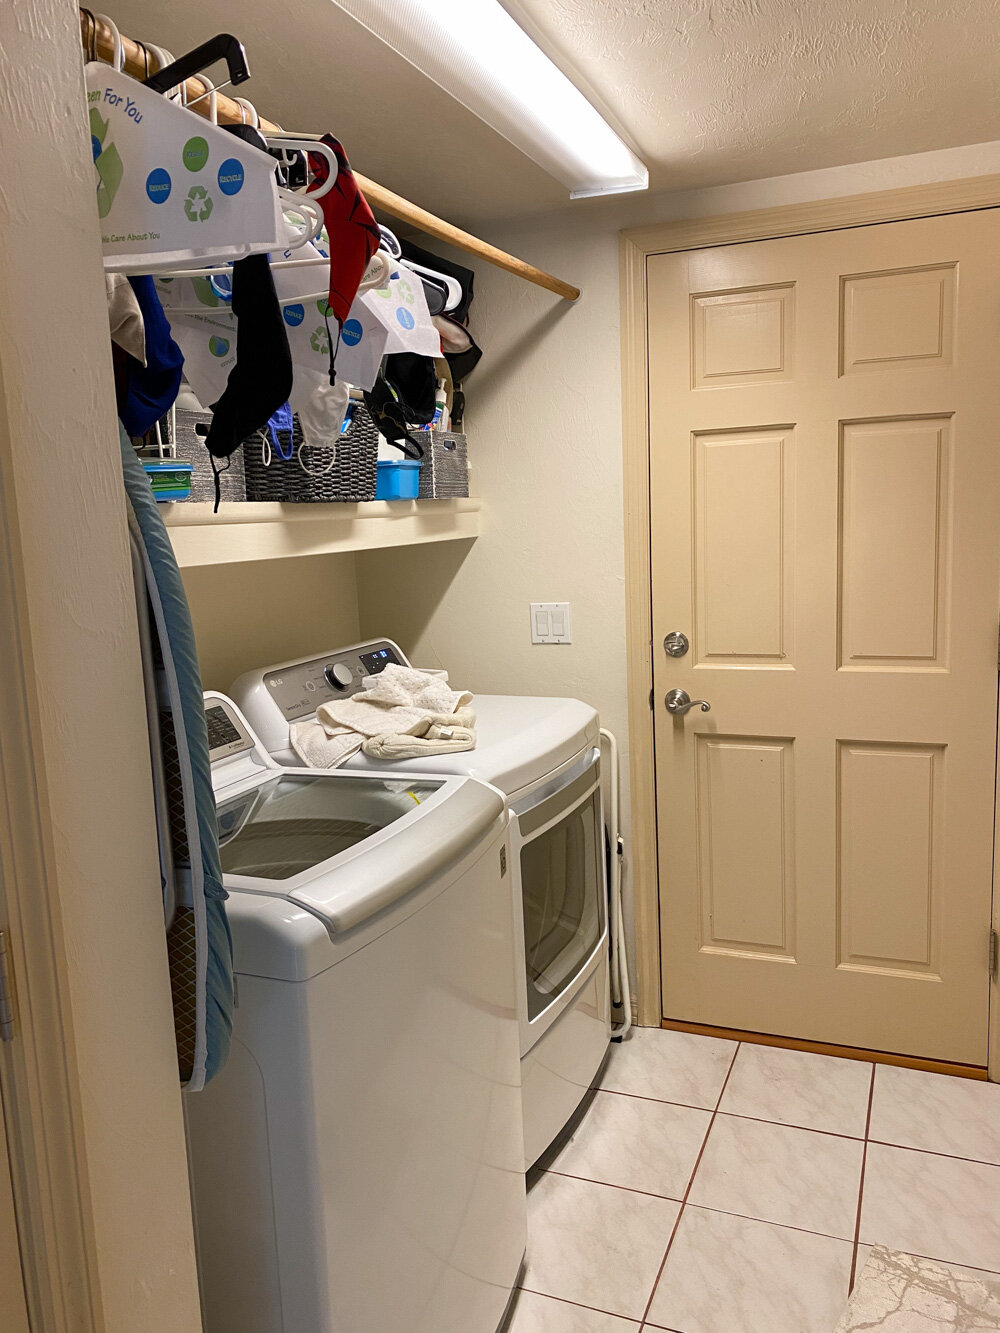
Upon returning from France, I decided it was time to finally tackle this mini-makeover, and make it an area that my parents could keep as-is once completed, or upgrade guilt-free in the years to come. As with most of my projects of this nature, I wanted to work with that we already had on-hand to minimize waste. And since we have large projects underway (such as the restoration of the farmhouse roof and the building of the prairie ADU), I wanted to keep the updates under my budget of $250.
Our modifications were minimal but impactful:
Shelving
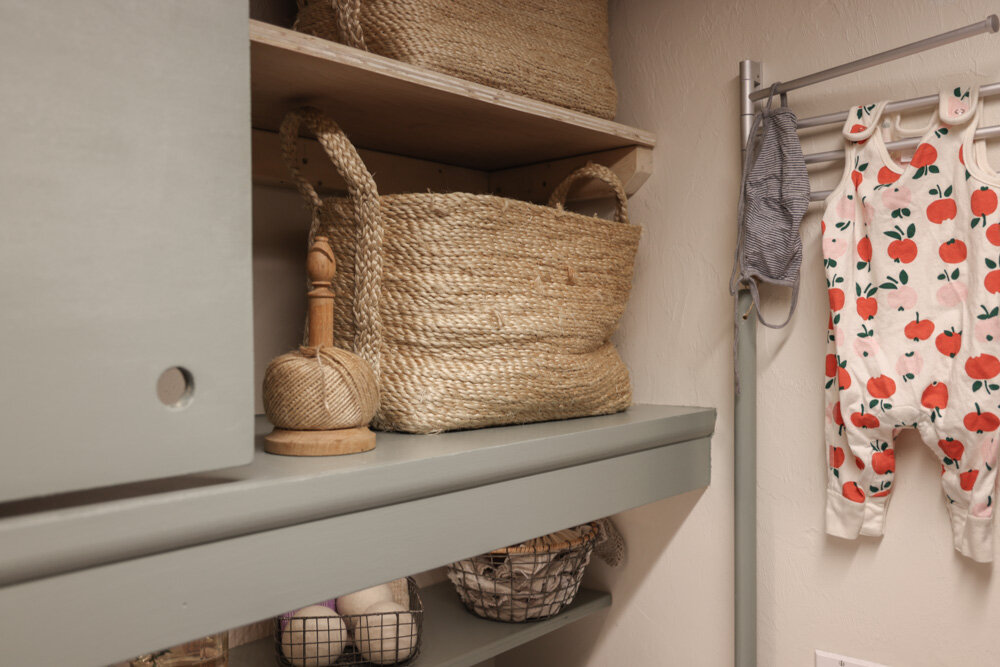
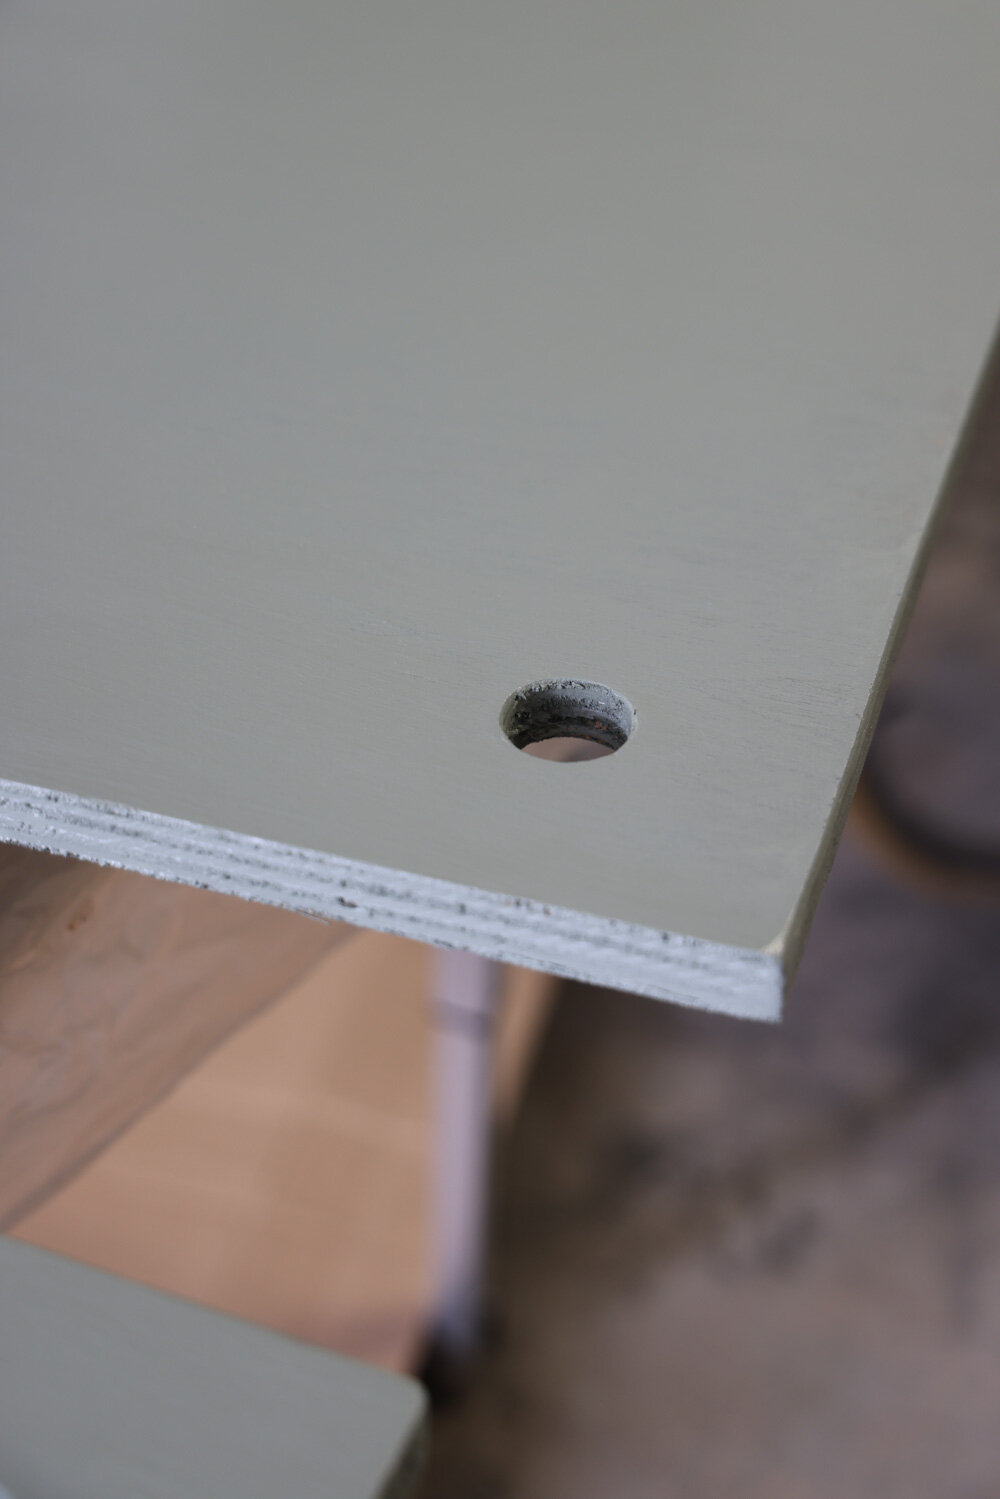
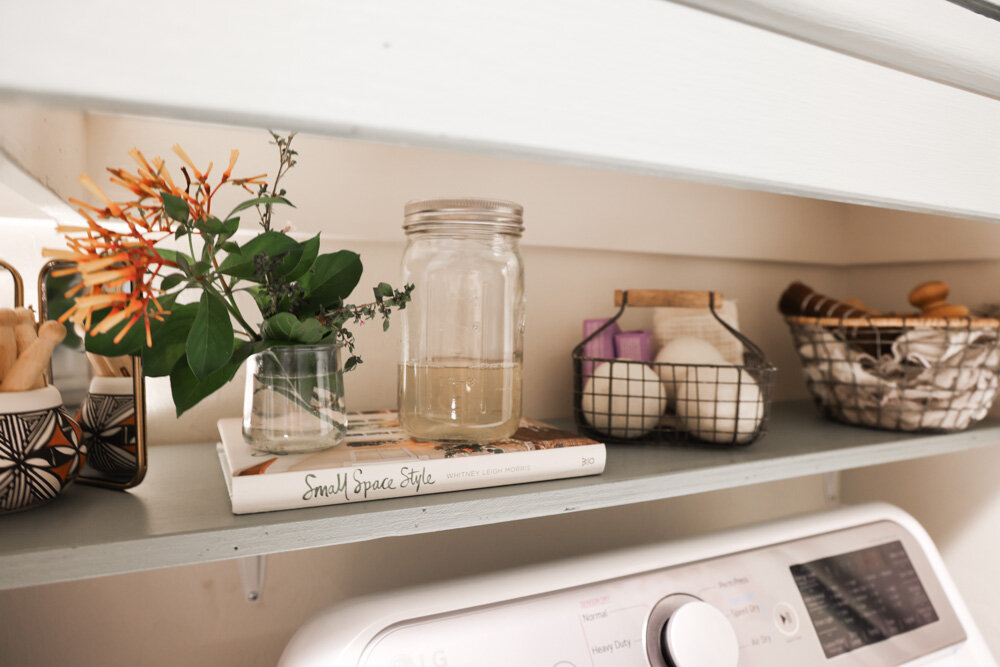
A touch of open shelving in this area is nice for quickly tipping items like masks, leashes and cleaning supplies out of overloaded hands. But having ONLY open storage is what was causing the most visual clutter. So I opted to custom-cut and install simple sliding doors to conceal the contents of the existing shelf, which we divided into 2 levels to maximize vertical space. We also added a new, low profile shelf slightly above the washer and dryer for smaller goods.

Doors
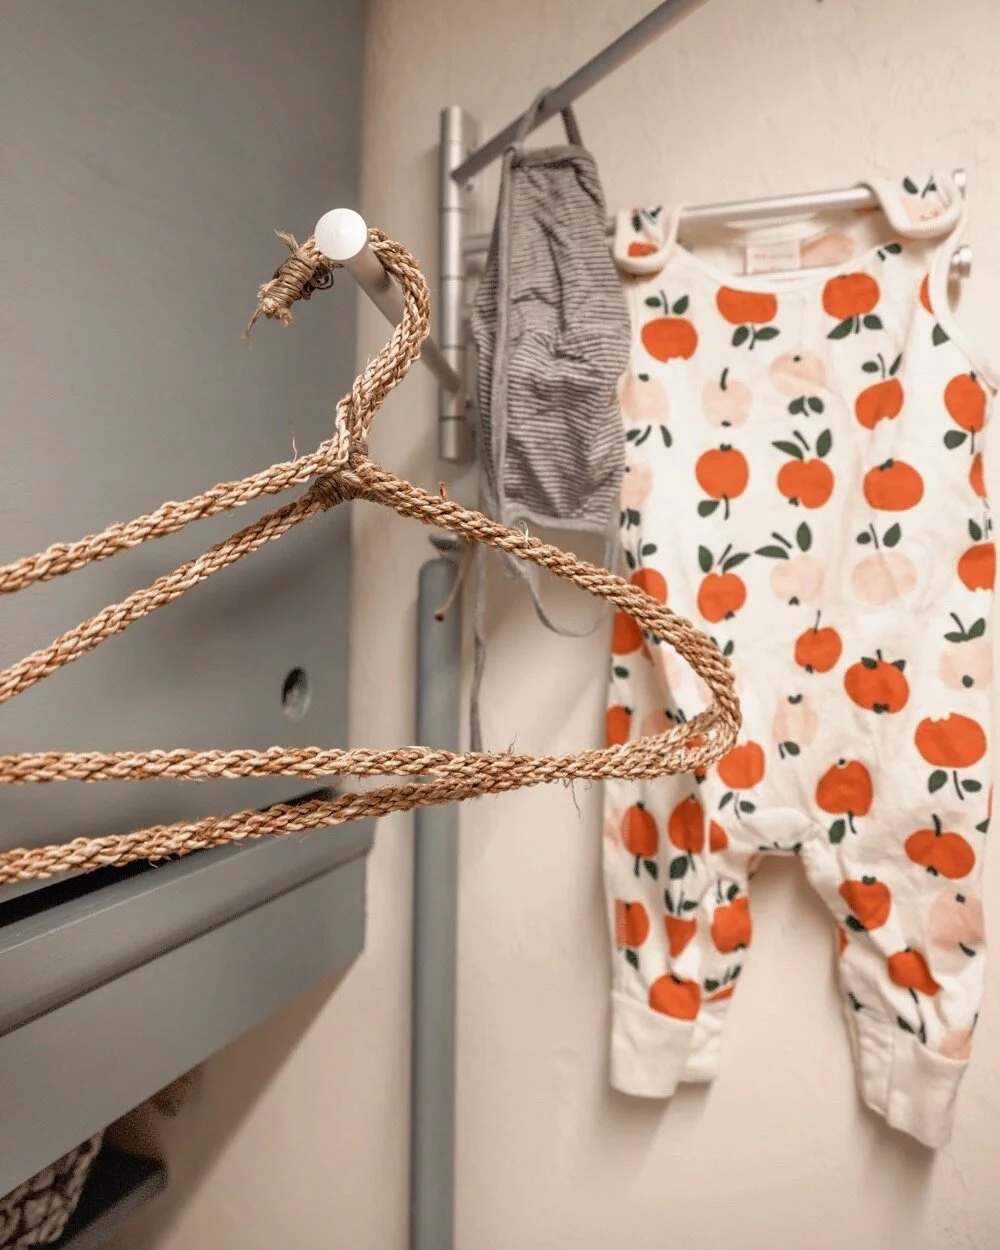
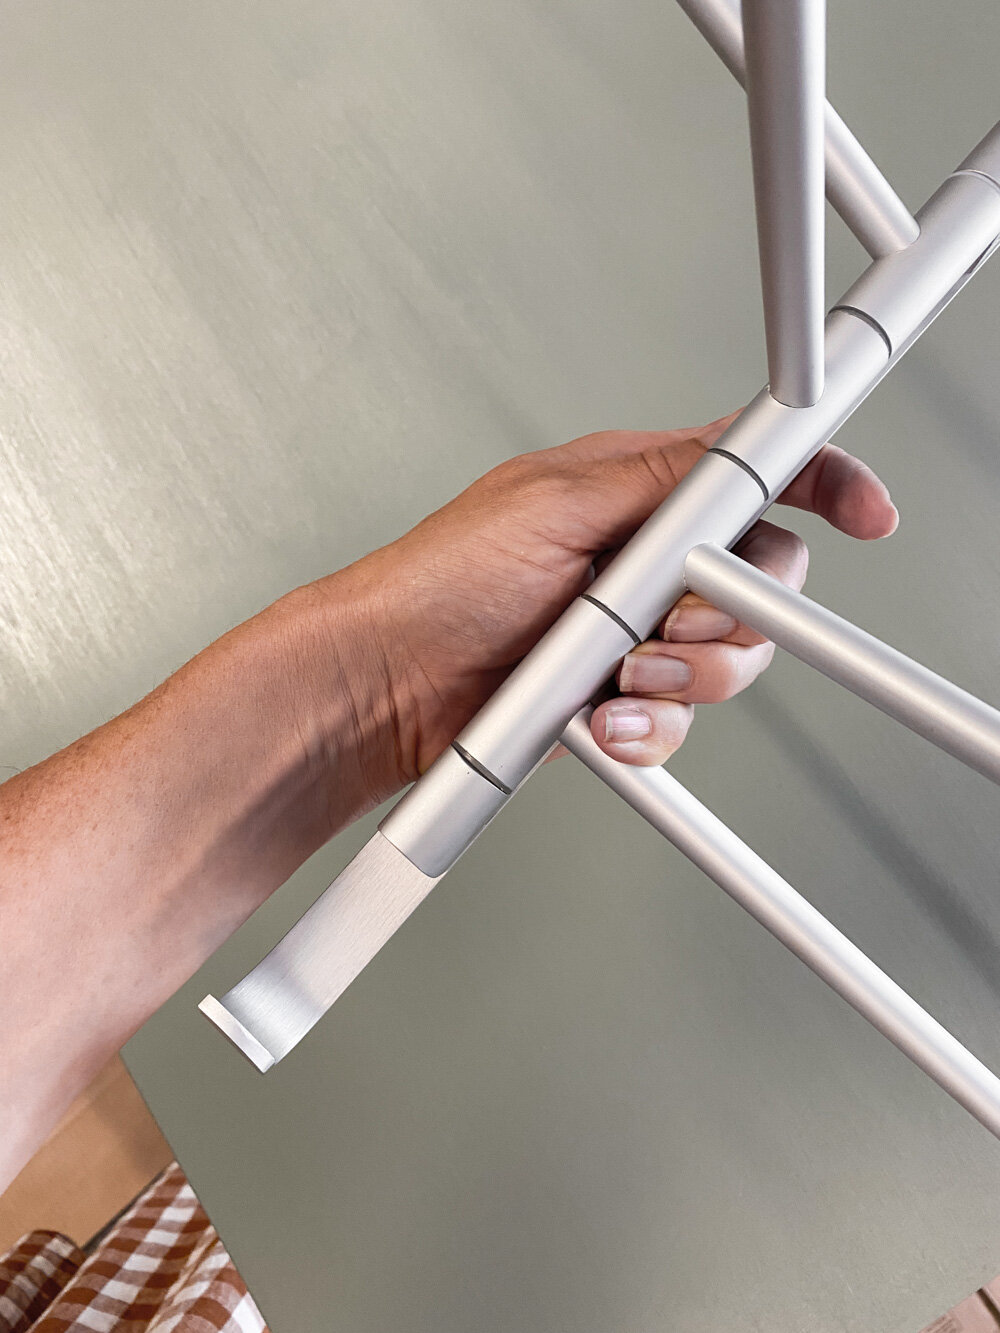
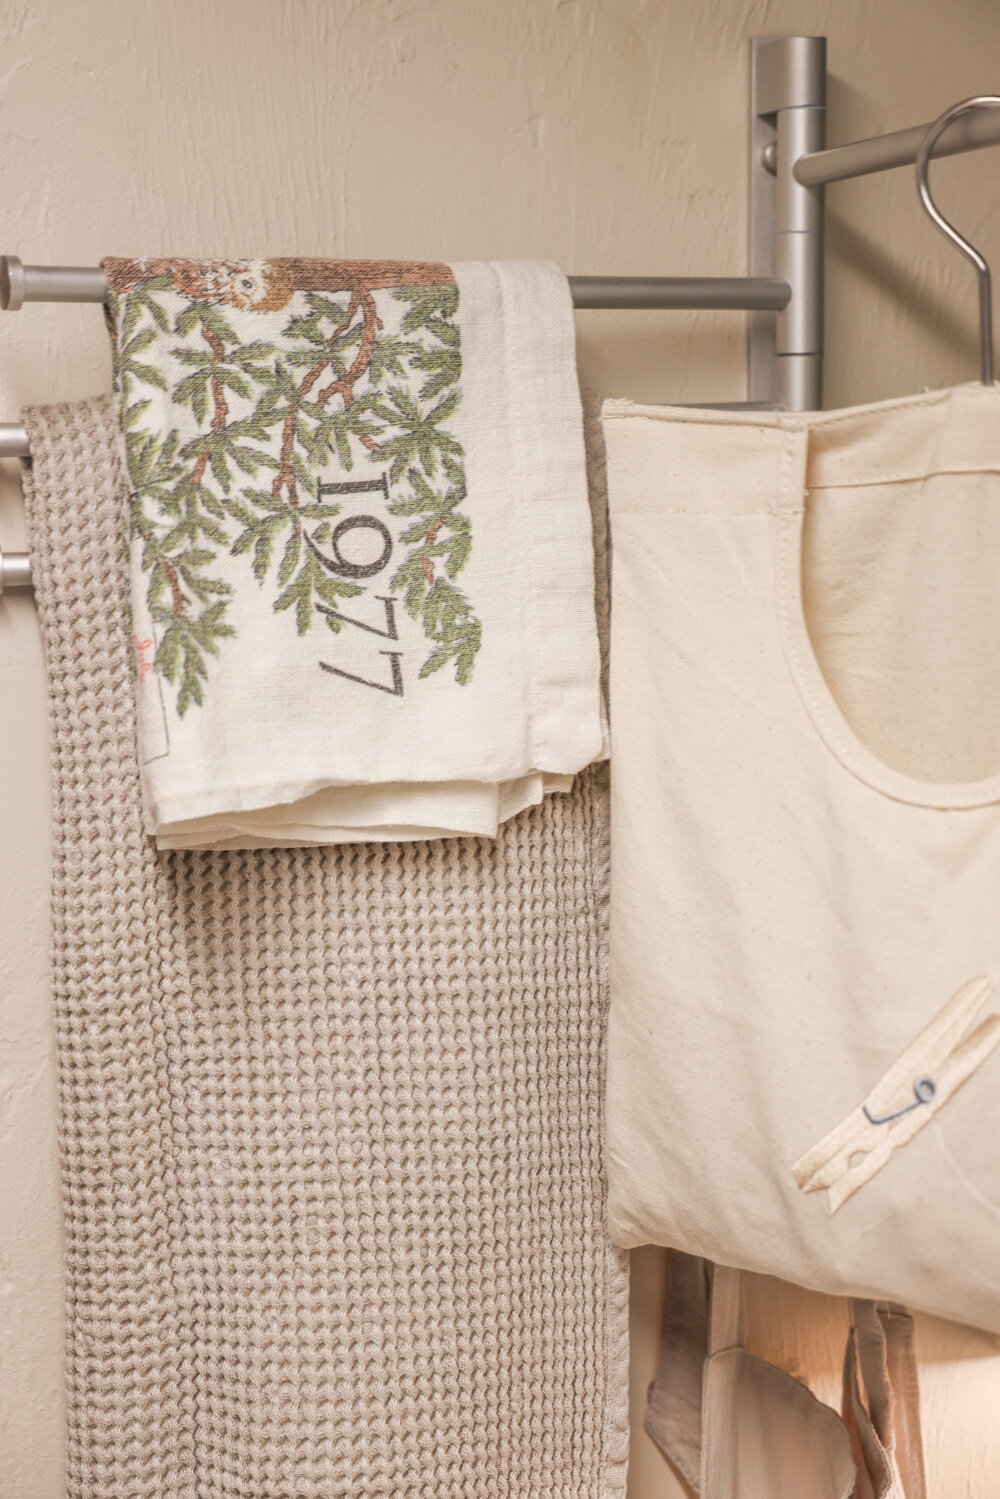
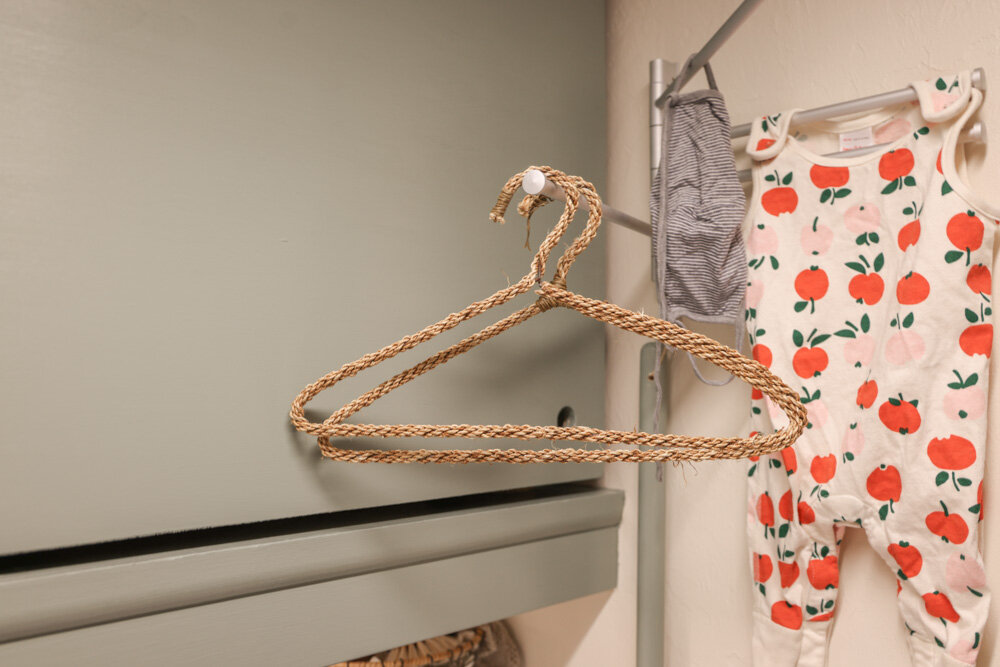
The sliding doors were a space-saving choice, as cabinets would’ve encroached into headspace when opened. We also opted to forgo handles on the doors to further save every bit of space, since the sliding panels overlap and are situated close to the collapsible, swing-arm drying racks I installed in place of the bulky overhead closet-style dowel.
Paint
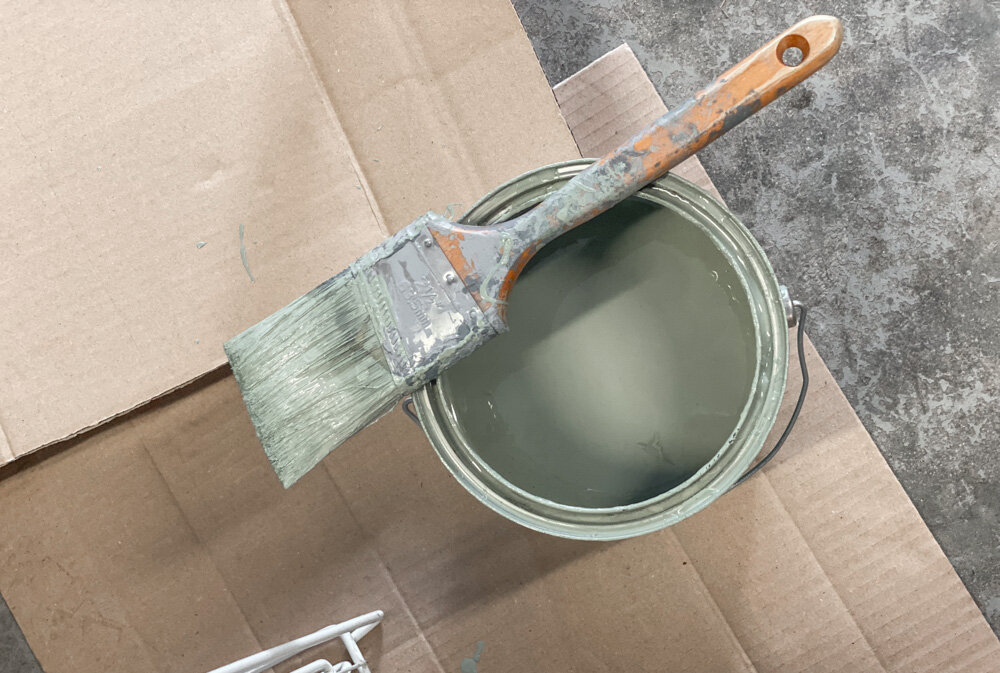
I used the paint leftover from West’s reading nook makeover (color: Sherwin-Williams Evergreen Fog SW9130) for the doors and shelves. It’s an easy-going, green-grey hue that adds a pop of personality without overcrowding a tight, windowless space such as this one. (Eventually we’ll do an additional coat and paint the interior shelf, as well as touch up the walls nearby, but one thing at a time.)
Cleaning Supplies
Over time, as my folks used up their existing supplies, I replaced their disposable dryer sheets with reusable wool dryer balls, their plastic jugs of detergent with refillable glass jars accepted by the local refill station (Life Unplastic), their numerous household cleaning liquids with a bottle of concentrate and refillable spray bottles, and their paper towels with washable cotton rags. Not only do reusable / refillable goods reduce waste and save money over time, but they also free up a remarkable amount of space. Plus they look far nicer in my opinion.


So, while it’s not perfect, it’s loads better. We can now leave the interior door open without wincing when we walk by or pass through. Remember: you don’t necessarily need more space or clever storage solutions. You just need to get a bit creative with the space you’ve got.