
Decorating with Nature
I am starting to consider myself more of a facilitator or celebrator of nature than an “artist.” - Ava Roth

Ava Roth is a mixed-media Artist, a Bee Keeper, and — in her words — a Honeybee Collaborator. Her works first caught in my eye (and took my breath away) via Instagram. From her use of found quills, willow, antler sheds, leaves, and above all, beeswax, to her way of celebrating and nurturing wildlife, to the “fundamental” slowness in her creation process, I respect her methodology as much as I am enamored with her artwork.
Note: All animal-derived materials have — of course — been ethically sourced.

We were lucky enough to become the stewards of an incredible piece by Ava, who agreed to the below Q&A for those of you who, like me, are interested in her creations and mindset.

I’m fascinated and inspired by your use of natural materials for your work. What are your preferred materials, and why?
My primary inspiration is the natural environment, and at this point almost all of the materials I use are organic. However, this was not always the case. For many years I would simply incorporate little bits of natural ephemera into whatever I was making. Over time, I have learned to let the materials not just appear in my work, but to actually dictate every aspect of the process, leaving as delicate an “artificial” touch as possible. Increasingly, I find myself doing so little to the natural objects I have my hands on, such as leaves or crystals or porcupine quills, that I am starting to consider myself more of a facilitator, or celebrator of nature, than as an “artist.”
Beeswax is the cornerstone of (almost) all my work. Using beeswax to make art, which is known as encaustic, is a very ancient practice. Encaustic was used by early Egyptians and Greeks, and was the common medium for painting before the advent of oil paints. Not only is the beeswax organic and archival, it is luminous and limitless in is possibilities for application. Beeswax is the binder that holds my work together, both literally and conceptually.


You’re a beekeeper as well as a maker. How do these practices intersect when it comes to mindset and method?
I love this question so much, because it goes right to the heart of my intentions as a maker. The answer is simple – they intersect completely on every possible level! When I first started using beeswax as a medium I was interested in bees, but knew relatively little about them. The more I learned, the more that knowledge folded back into my work, and a beautiful feedback loop took root. Having direct contact with bees is essential. It is like a touchstone, keeping me connected to the core beliefs that hold my practice together.

What proportion of your materials are foraged vs otherwise? Is the foraging an important part of the creation process for you, and if so, why?
Although I do forage for my materials as much as possible, unfortunately, I can only collect a small percentage of what I use. This is because I live in a climate that is encased in snow for well over half the year! What I don’t forage myself, I buy from local sellers who collect their local materials and sell to artists like myself (I use Etsy a lot.)
Despite the fact that I rely on other foragers, I will still claim that foraging is a very important part of my creative process. The prospect of finding new materials to work with has taught me to walk through my environment in a state of attentiveness and inspiration. Looking in this way, with searching and awe, has further opened my eyes to my surroundings. I have learned to identify trees, birds, fungus as I scoop up Hemlock cones or driftwood or White Pine needles.

How do you balance your respect for bees and other animals with the use of such materials? (Much of our community is vegan and will be curious about this.)
I am wholly dependent on the natural environment, and bees in particular, for my work, and the well being of both are vitally important to me. Like with everything, slowing down and learning and listening is a crucial aspect of respect.
Because some of my work goes directly into bee hives, people have asked about the impact of this particular project on the bees in question. I can honestly say that my inter-species collaboration is truly a collaboration, and not a top-down mandate for the bees to do my bidding. I work on their time, in their environment, in their season, and at their discretion. The process has evolved slowly over many years of careful observation and reverence for the bees. Each piece is made with non-toxic materials inside traditional Langstroth hive frames. I do not manipulate conditions, such as the structure of the hive or the time it takes bees to naturally build comb. The frames are simply slipped into the hives when pollen is at peak flow, and “finished” by bees in the dark privacy of their home.

We’re part of a culture that values efficiency and speed, and yet so many of us are craving ways in which to slow down. I imagine your work requires a phenomenal amount of time to conceptualize and create, is this true? If so, as an artist, how do you honor the process and the time that it takes to complete?
Because my work is a celebration of nature, whatever hours I spend on a piece seems paltry compared to, say, the amount of time it took for the leaf I am embroidering to grow. But the slowness of my work is not a frustration, it is actually the point. Hours and days and years spent decorating, festooning, illuminating, celebrating nature is the only way to honestly engage with nature. The slowness is fundamental. At it’s core, my work is about exploring the boundaries of where humans collide with the natural environment. My purpose is to both discover and offer a more beautiful outcome of this encounter than the one we are faced with in the news every day. For me, that mission requires an investment of my imagination, my mind, my skills and most perhaps most importantly, my time.


Traditional Yet Informal Holiday Hosting
Creating a festive holiday tablescape in a small home or garden.
I can’t remember the last time we hosted… perhaps late November of 2019? Regardless, I’m eager to get back to it. In the meantime, I’m resharing this informal-meets-traditional tablescape I created for Food52 during a live broadcast, in the hopes it’ll provide some ideas for folks who are entertaining in small spaces this holiday season:
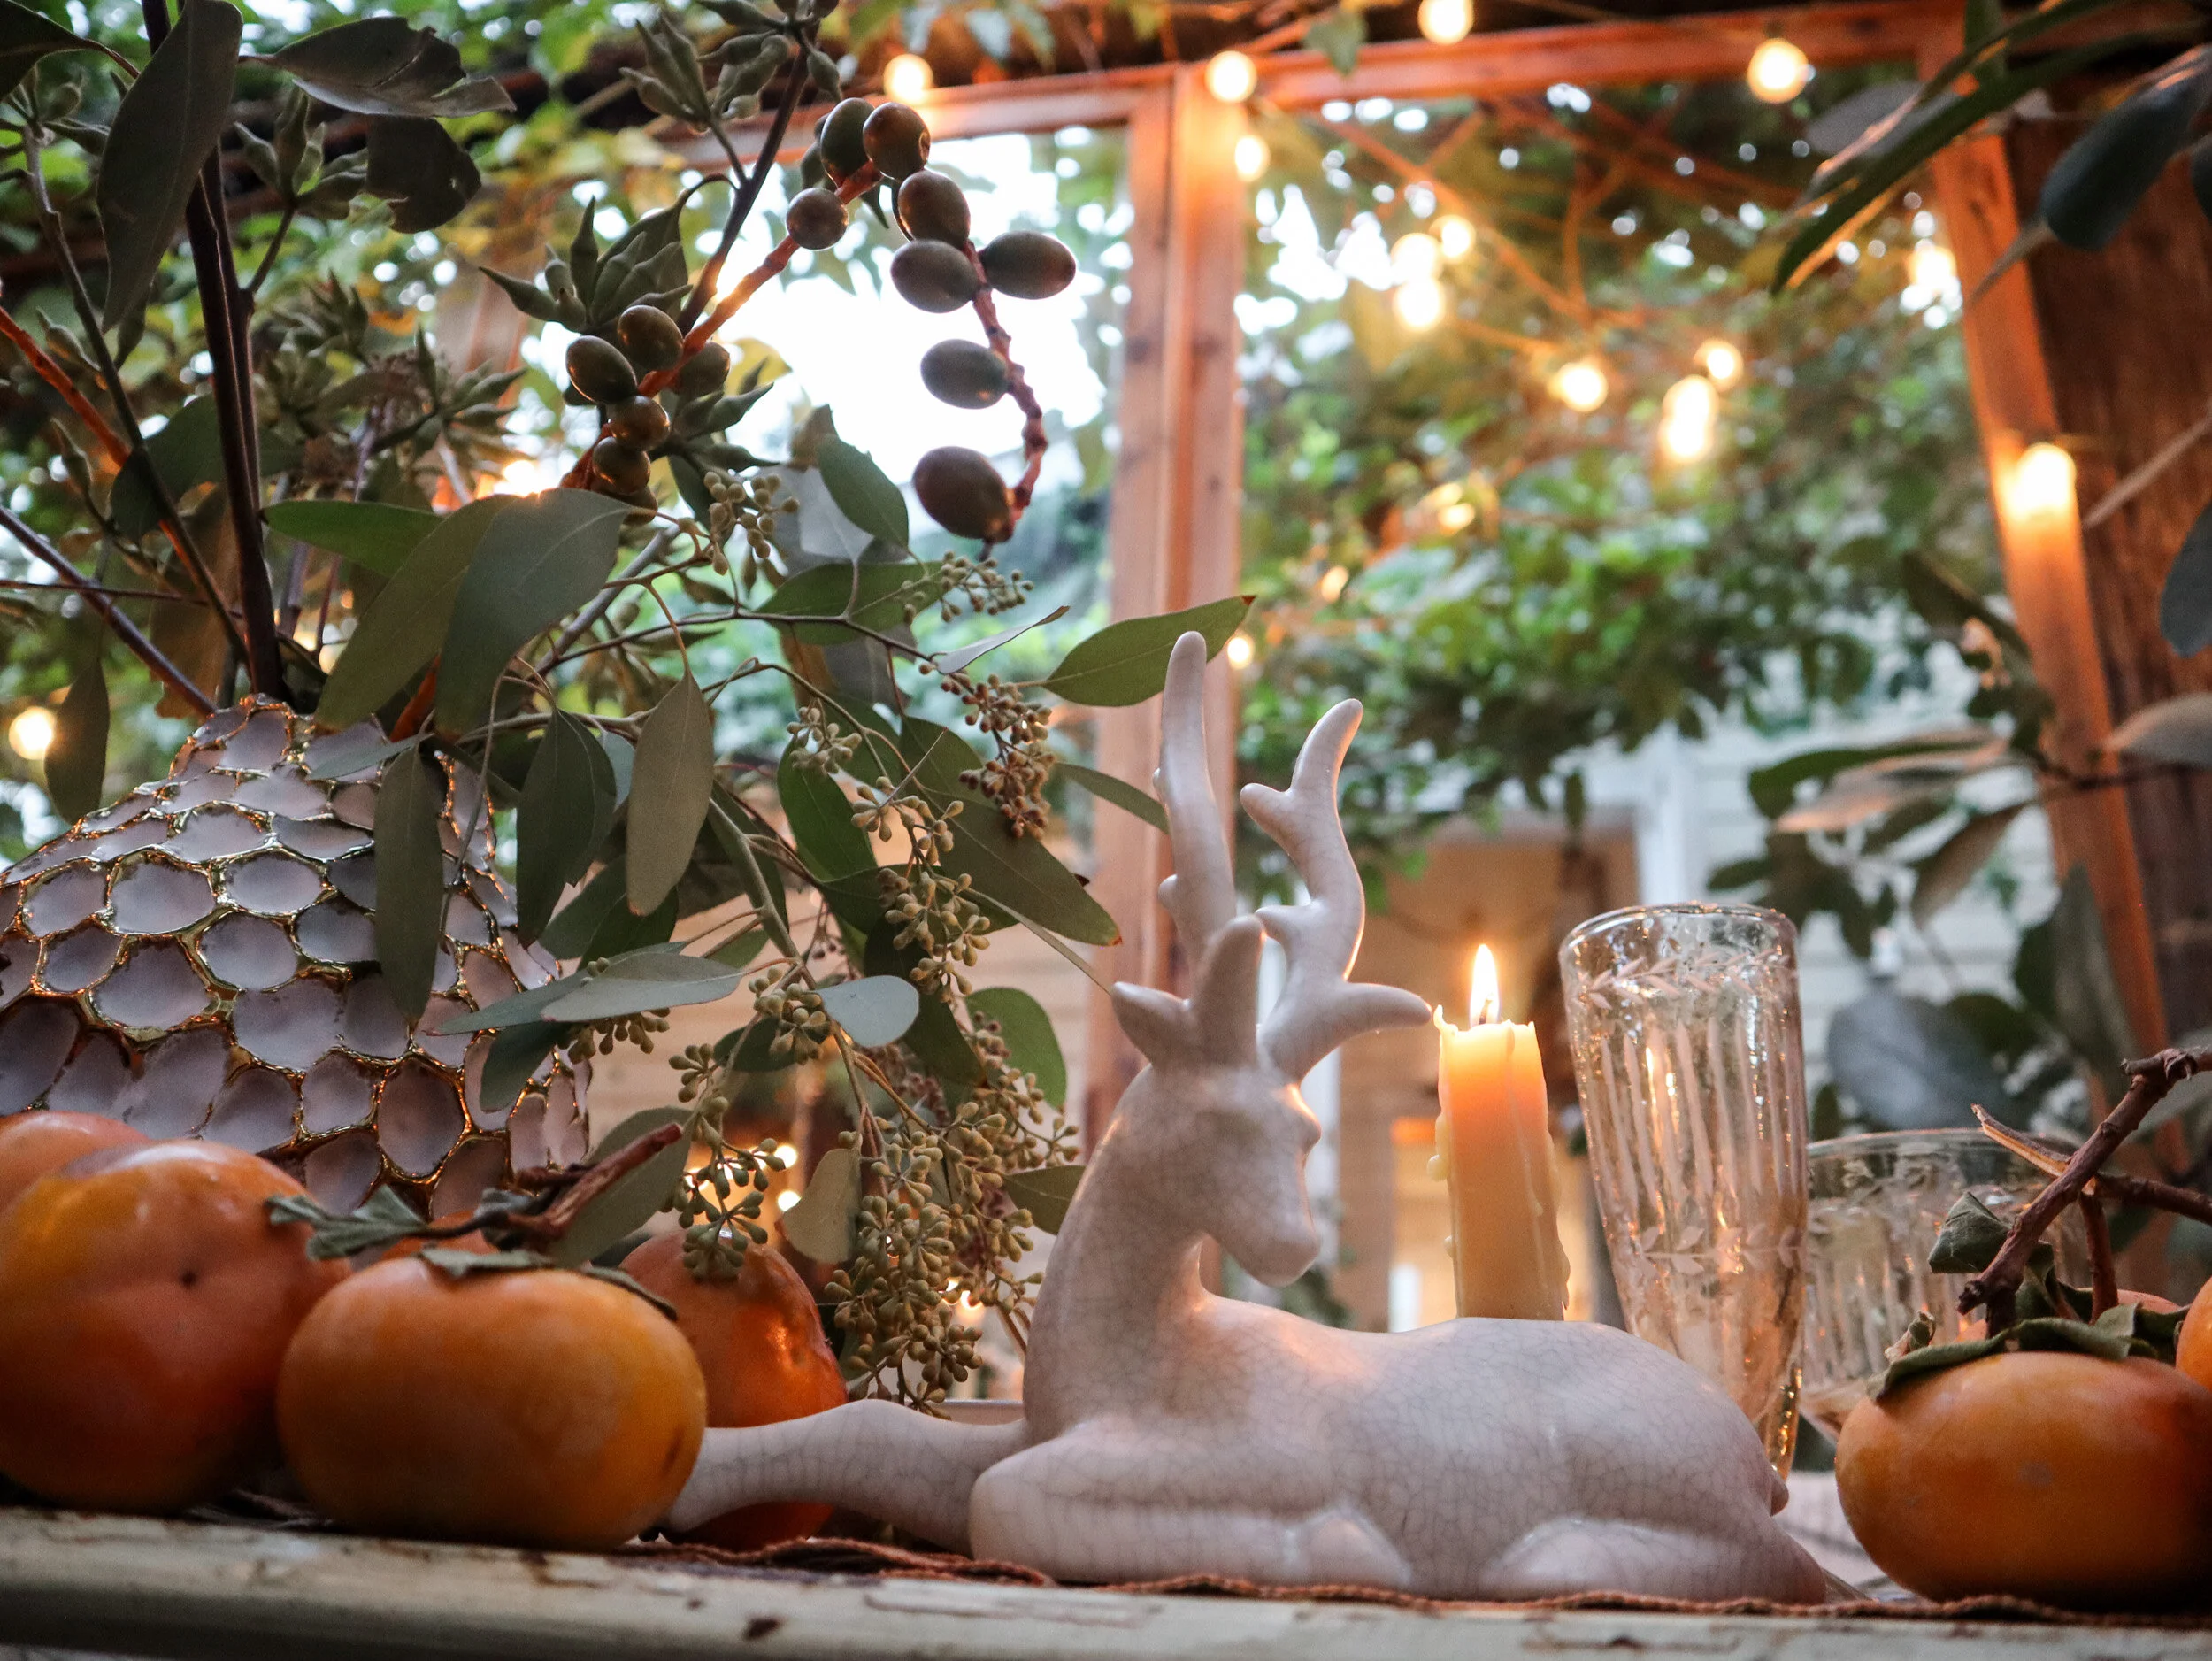


A Dramatic, Space-Saving Holiday Table
Creating a space-saving, dramatic, festive table of live greenery for the holidays.
(Originally posted in 2019)
Gathering with friends and/or family around a table in a small home or apartment can be such a uniquely intimate experience. But during the holidays— when we tend add extra decorative touches and welcome more people to the table than usual— surface space needed for tabletop essentials can suddenly become extra challenging to preserve.
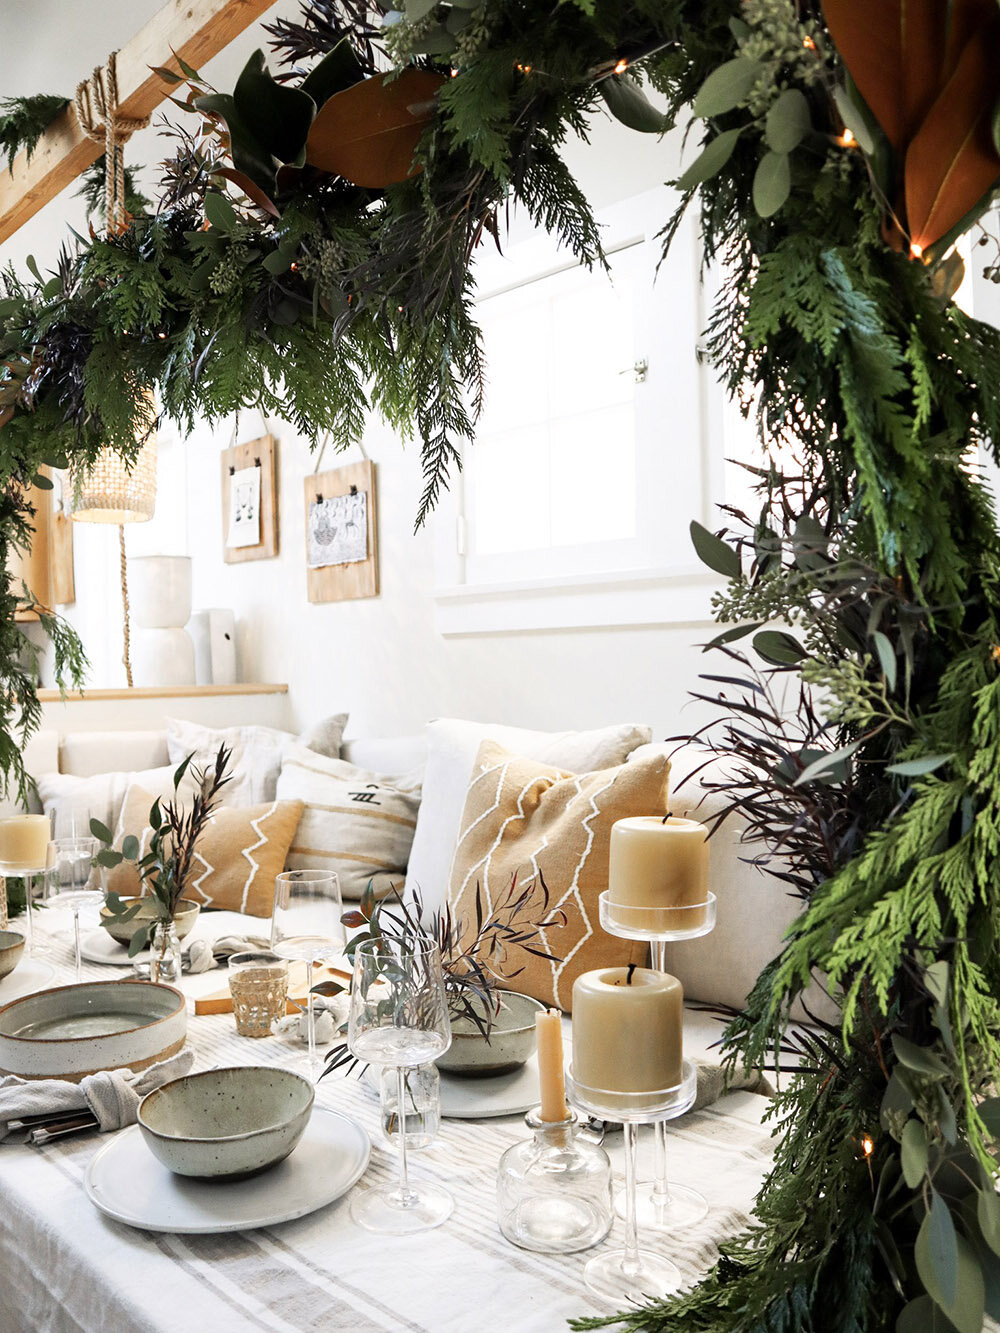
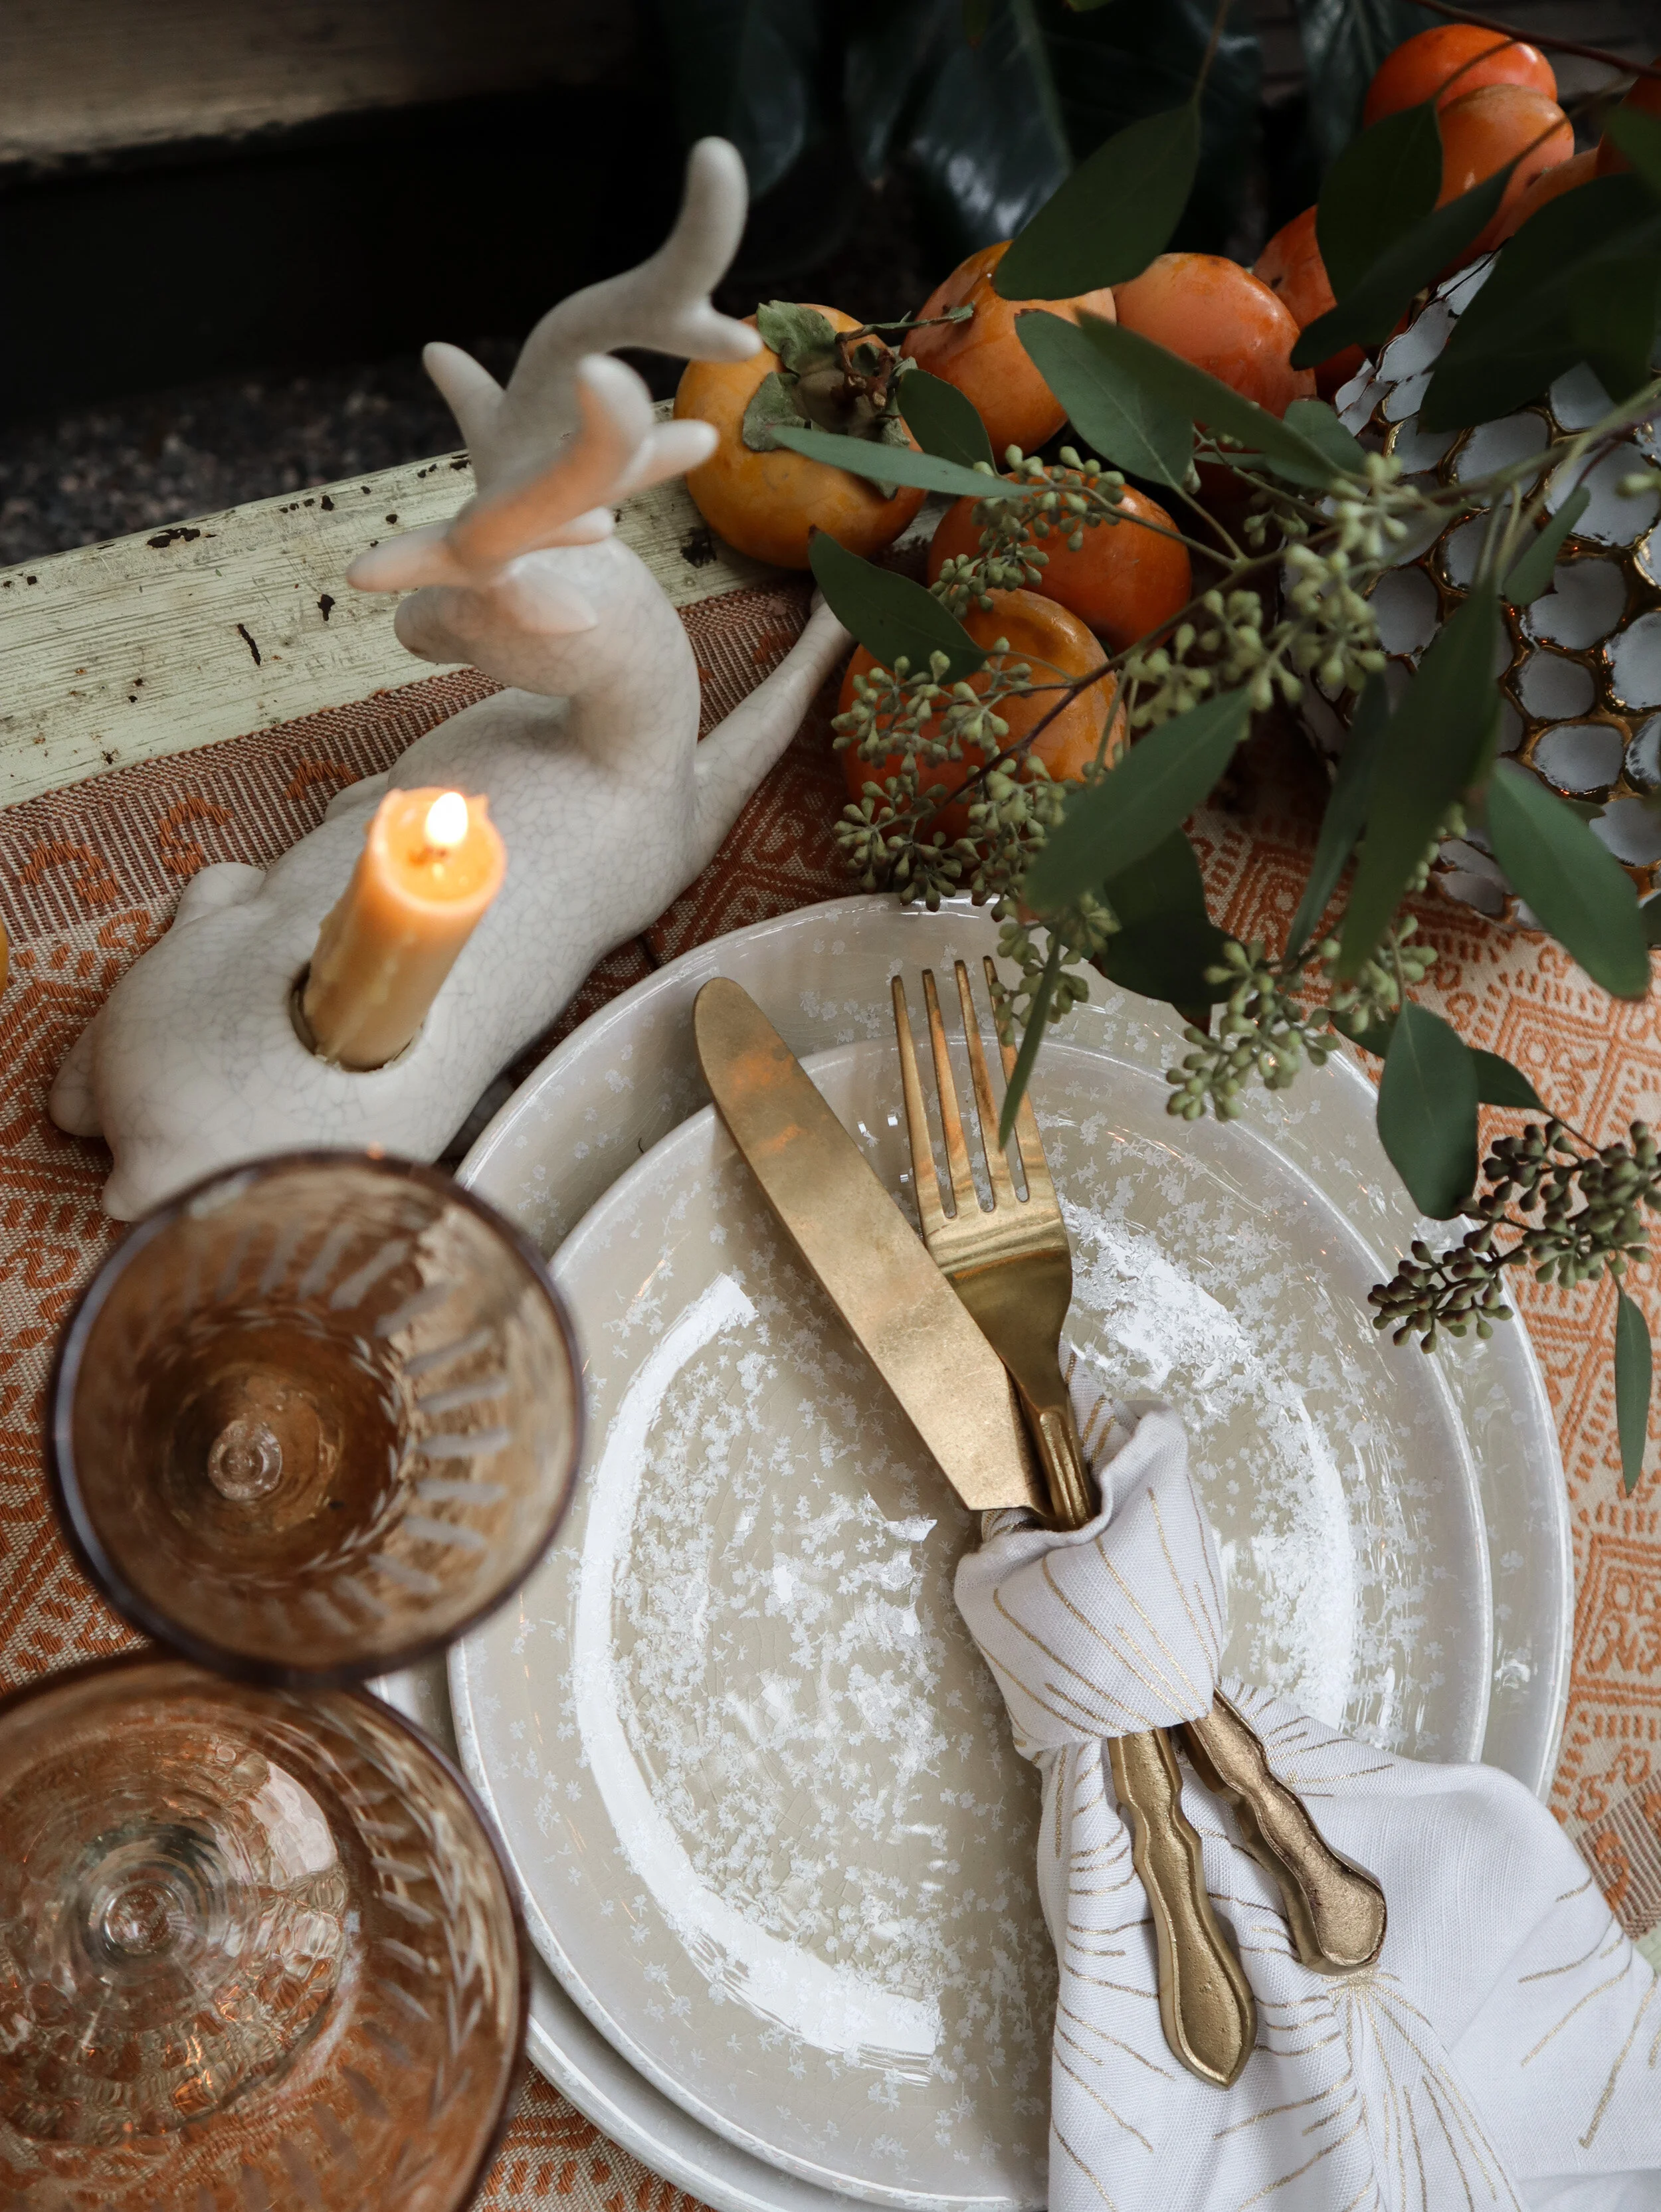
Certain items can help with this, such as rectangular plates and pedestal/cake stands. (Skipping some of the superfluous things you don’t need, such as napkin rings, chargers and placemats can save inches as well.) But if you want to add some wild branches or lush floral/greenery/dried bouquets to your table, you might be out of luck. As such, I wanted to demonstrate an easy, low waste way to add striking decor to your table without sacrificing your dining surface. (I also offer up additional suggestions in my book: Small Space Style.)
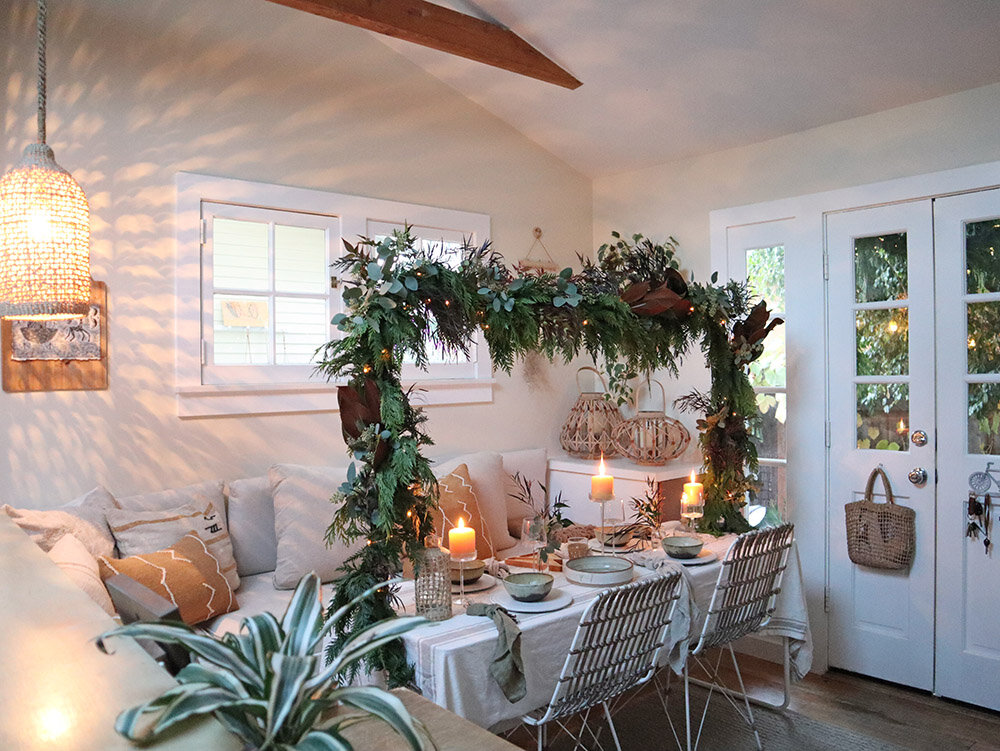
This display cost me about $150. I bought the garland and branches from a local shop, and used an over-the-table adjustable iron rod and battery operated twinkle lights (with rechargeable batteries) to create an overgrown and glittering display indoors. (I used real candles for the photos, but swapped them out for battery operated versions for safety after we snapped the images.) A bit of floral wire (and a vacuum) were the only other items I needed to attain the look.


Setting up the iron display rod took only a few minutes. The height is fixed, but the width is adjustable. When the setup is no longer needed, it breaks down easily for slim storage.

I used all living branches and clippings, so everything can be composted when the time comes.


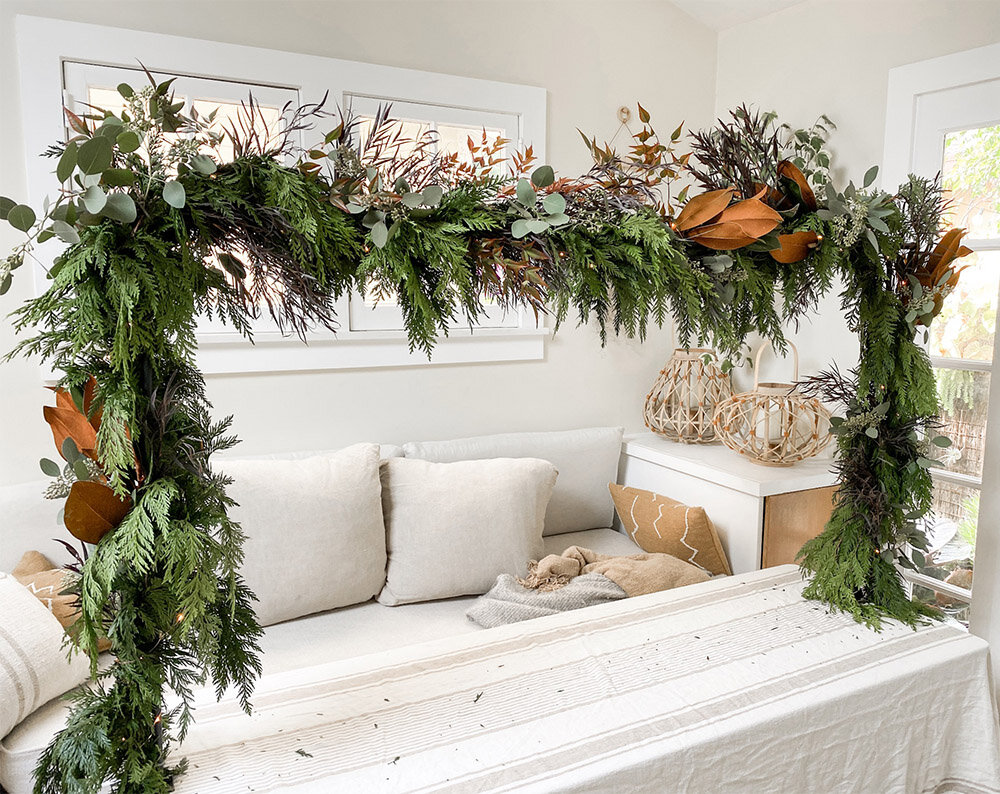
Adding the clippings to the garland took the longest, but was simple enough.

The entire process took about 90 minutes, and it was a surprisingly relaxing activity for me.

I (still) don’t really cook, nor do we host that often these days, so I enjoyed going out of my way to do something special for the guests we’ll have over in the coming days.

I’ll share a small space, low waste holiday decor video and post in early December.


In the meantime, I’m looking forward to spending time with our friends and family here at home. (And I’ll be following along with The Conscious Kid for insights and information regarding Native American Heritage Month.)

Whatever you and yours are doing this holiday, we wish you a safe and happy long weekend.

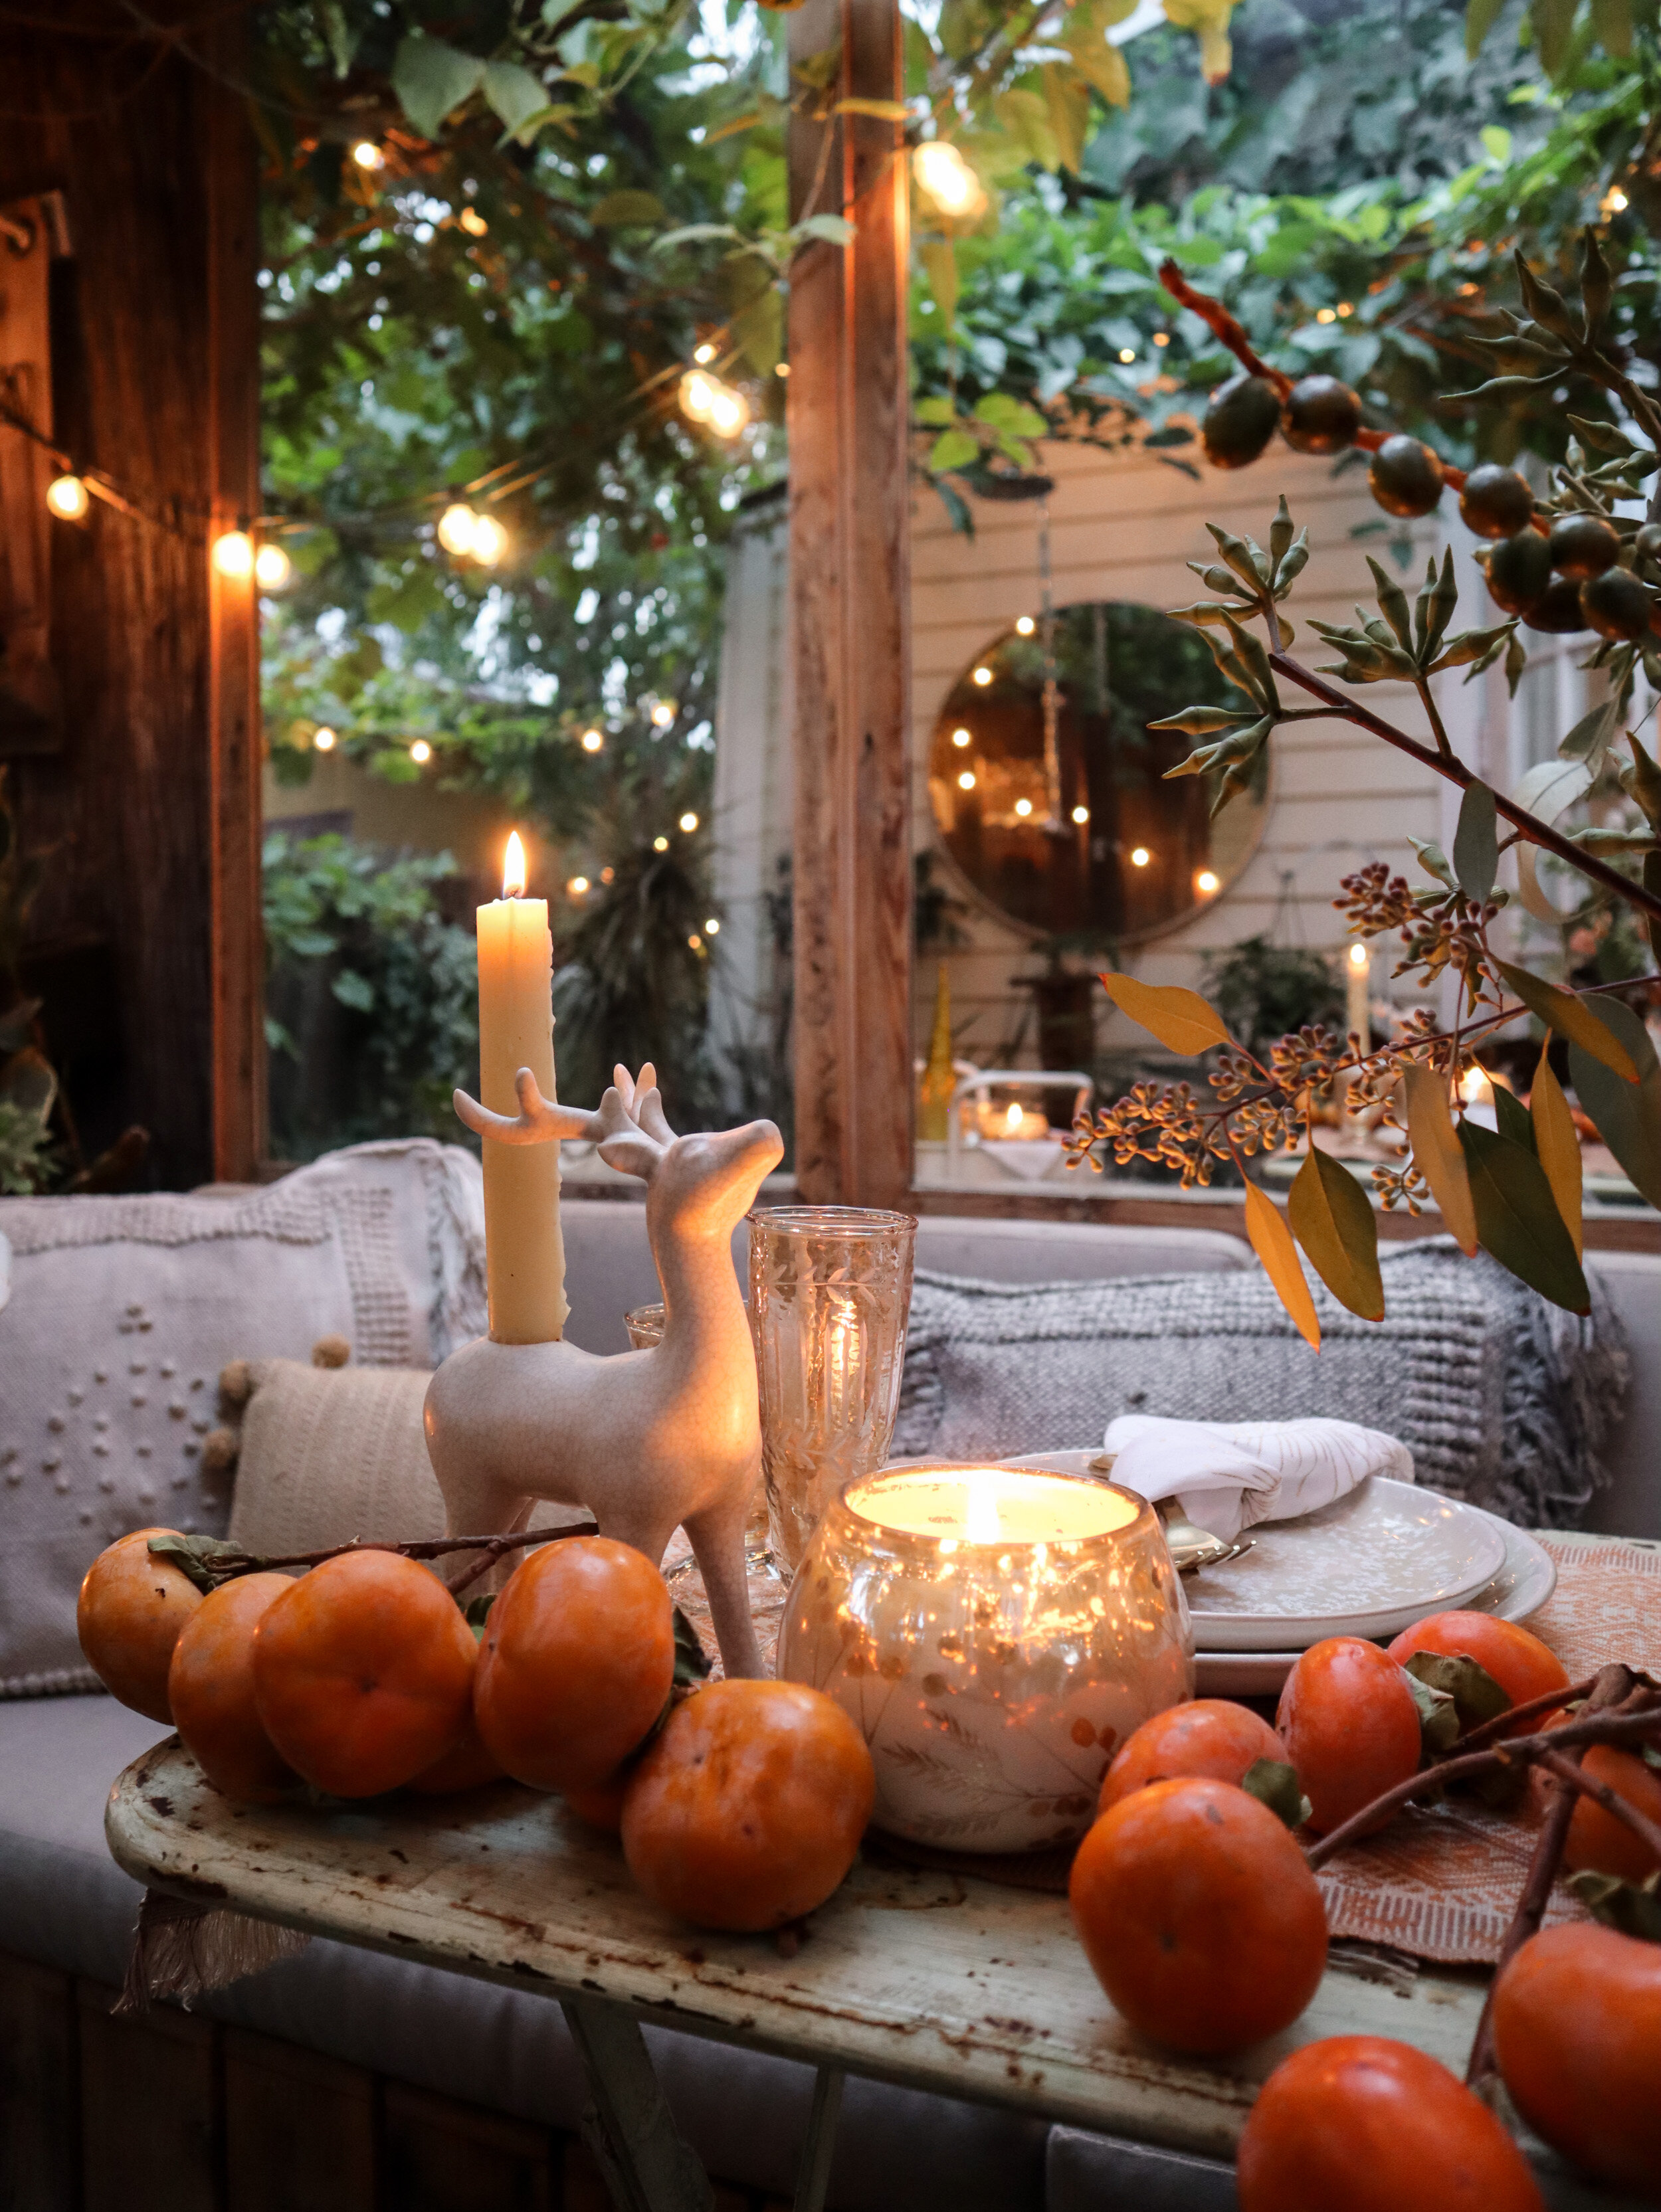
A Traditional-Meets-Informal Holiday Table
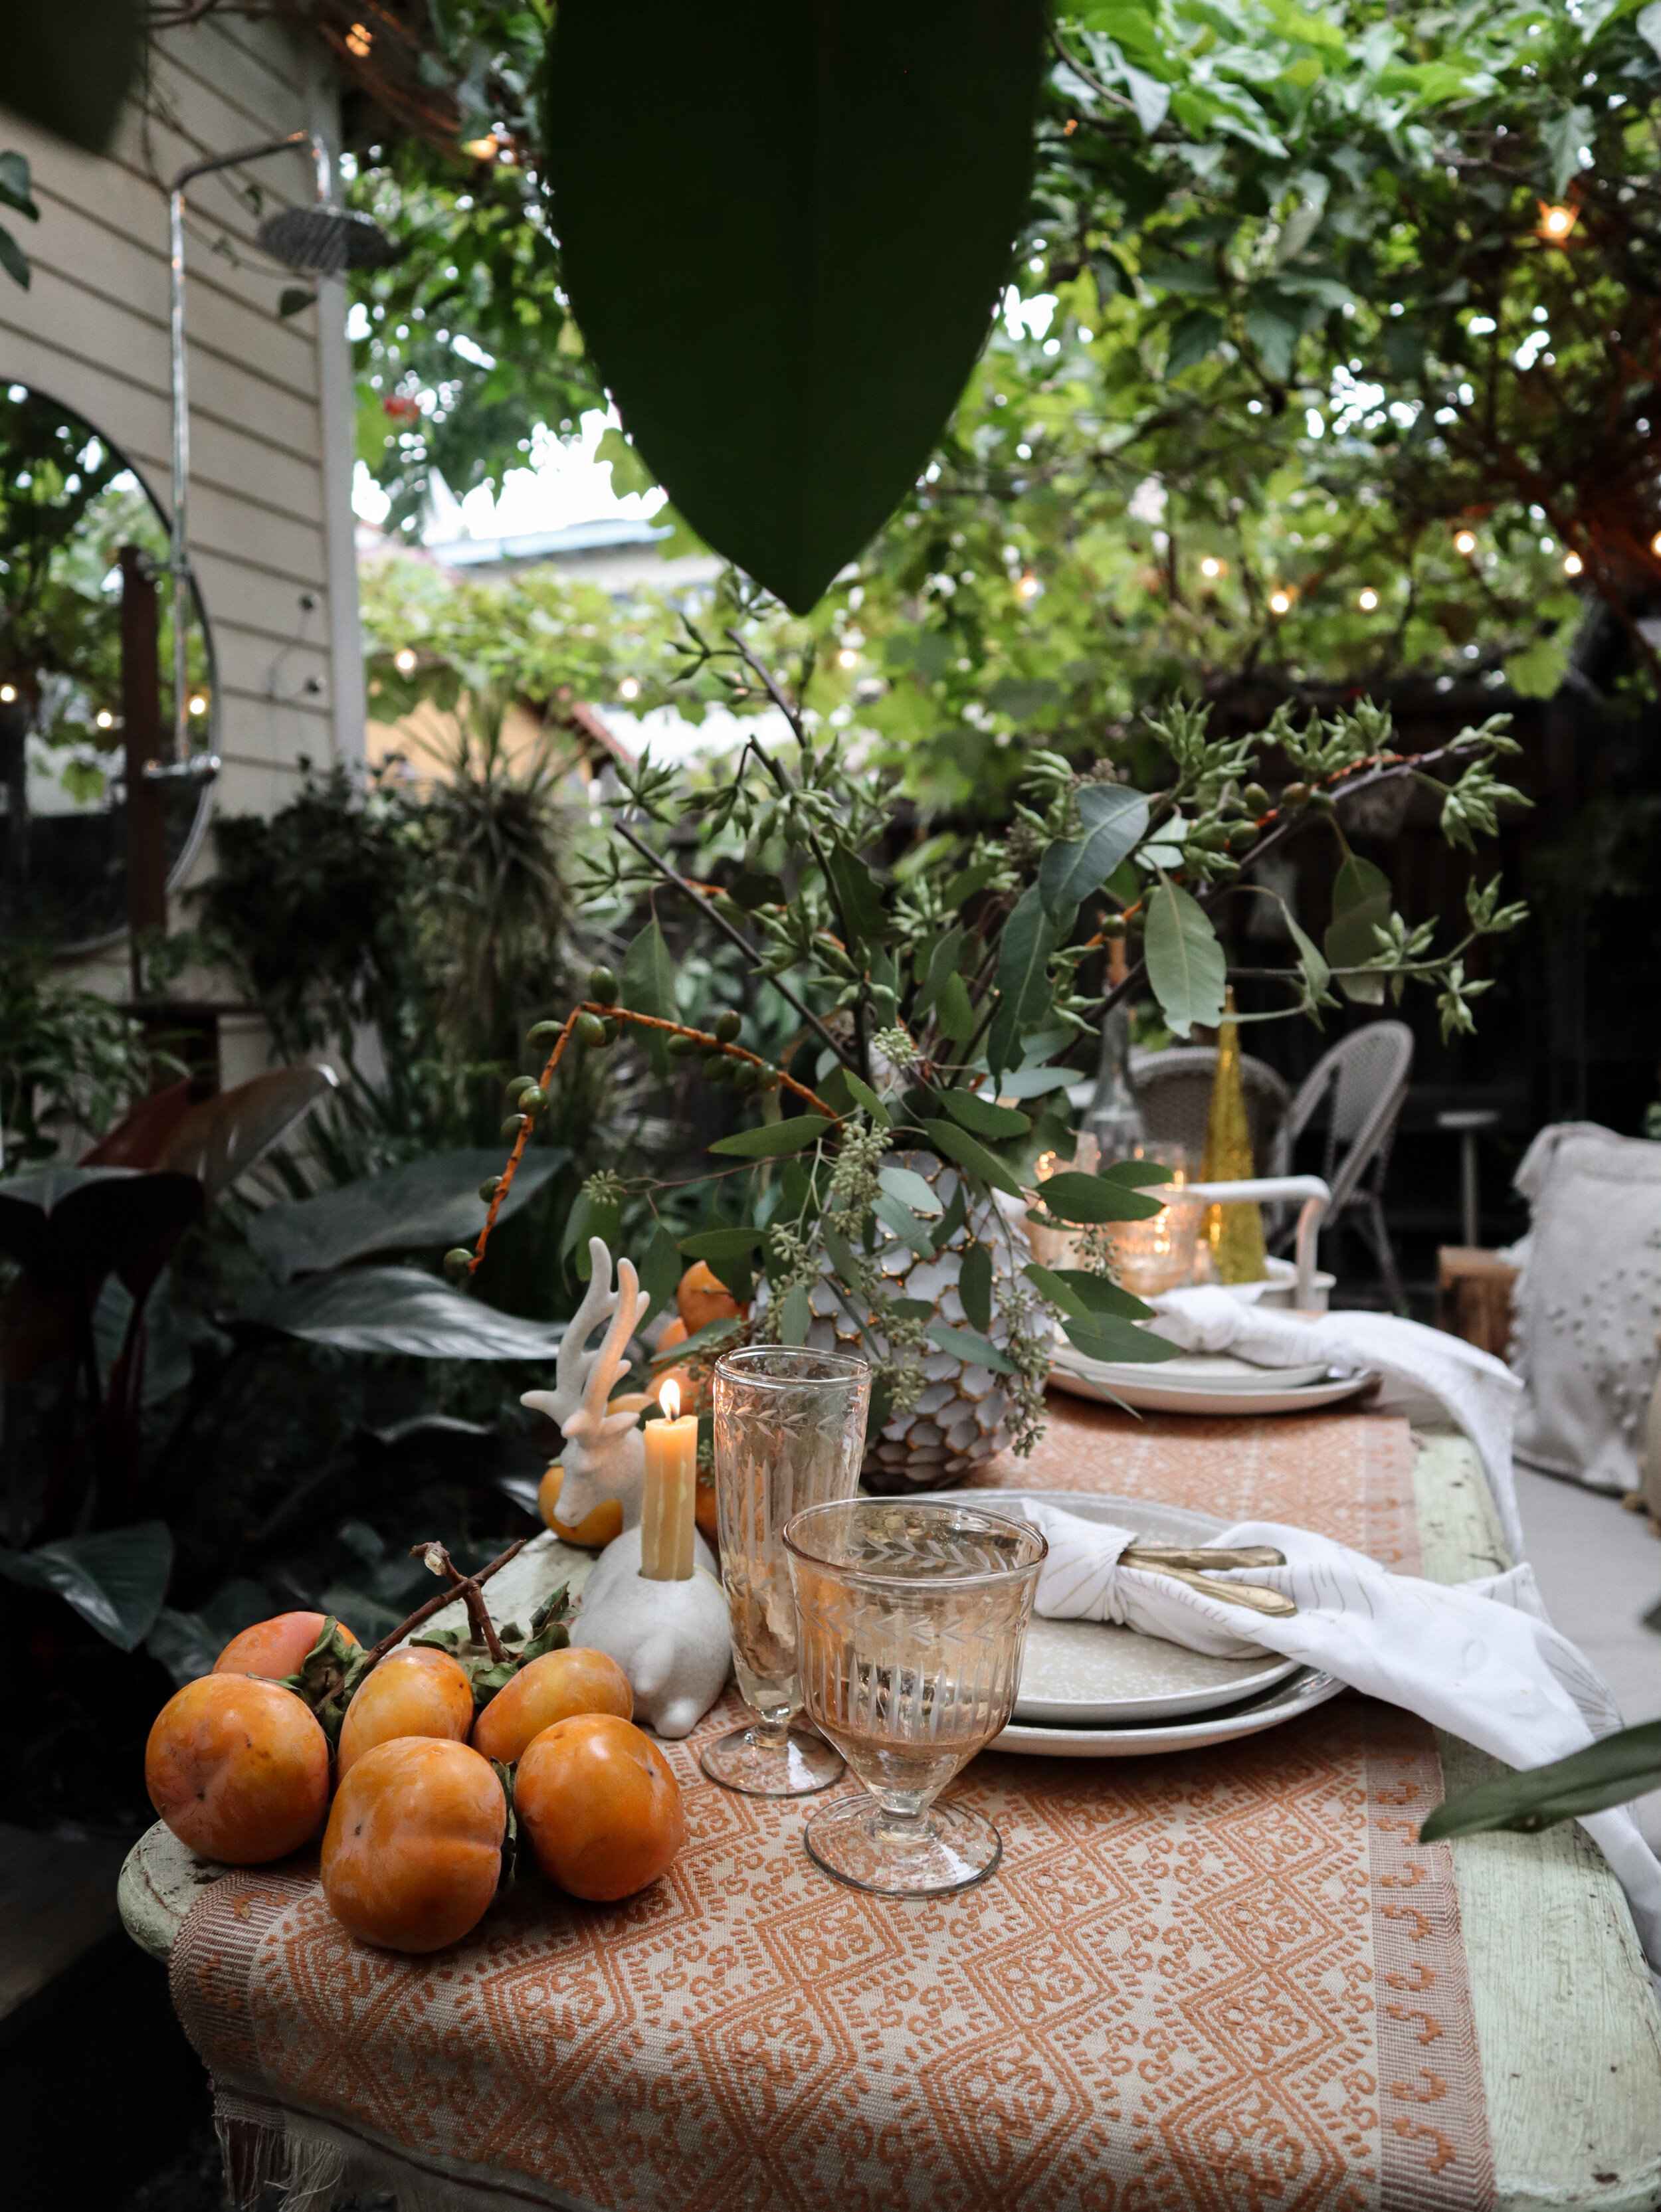
As a way of showcasing some informal-meets-traditional tablescape ideas for this holiday season during which we’ll be sheltering-in-place, Food52 invited me to do LIVE broadcast in which I styled this lil’ vintage garden table at the cottage for their online community. Photos below:

(Click here to view the IGTV LIVE video via Food52.)

Festive, Outdoor Vibe for Indoor, Small Space Dining
Gathering with friends and/or family around a table in a small home or apartment can be such a uniquely intimate experience. But during the holidays— when we tend add extra decorative touches and welcome more people to the table than usual— surface space needed for tabletop essentials can suddenly become extra challenging to preserve.
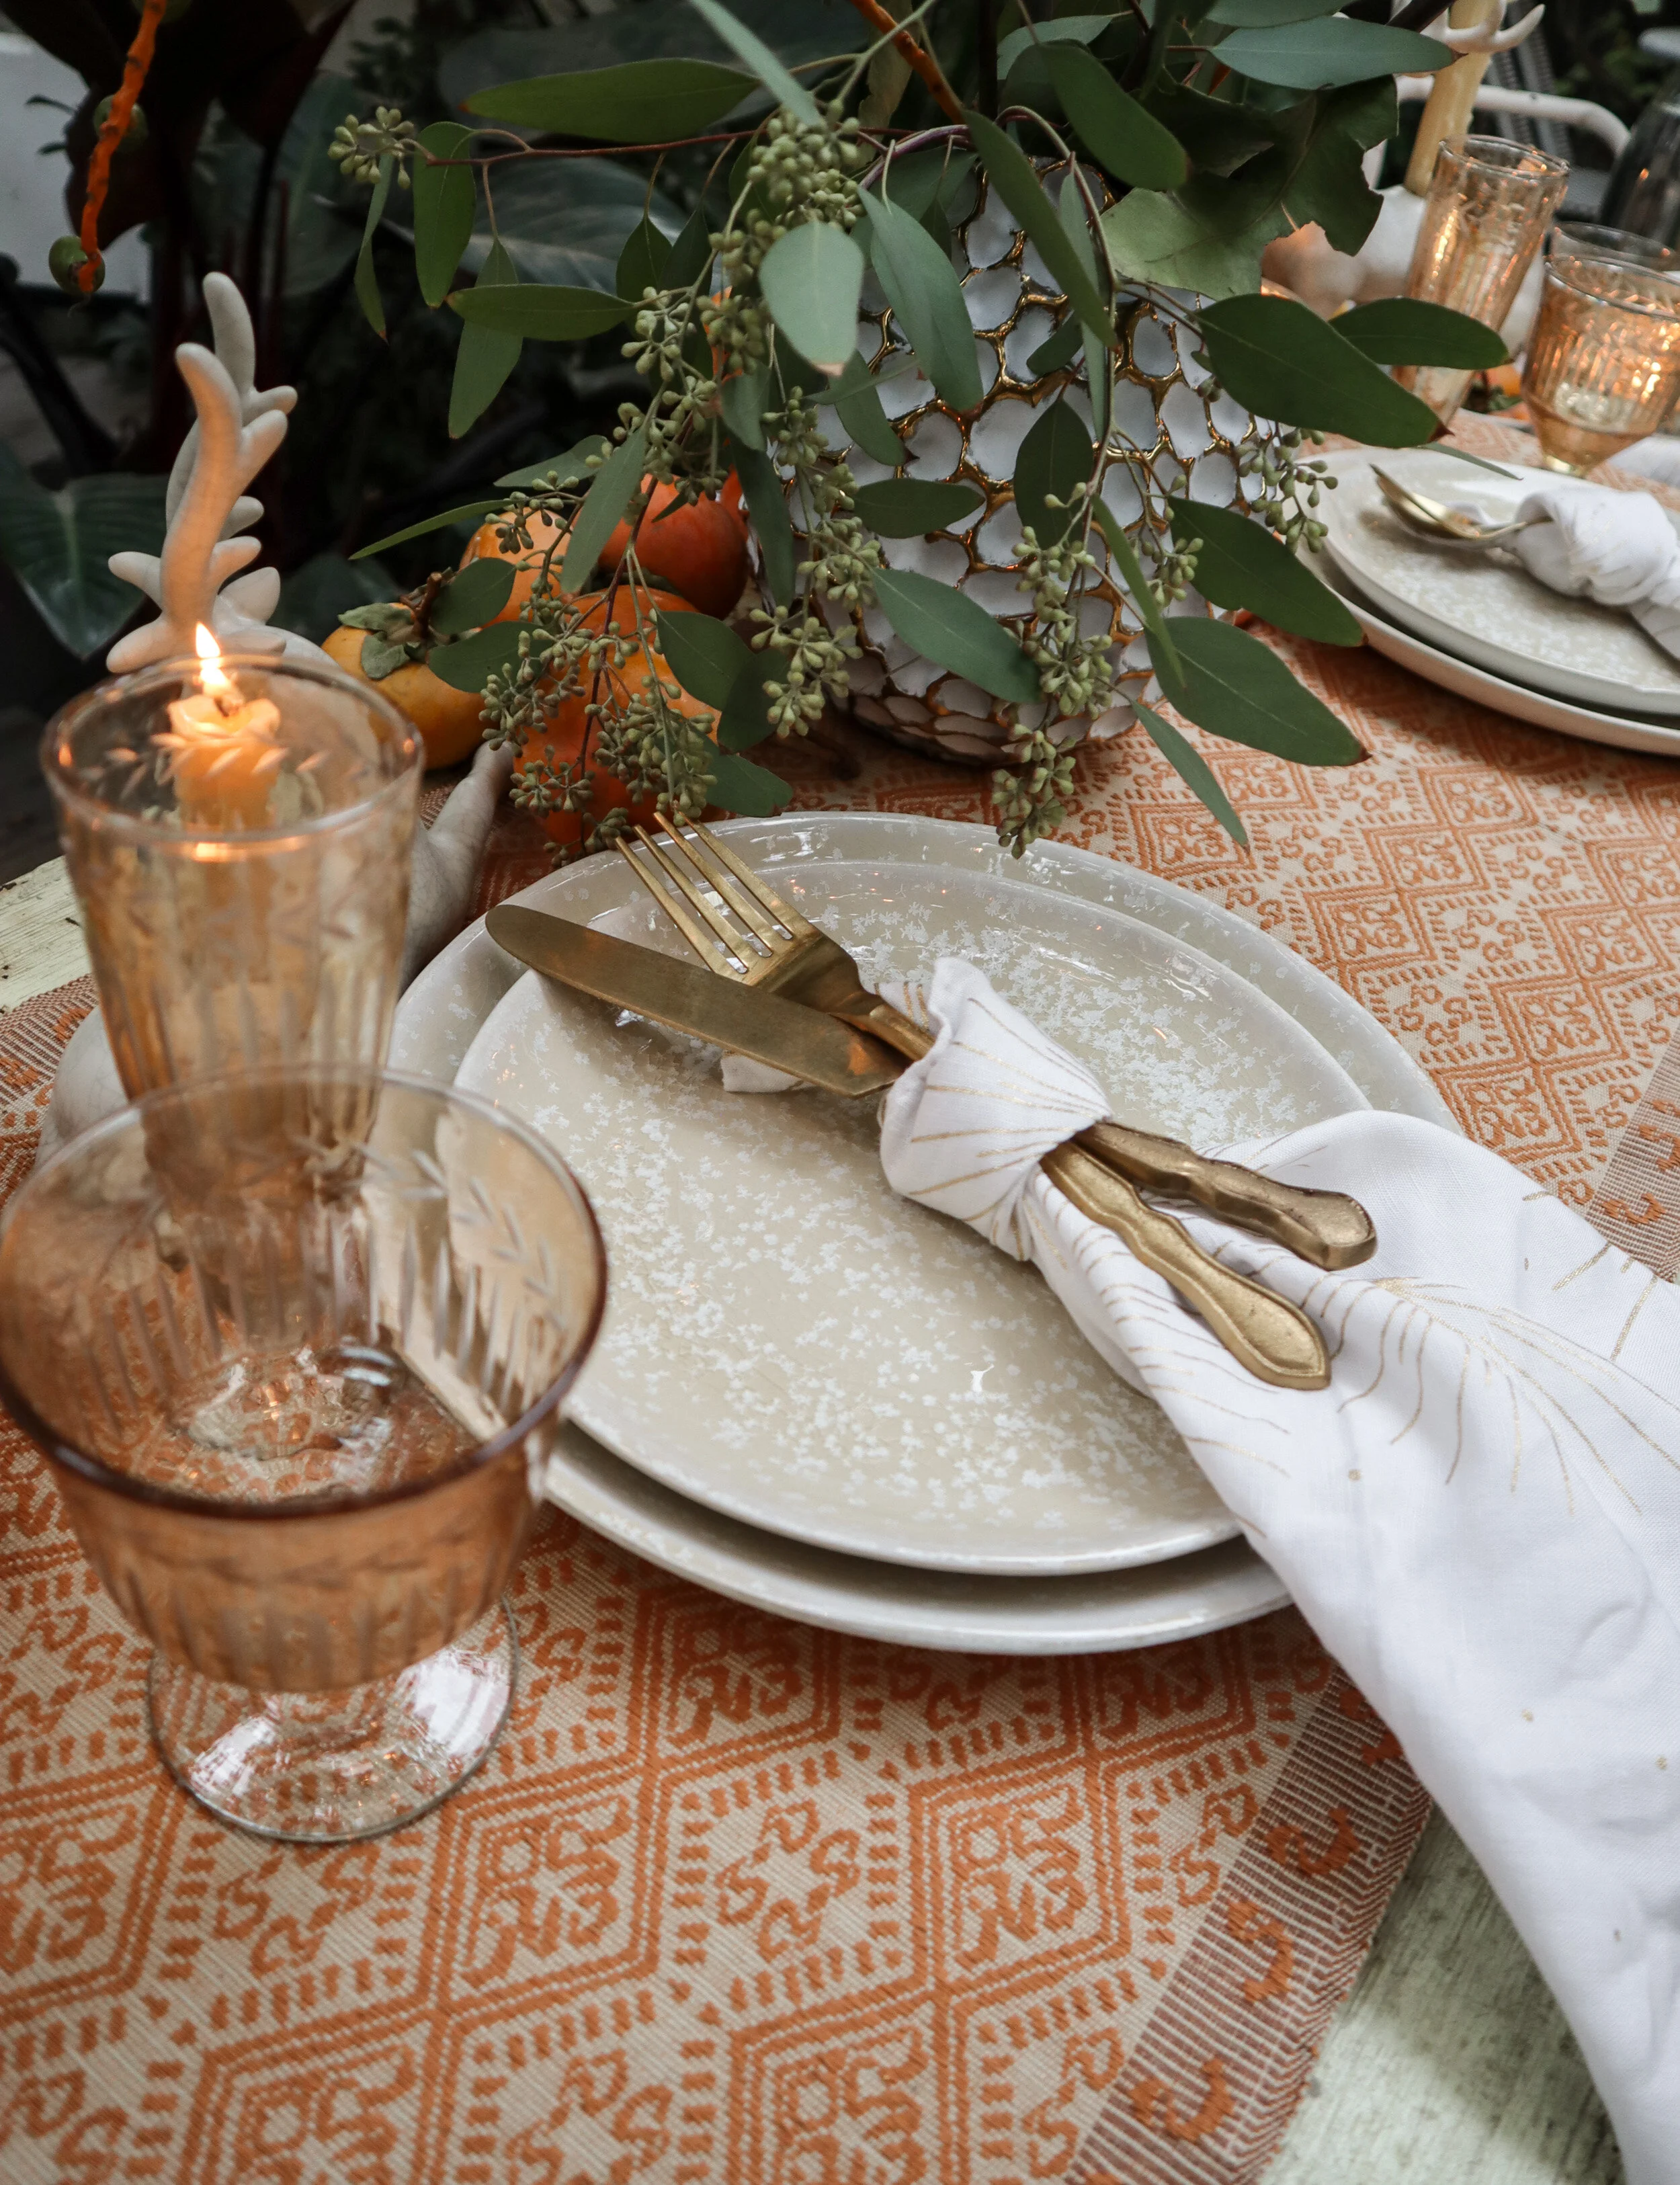
Certain items can help with this, such as rectangular plates and pedestal/cake stands. (Skipping some of the superfluous things you don’t need, such as napkin rings, chargers and placemats can save inches as well.) But if you want to add some wild branches or lush floral/greenery/dried bouquets to your table, you might be out of luck. As such, I wanted to demonstrate an easy, low waste way to add striking decor to your table without sacrificing your dining surface. (I also offer up additional suggestions in my book: Small Space Style.)
This display cost me about $150. I bought the garland and branches from a local shop, and used an over-the-table adjustable iron rod and battery operated twinkle lights (with rechargeable batteries) to create an overgrown and glittering display indoors. (I used real candles for the photos, but swapped them out for battery operated versions for safety after we snapped the images.) A bit of floral wire (and a vacuum) were the only other items I needed to attain the look.
Setting up the iron display rod took only a few minutes. The height is fixed, but the width is adjustable. When the setup is no longer needed, it breaks down easily for slim storage.
I used all living branches and clippings, so everything can be composted when the time comes.
Adding the clippings to the garland took the longest, but was simple enough.
The entire process took about 90 minutes, and it was a surprisingly relaxing activity for me.
I (still) don’t really cook, nor do we host that often these days, so I enjoyed going out of my way to do something special for the guests we’ll have over in the coming days.
I’ll share a small space, low waste holiday decor video and post in early December.
In the meantime, I’m looking forward to spending time with our friends and family here at home. (And I’ll be following along with The Conscious Kid for insights and information regarding Native American Heritage Month.)
Whatever you and yours are doing this holiday, we wish you a safe and happy long weekend.