
Compact Drying Solutions
To anyone in a standard size home, the topic of compact drying solutions might seem absurd. But small-space dwellers will know what I mean when I say that finding room to dry dishes, plastic bags, linens, etc. in tight quarters can be a struggle. How do you do it without making your home look like it's in a constant state of soggy chaos?
Between the baby bottles, reusable diapers, reusable cleaning rags, etc., the gross wet stuff piles up quickly here at the Cottage. For a while, Adam and I tried hanging loose items around the house. But since our space is so small, this meant that basically everywhere I looked I was reminded of housework-- plus it was an ugly sight. So I decided to find some quick and simple solutions to the problem.
IN THE KITCHEN
Drying Bottles, Plastic Bags, etc.
After having baby West, we realized why so many people use those Boon Grass drying racks. We don't have enough counter space for a traditional square version, but there are narrow options on the market as well. However, since there's so little spare space by the sink, we were always knocking into items and sending them tumbling over, where they'd get dirty once more. It took a month or so, but we finally found a mix of solutions that work well for us, and help us dry West's bottles and accessories, my pumping supplies, reusable plastic bags, glassware, towels, etc. We have a combination of the following:
Retractable Wooden Drying Rack (for clean bottles, etc.)
Narrow Glass Drainer / Tray (for the dirty bottles, etc.)
Paper Towel Holder Magnet (for the dish towels we use specifically on baby stuff)
Retractable Over-the-Sink Drying Rack (for food processor parts & larger clean items)
Wall Mounted Baskets (for the miscellaneous little, clean items, such as bottle caps)
Driftwood Accessories Hanger (to help keep baby / vase / cookware (etc) brushes organized and clean)
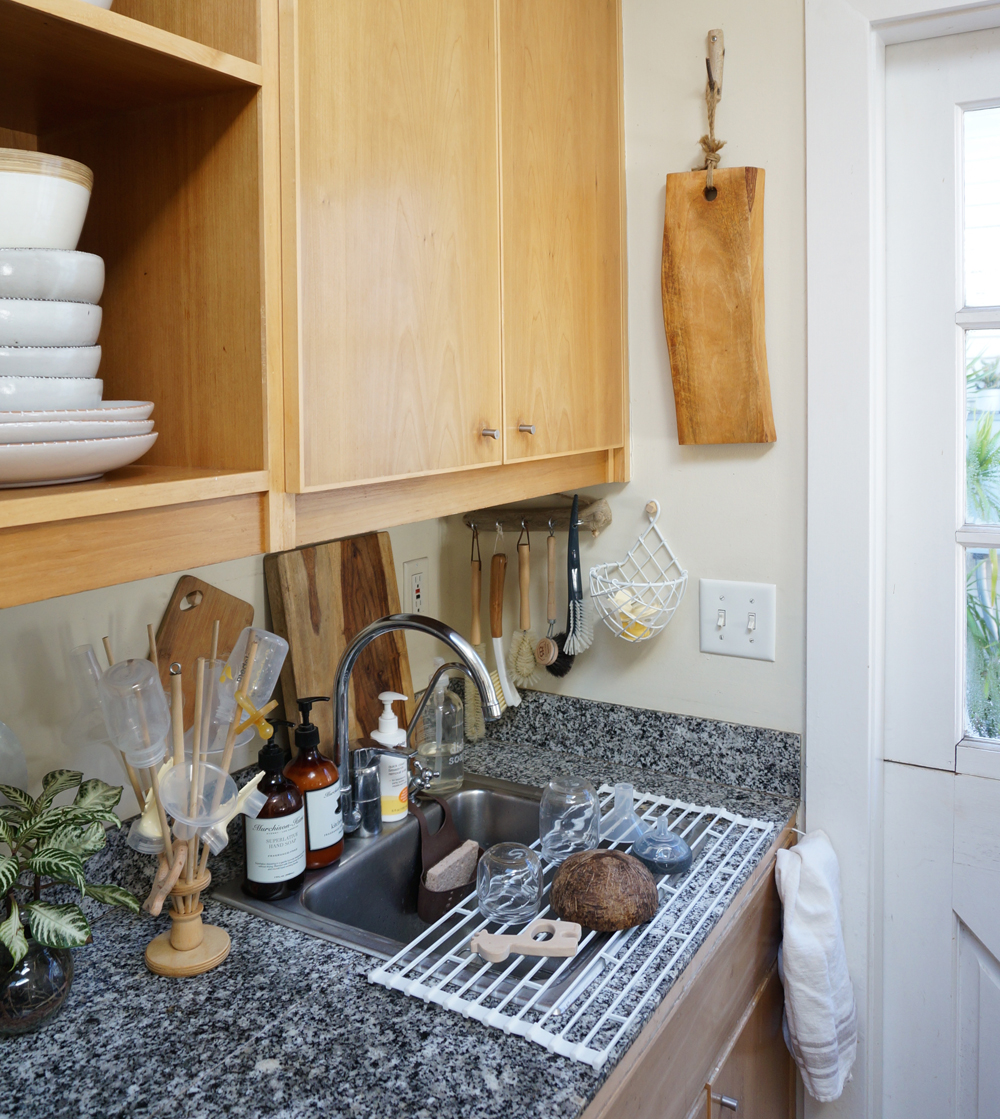
(I cannot wait to replace those countertops.)
This might seem like a lot, but we use each of these items multiple times per day here in our little home/office. The great thing is, the racks fold or roll up and easily when not in use, and can be stowed out of sight.
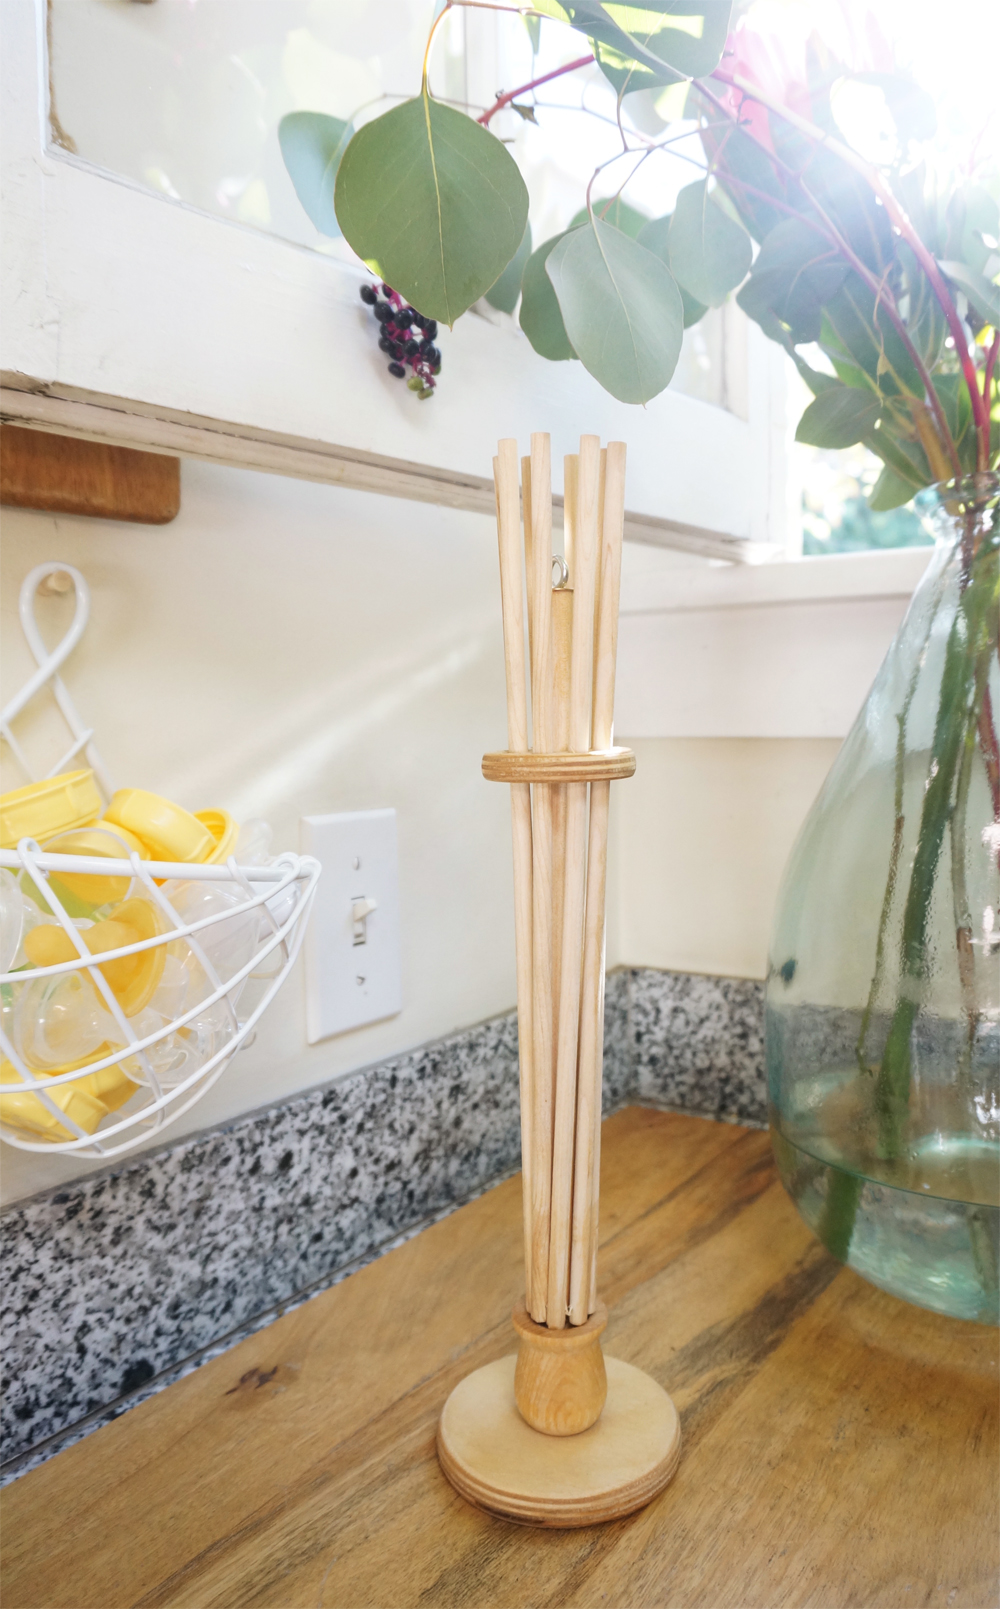

More small space storage tools. Strong magnets help our wooden coasters air out on the side of the refrigerator.
IN THE NURSERY
Drying Burp Cloths, Used Onesies, etc.
Our entire house looked like a clothing line during the weeks after West's birth. His garments, our clothes, and all of the other linens that got wet and needed a place to dry before being thrown into the hamper for the next round of laundry were draped over every surface possible.
To tame this mess, I simply attached a mesh multi-pocket caddy to the side of the baby's combination changer/bathtub table, and the problem was solved. Now the fabrics can stay in the open air until heading to the washer, without cluttering up our house.

IN THE BATHROOM
Drying Reusable Diapers & Cleaning Rags
We were warned by numerous people that there was no way we could make reusable diapers work in such a small space. But we've had no problem with it! We have a wonderful reusable diapering system by Grovia here at the Cottage. But here was the challenge: in such a small space, where would we place the dirty diapers while we were still actively changing the baby? And then where could we put the diapers after we'd rinsed them off, but before they got properly cleaned?
According to the Grovia website, "the surest way to ruin a diaper is to leave it soiled in a closed, dark, warm pail for several days before washing it. This environment is prime breeding ground for fungi and bacteria. Treat your diapers as you would your own clothing. Soiled diapers should be washed every 2 or 3 days according to manufacturer’s instructions."
The system that we came up is certainly not glamorous, but it's effective, keeps our surfaces clear, allows the fabrics to breathe while awaiting a full cleaning, and doesn't take up any valuable space. First we use an S-hook to attach a pail to the changing table (see the above photo). That pail holds the dirty diapers while we tend to West. After the baby's diaper is changed and he is safely relocated, we take the bucket to the bathroom and wash the soaker pad off. The rinsed, wet diaper then goes in a second bucket that is suspended from our narrow shower rod (see photo below), and from there it gets fully cleaned.
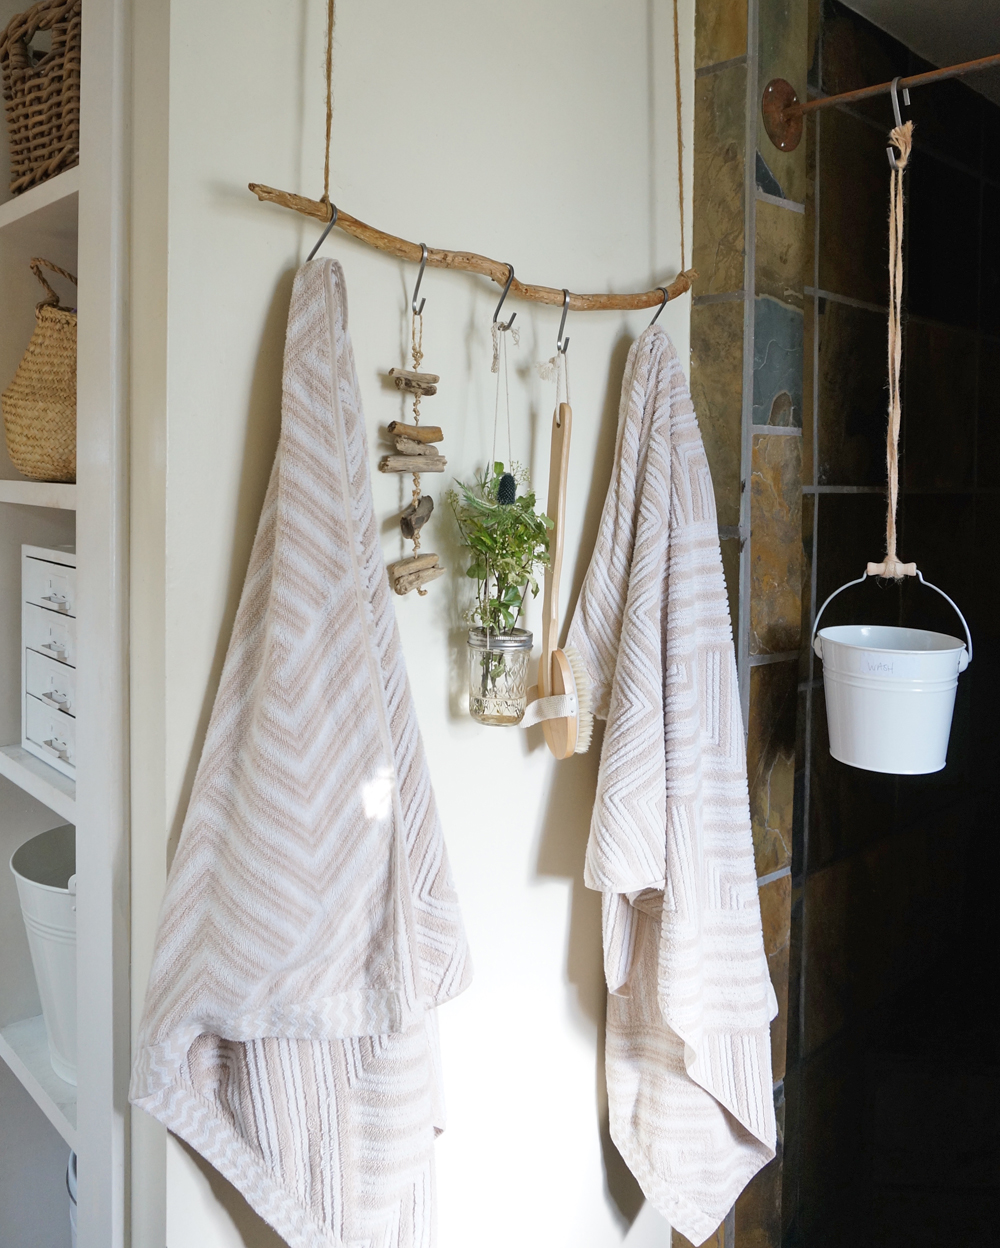
So that's how we make it work. I know it's not the most pin-worthy topic, but it's these sort of day-to-day hacks that make small-space living doable with a family!
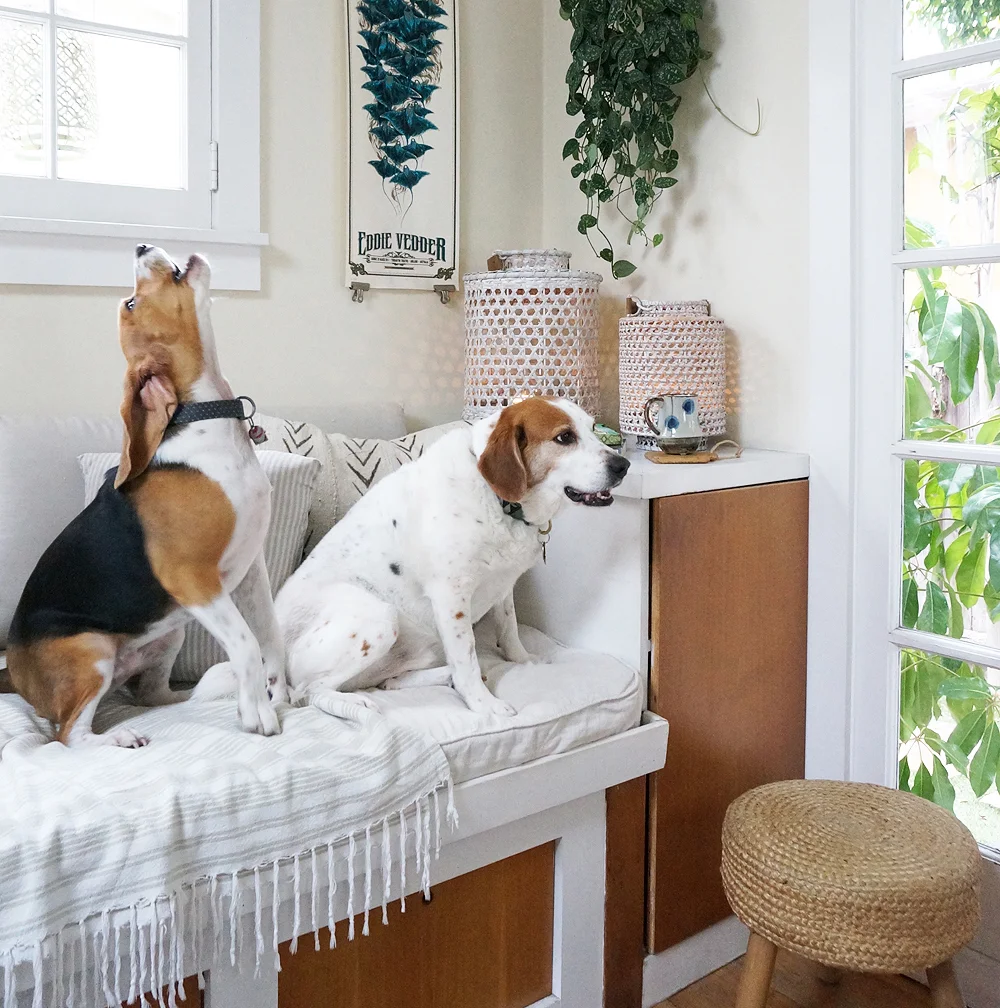
So. Much. Dog. Hair.
You know how my photos are always bright white and a tad bit over-exposed? Well that wasn't an artistic decision at the start-- it was a necessity. I had one dog at the time, Stanlee, and he sheds INSANE amounts of hair. When I first started sharing photos of the Cottage online, I spent hours photoshopping out the numerous, massive tumbleweeds of Stanlee's hair that are constantly gliding across our floor. I should've just left them in there (real life and all), but I didn't want to discourage anyone from adopting a dog. (Stanlee is a rescue, which I talk about often, as I'm big into the Adopt-Don't-Shop concept.) I quickly realized that if I just brightened up my photos a bit-- VOILA!-- the hair would almost completely disappear from the photos.

So many people write to me and ask if my dogs (#StubsandSoph) shed, and if so, how I handle it. For years I used a handheld vacuum. It was the only thing that fit easily into our home, and it's not hard to vacuum an entire tiny house with a mini-vac. That being said, it's definitely a pain to have to plug/unplug the machine in every section of the cottage, and all the hunching over kills your back. And of course I couldn't reach our vaulted ceilings with the handheld, so I would use paper towels on a long stick to reach cobwebs. CLASSY.
Adam kept saying we should get a Dyson cordless machine he'd seen somewhere, but I kept on insisting that there was no way a full-sized vacuum would fit in our house.
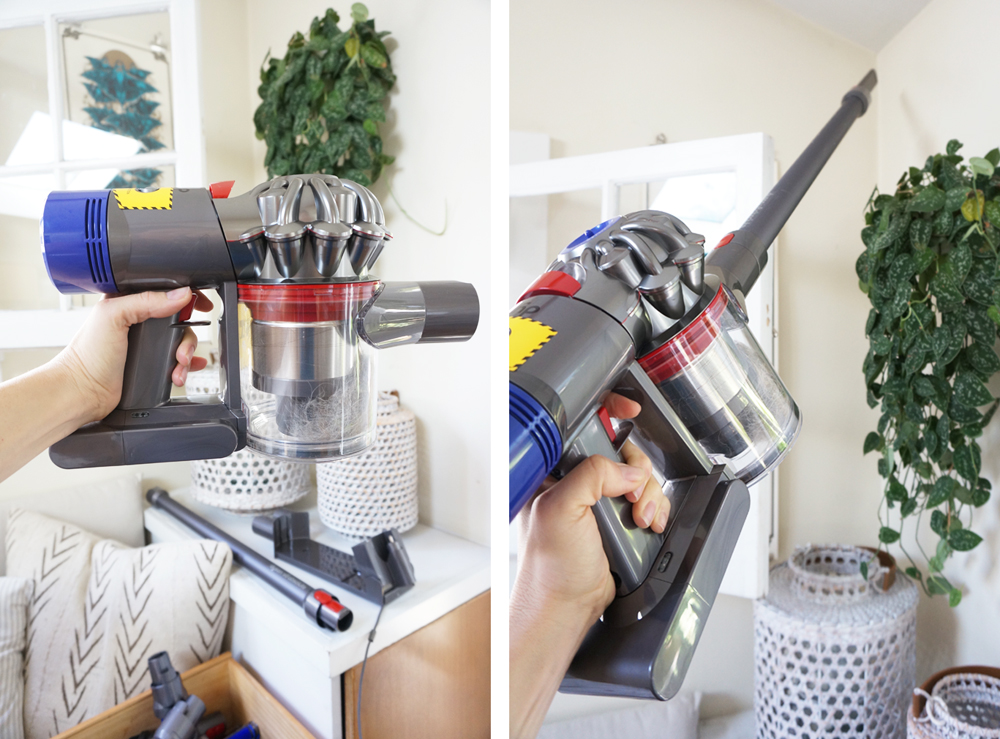
Then came baby West. Immediately the dog hair started getting all over West's clothes and toys (which all inevitably end up in his mouth). I finally gave into Adam's suggestion and got Dyson V8 Absolute. I have to say, I am a complete idiot for not getting it sooner. It's amazing. Here's why:
It breaks down into small components so I can stash it away in the living room. (Photos below.)
It's so quiet that West sleeps through it.
It's cordless, which makes it crazy easy to use. I vacuum several times a day now because it's such a breeze.
It can reach the vaulted ceilings, so I no longer have to use my classy Gandalf stick.
It really removes the hair, rather than just dragging it around in the nozzle, or scattering it about the floor via exhaust fans. (My handheld did both of those things, which was annoying.)
I genuinely recommend the V8 to anyone who lives in a small space and/or is battling with the drama of dog hair. (Now I just overexpose my photos so I don't have to clean my windows.😜)
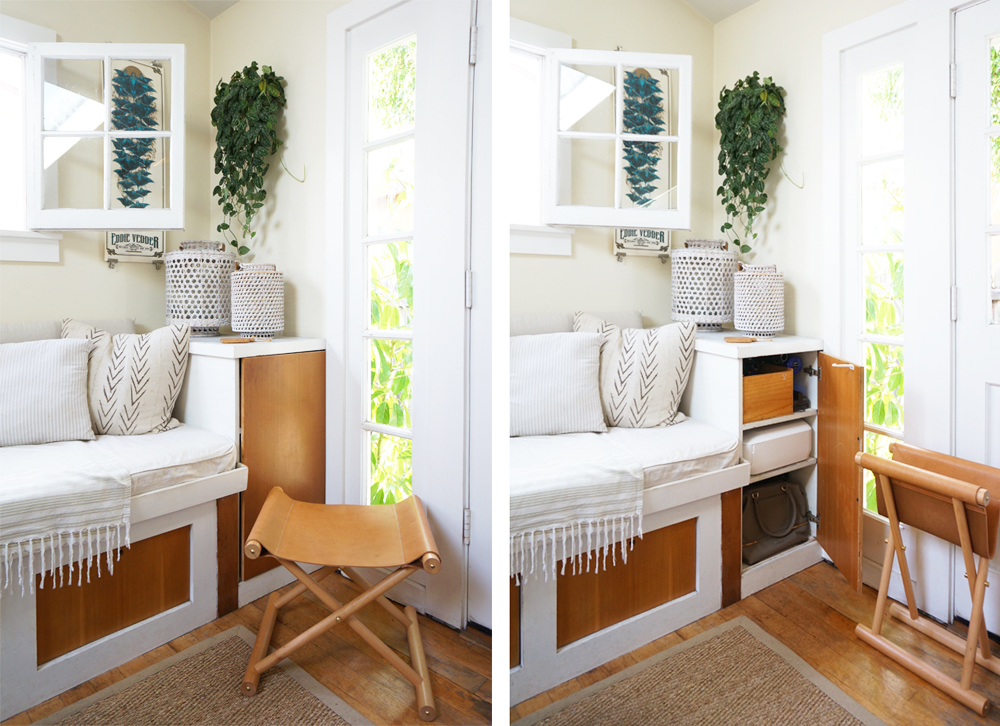
Resources: Folding Leather Stool and Tabletop Lanterns by Serena and Lily. Woven Boots by Frye.


Babywearing
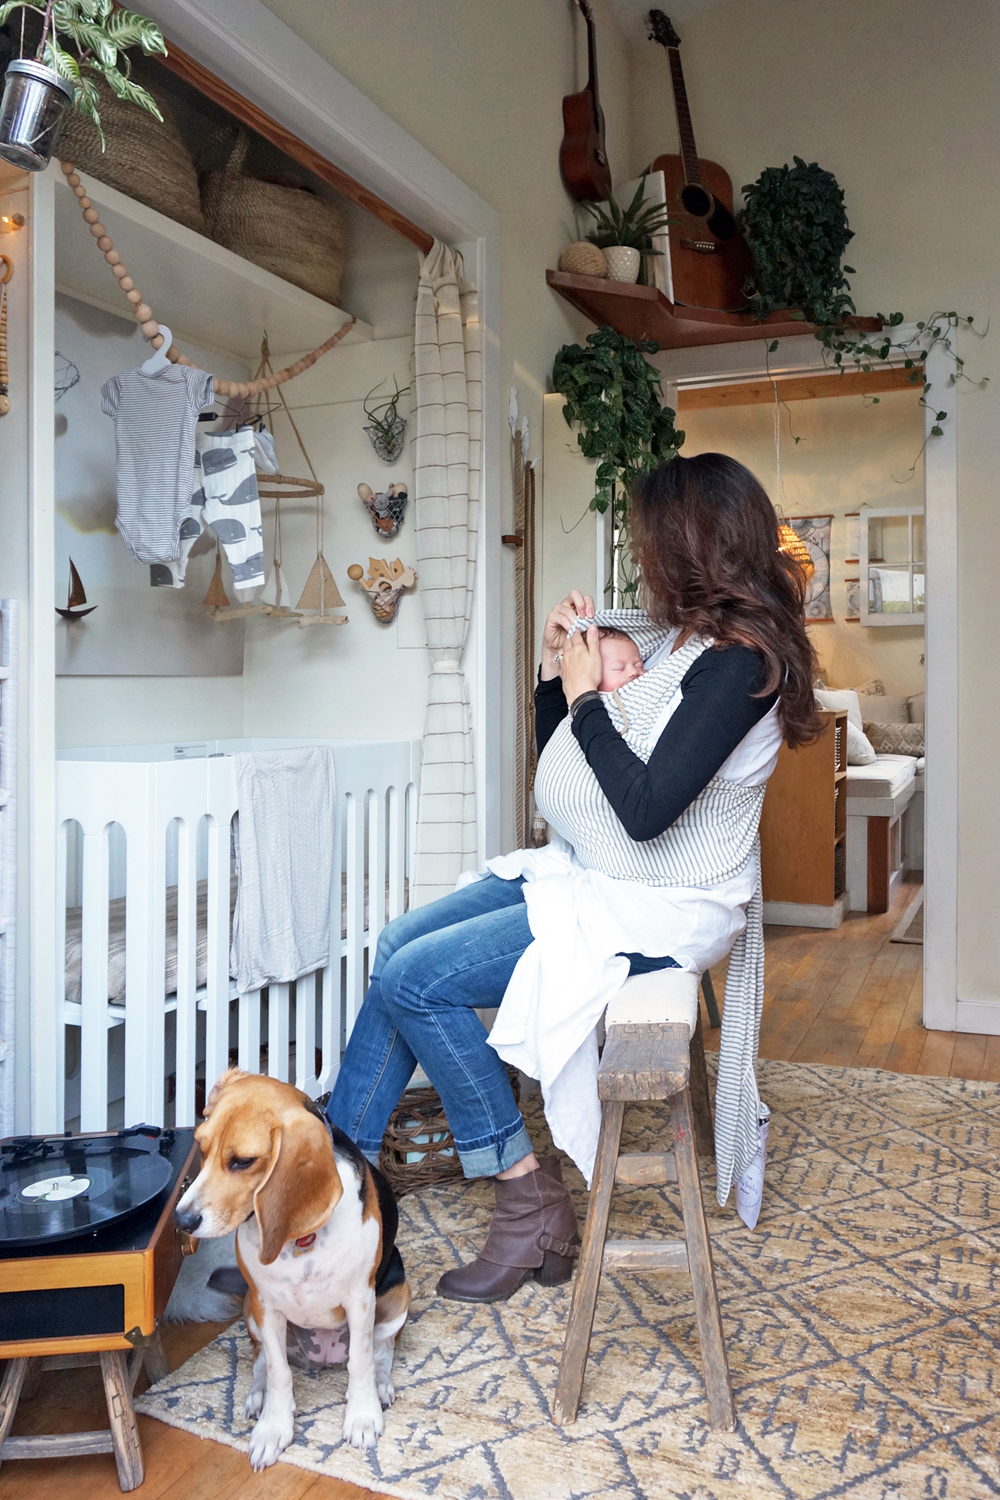
I'm a big fan of babywearing. It's not only great bonding time with West, but it's also one of the only ways in which I can get anything done here at our lil' home/office. I have two Solly Baby Wraps that I love and use daily. They're beautiful, and they fold up so small that they can fit anywhere when not in use-- from the diaper bag, to the baskets in the baby's bay.
I'm sharing some small space nursery tips over on Solly Baby Wrap's blog-- click here to view.

Nursery Tour on R29
Refinery29 posted a tour of West's nursery today! Click here to view the full story / gallery.


Small-Space Nursery on TODAY.com
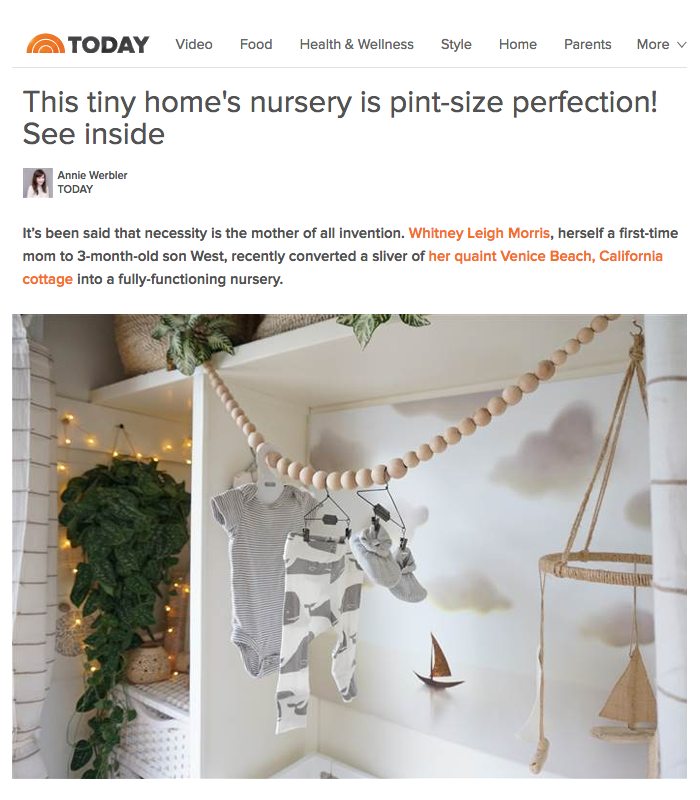
We're thrilled to be back on TODAY.com-- this time for West's mini nursery! Check out the full story and all the images here.

Christmas at the Cottage
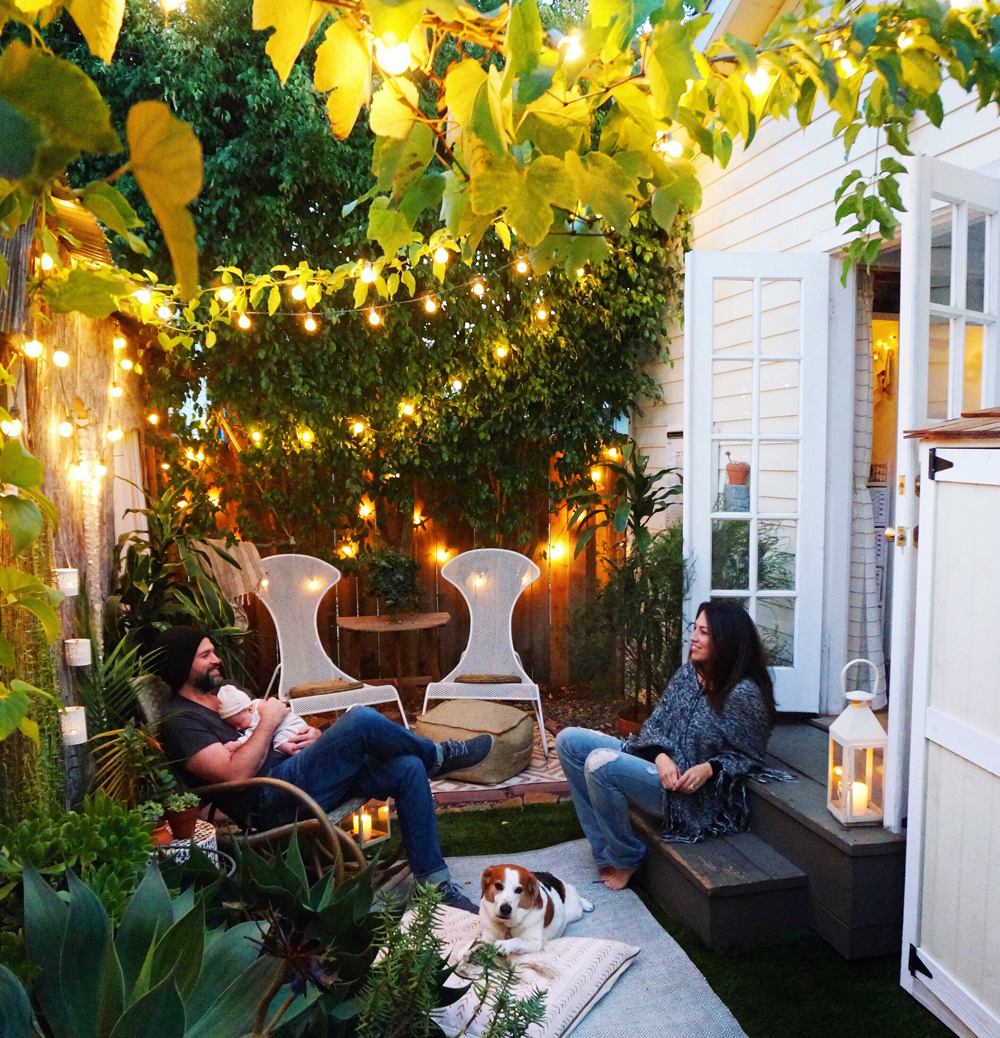
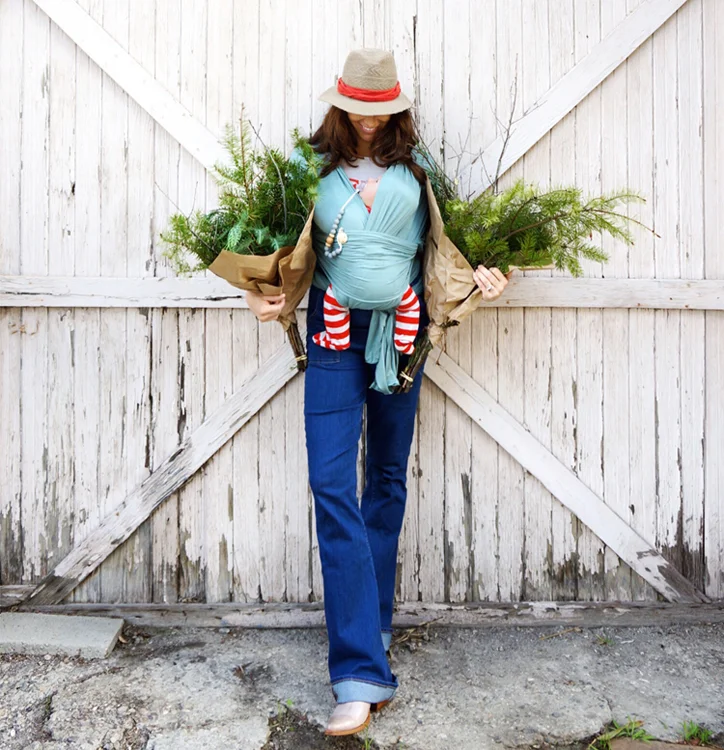
December was a beautiful daze at the Cottage. The weeks rushed by, and West grew so much that Adam and I can hardly believe our eyes. I posted most of my content from the month on Instagram Stories, which allowed me to share moments from the Cottage without requiring me to spend additional hours at the computer away from West. My goal this holiday season was to spend less time fussing over presents, and to spend more time focused on my family. It was wonderful, and some of our highlights are below. Happy, happy holidays to you and yours! Thank you for making our entire 2016 so very merry & bright.










Holiday Decor with Architectural Digest
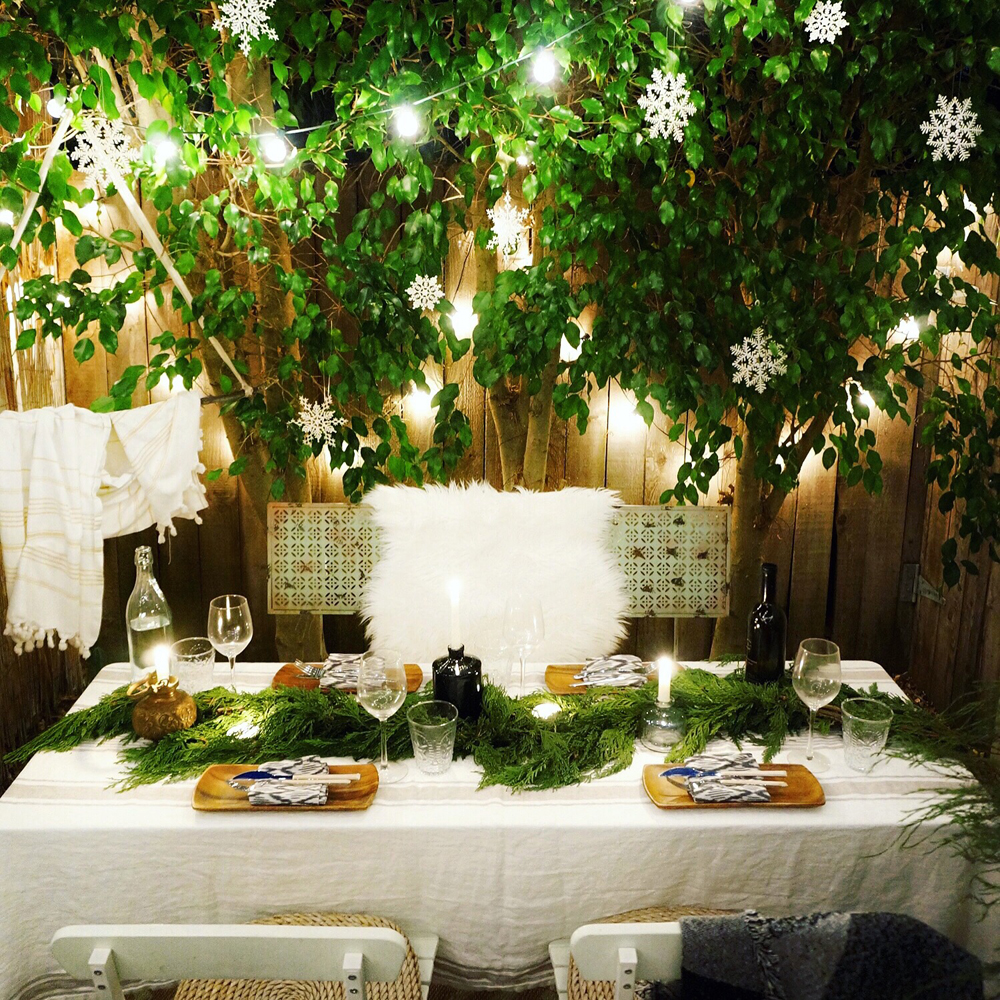
We're delighted to be back on Architectural Digest! This time we're sharing some small-space, outdoor holiday decor ideas. Click here to view the feature.
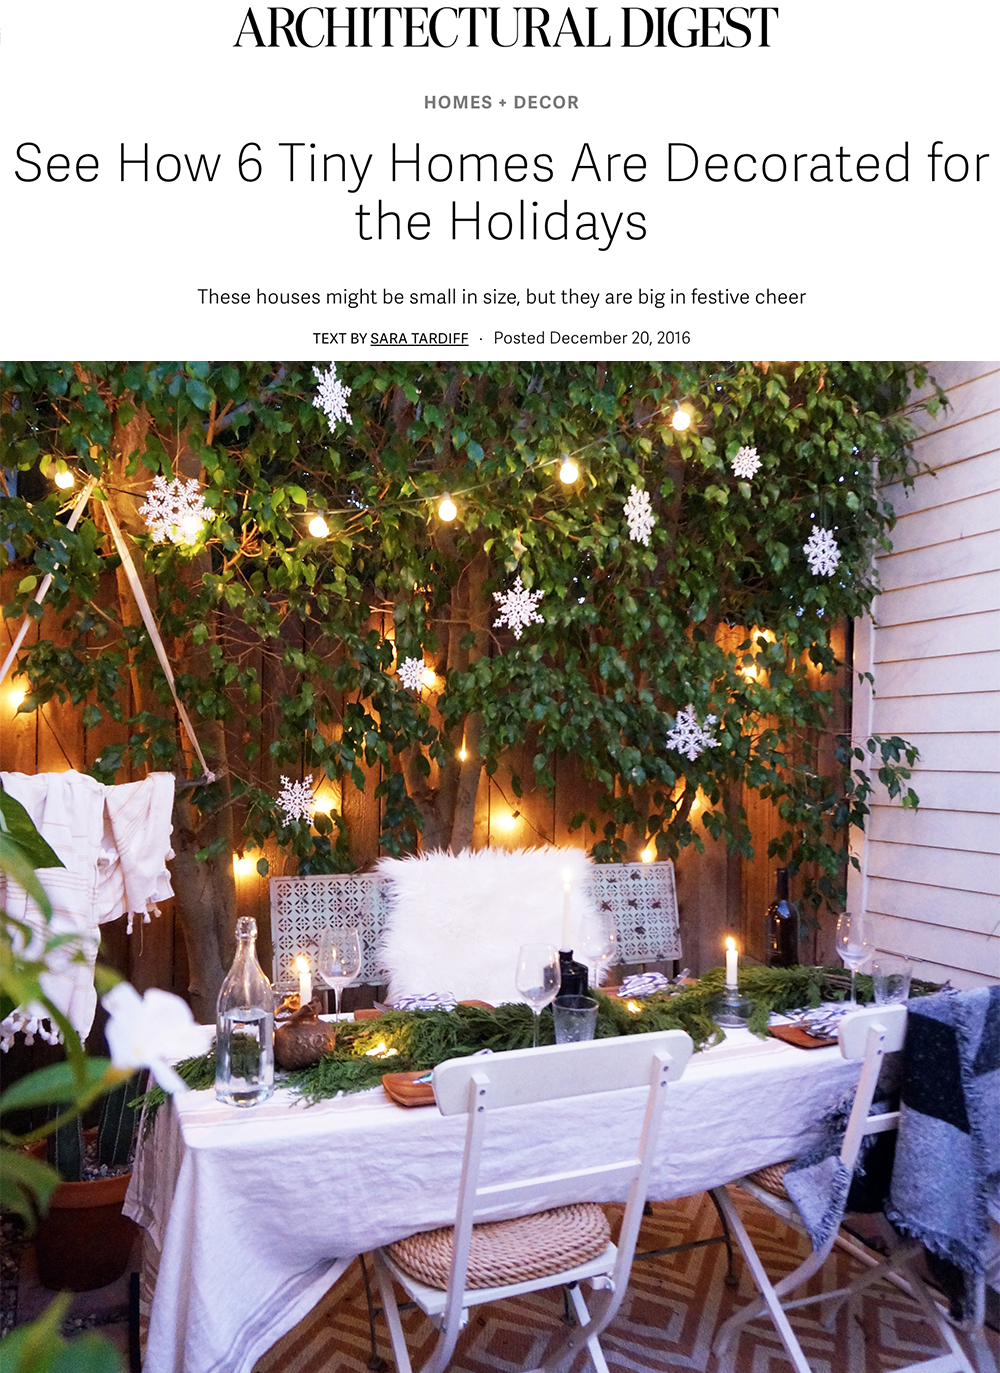
Thanks, AD!
"Go Small" Dinner on Refinery29

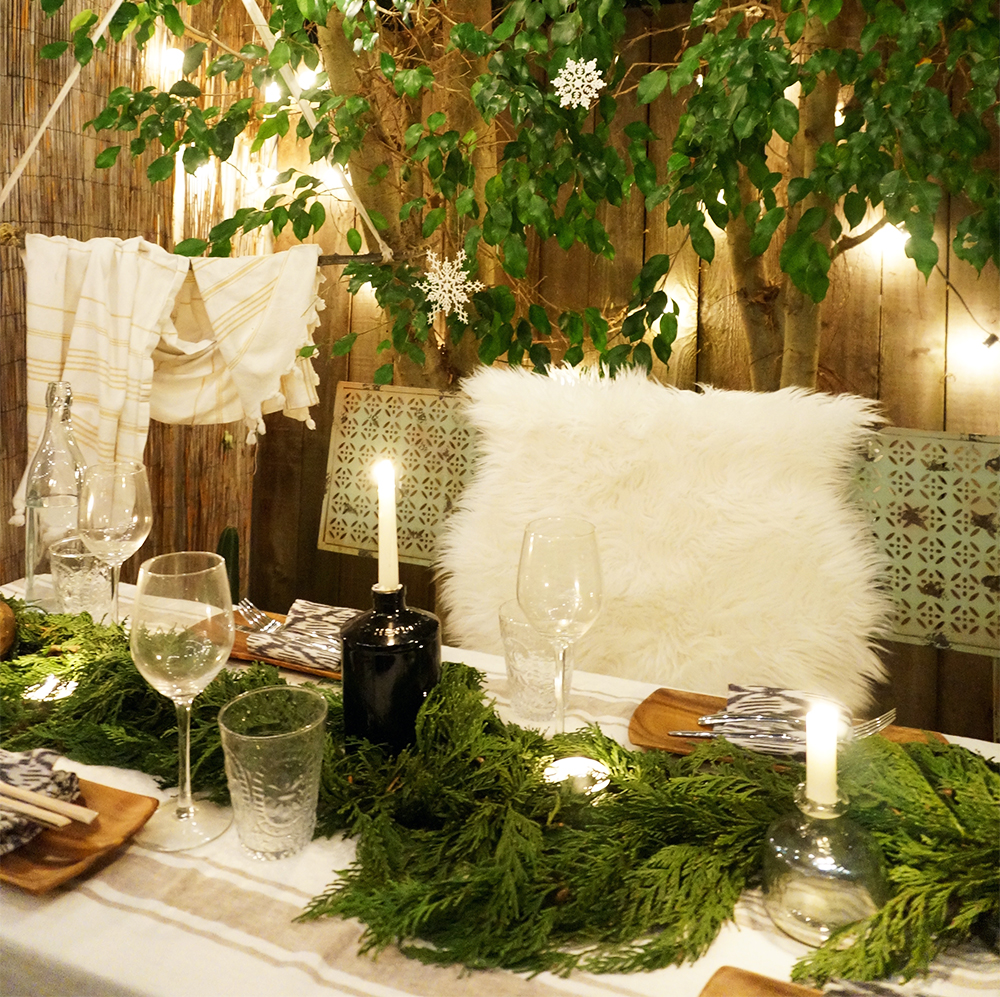
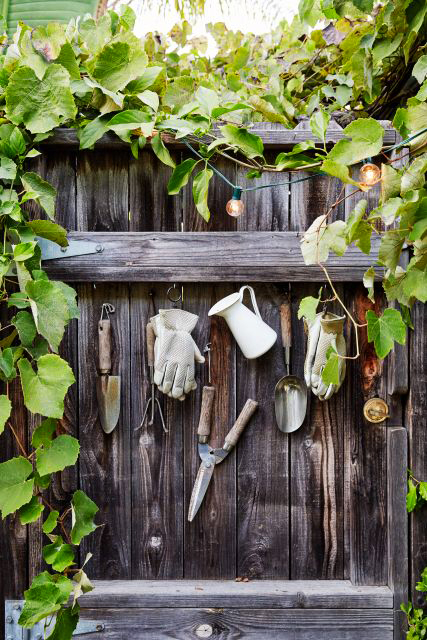
I recently hosted a little dinner for four incredible Businesswomen / Mamas here at the Cottage. We chatted about some of the ways in which going small can enable us to live fuller lives— something that I know to be true after enjoying this tiny house with Adam and Stanlee for these past 5½ years. (And since then we've even grow by two residents: puppy Sophee and baby West!)
The story, which includes a video from the evening, is now up on Refinery29: Two People, Two Dogs & A Baby Live In This 362-Square-Foot Cottage
Story sponsored by Ford.

Living & Loving Local
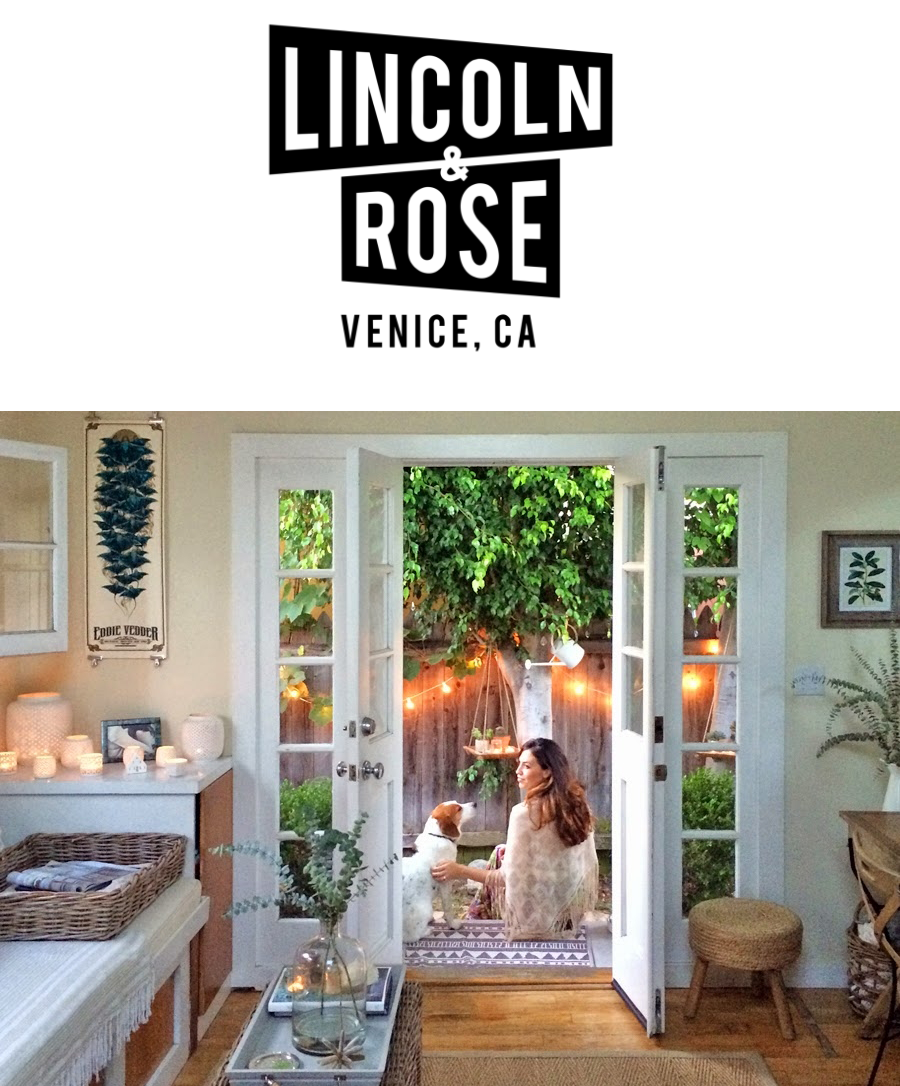
I recently had the chance to chat with the lovely folks at Lincoln & Rose-- an online resource for those of us living in Venice, California. The story is now up online! I share my feelings about Venice, and my take on people's fascination with downsizing in a way that's realistic and practical.

Closet Nursery and Having a Baby in a Small Space
I took some time away from the blog to focus on our first month with Baby West. He is now 6 weeks old, and we've been very pleased with how the nursery has worked for us thus far! (View our nursery tour posts here.) This is a quick round-up of some of the key items we've loved, and the reasons why they're handy for our small-space lifestyle.
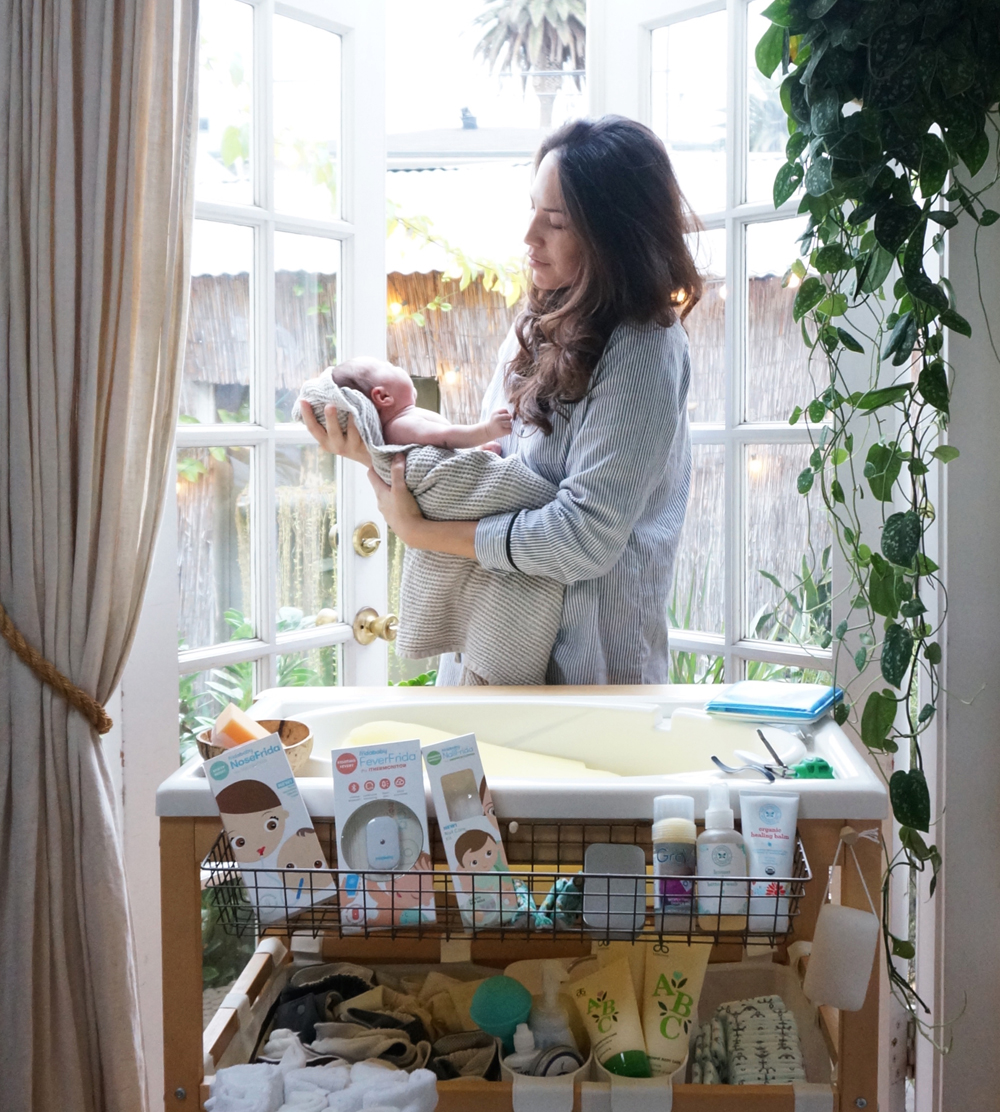
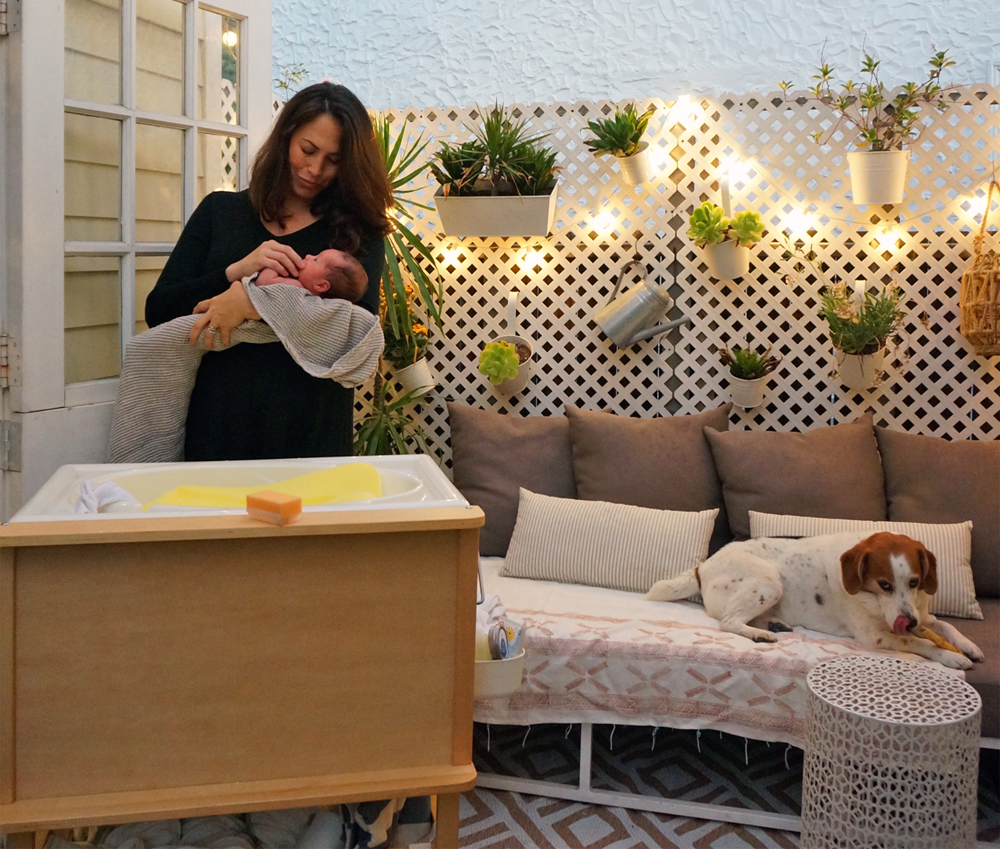
Our most functional, space-saving piece is definitely this bathtub and changing table combo. It rolls all over the house, depending on where we need or want it to be-- from the garden, to the stoop, to the nursery. The removable tub is extremely easy to use and clean, and the entire unit is tall, so we don't end up with aching backs after changing or bathing West. There are also two massive storage baskets built-in, which hold our reusable diapers (from Grovia), disposable diapers + wipes (from The Honest Co.), and bath items (from Amazon and Etsy).
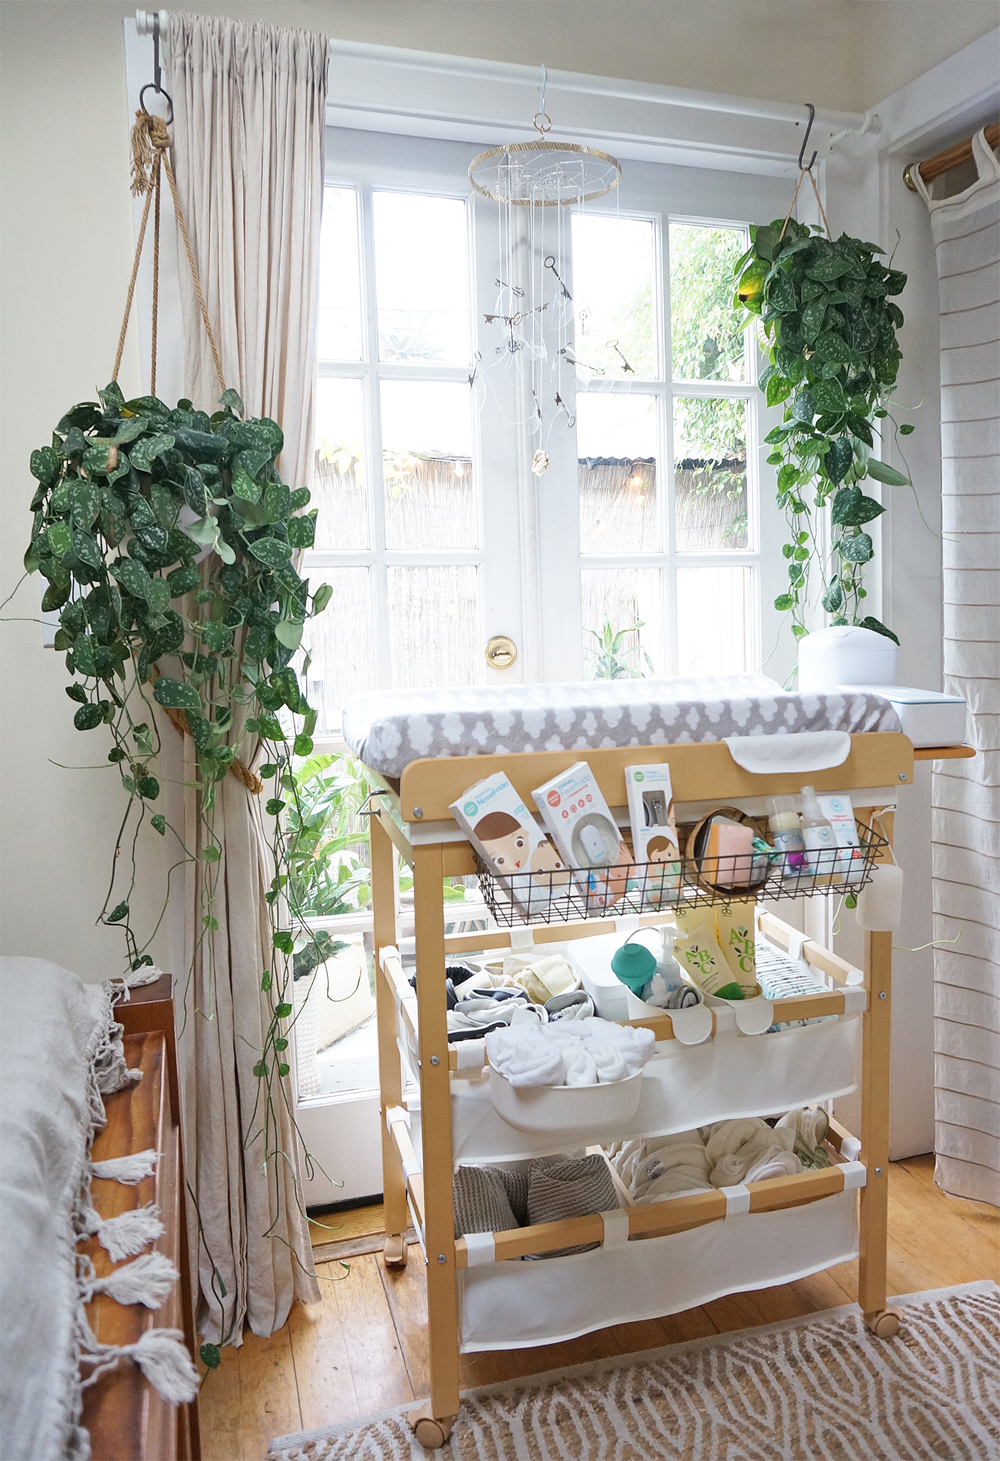
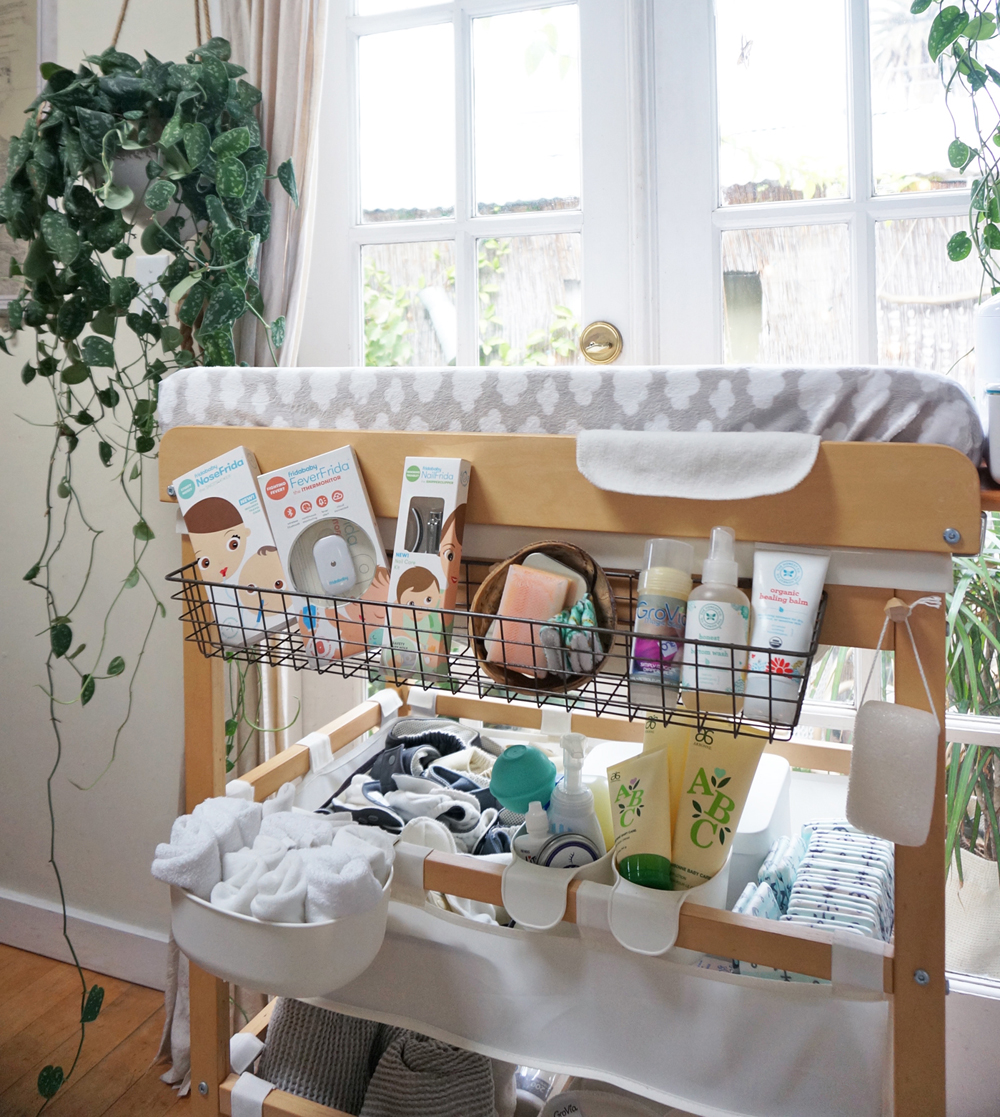
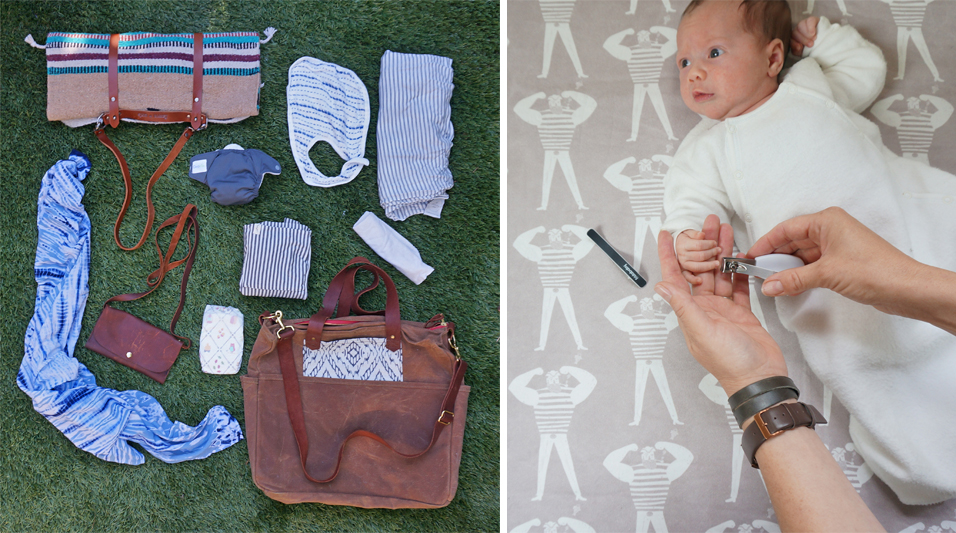
I added a long metal wire basket (from Amazon) to the side of the table to hold baby-care essentials for easy access. Items shown include:
Grovia All-in-one Newborn Cloth Diaper - Via Grovia
NailFrida the SnipperClipper – available at Target
FeverFrida the ithermonitor – available at Target
NoseFrida Travel the SnotSucker – available at Fridababy.com
Handmade Linen Baby Towel - Via Etsy
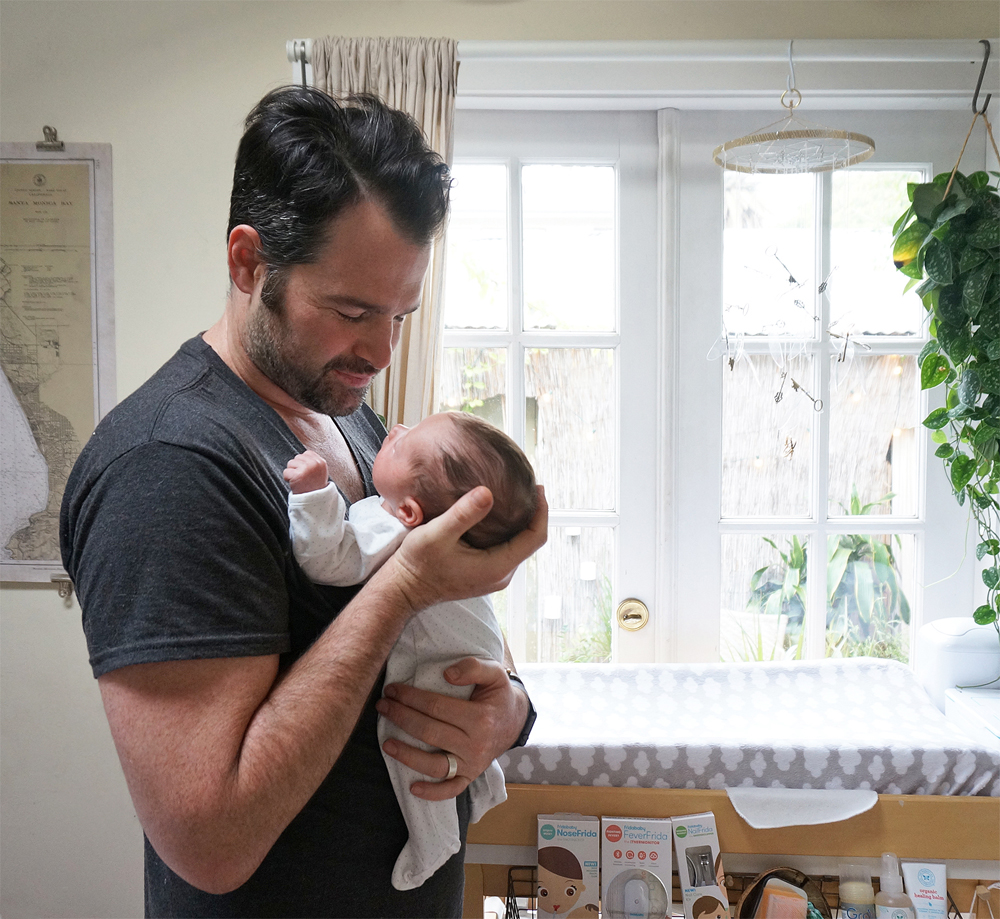
Some of my favorite goods, which work well in the closet-nursery AND on-the-go:
Handmade Changing Mat with Carrier Strap (can be stored vertically, and looks beautiful when hanging up in the house) - via Fawn + Cub
Waxed Canvas Unisex Diaper Bag (completely foldable and easy to stow) - via Kith and Kin
Handmade Wallet + iPhone Tiny Leather Purse by Hustle & Hide (a small, extremely functional handbag/wallet) - via Etsy
Solly Baby Wrap / Carrier (takes up no space when stored) - via Solly Baby
All-in-one car seat cover, nursing scarf, and cart cover - via Native Wilds
Our mini-crib (via Bloom Global) works beautifully, and fits perfectly in the Bay. But IF we didn't have space for the crib, we could've still made it work via a co-sleeper. My favorite is the DockATot, which is available in two sizes.
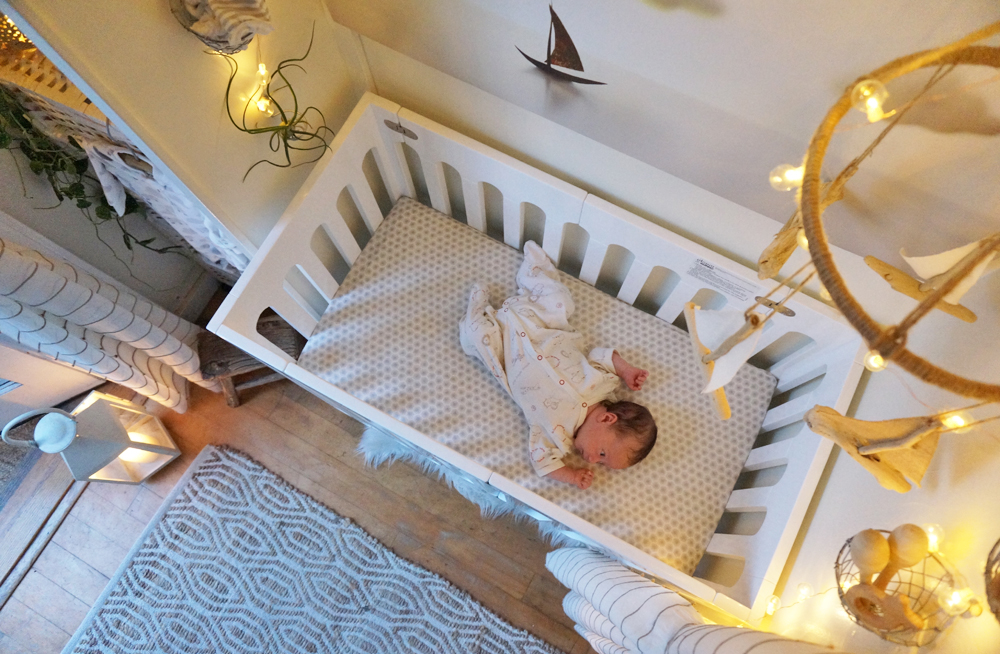
Note: The curtains are only near the crib when the baby is out of it or an adult is supervising.
I thought that the Bay was a bit TOO dark at night, but I didn't want to re-instal a ceiling light (they can get too hot, and we don't have real room for one anyway). There also isn't enough available space for a table-top lamp. So I recently installed some battery-operated twinkle lights (from Terrain) to brighten up the nursery, and I absolutely LOVE how they look and function.

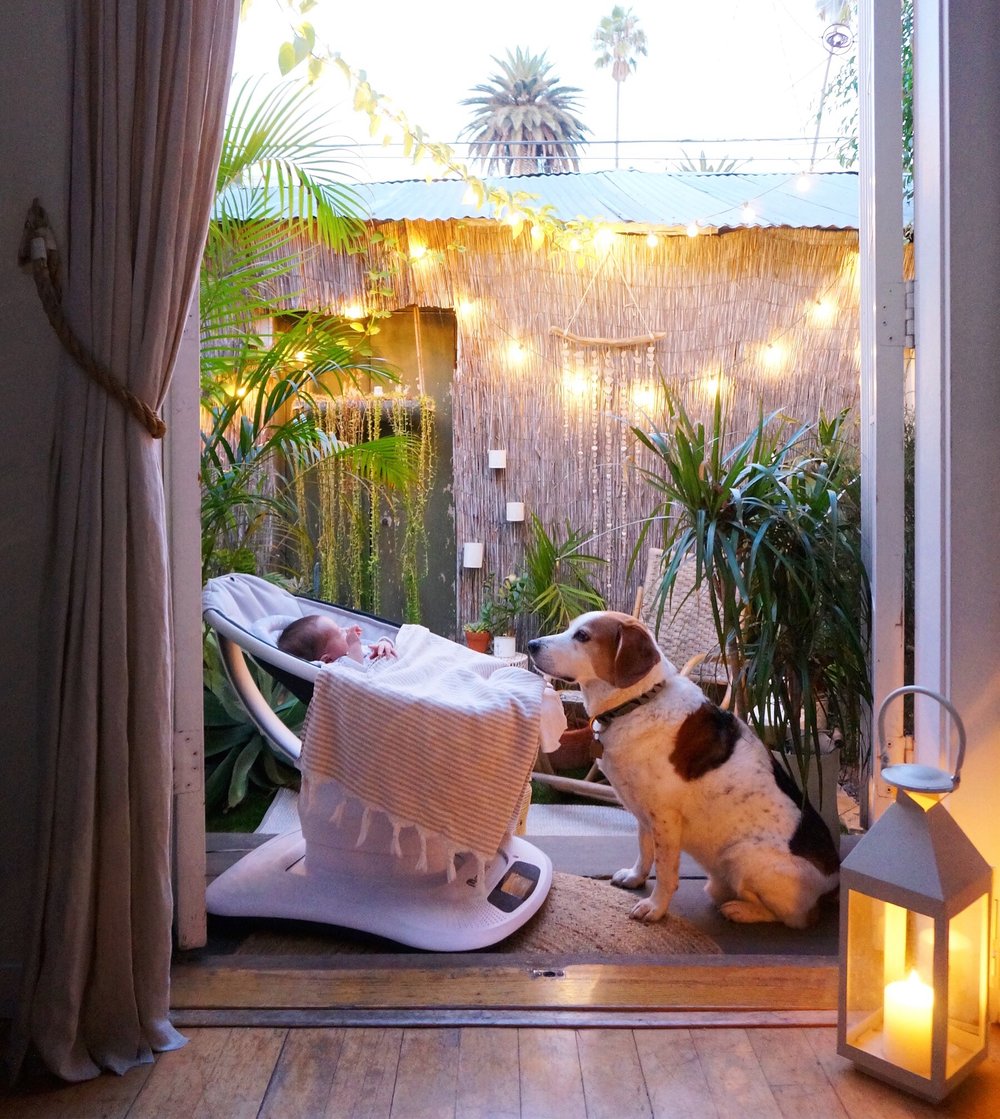
MamaRoo Infant Seat - via Target
This incredible gizmo takes up less space than a traditional baby swing. West loves it. There are varying speeds, movements, sounds, and angles, so he never gets bored. It's a phenomenal help when I'm working at the computer, and when I want to keep the baby upright while he dozes off immediately after breastfeeding.
In the kitchen we use a collapsible bottle-drying tree, and a wall basket for bottle-tops, etc. These take up much less space than a traditional drying rack. (Via Amazon)
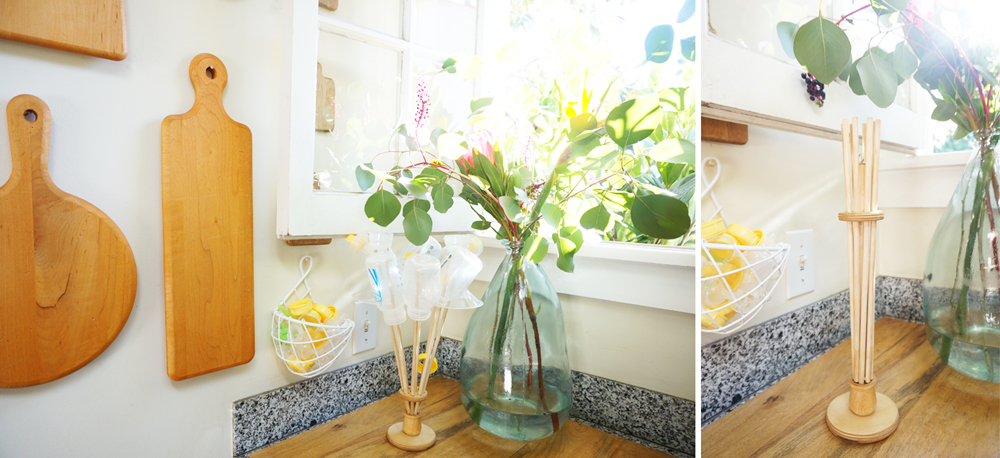
And, as always, going vertical wherever possible has helped us find place for the pretty little accessories we use on a regular basis, such as burp cloths, rattles, soothie clips, etc.

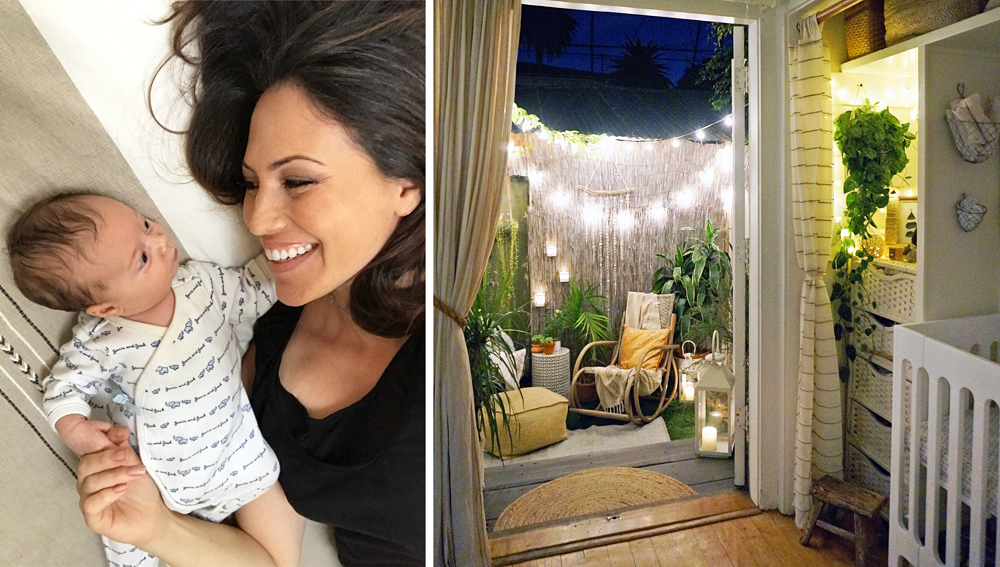
On a side note: After our first month with West, it's also important to note a few changes we made for the pups in order to prevent them from feeling neglected as we tend to the baby. We've added daily trips to the dog park or beach to the routine (in addition to our regular dogwalks along the Canals). We’ve also started giving them meals from @thefarmersdog (they’re completely obsessed), and we got them new handmade beds from our wonderful neighbors @thewolfnest. So far, so good!
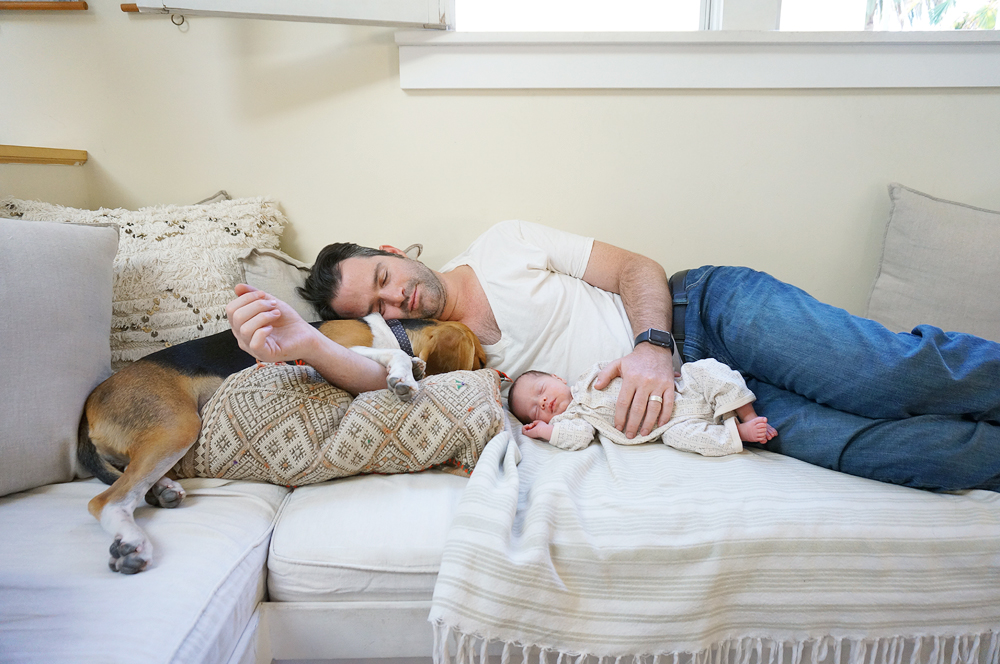
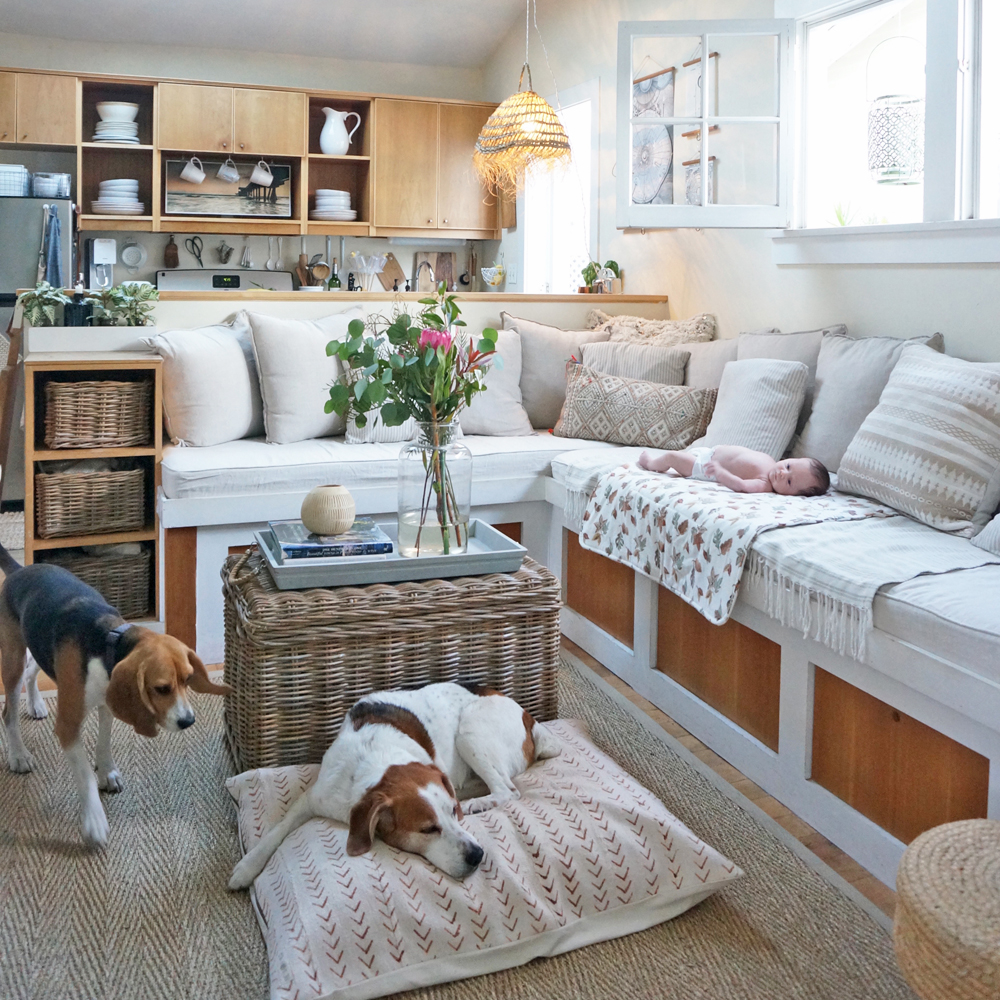
(Please note: the pieces in the nursery and cottage will change as West gets older. His safety is obviously our main priority, and the space will evolve according to his growth, capabilities and mobility.)
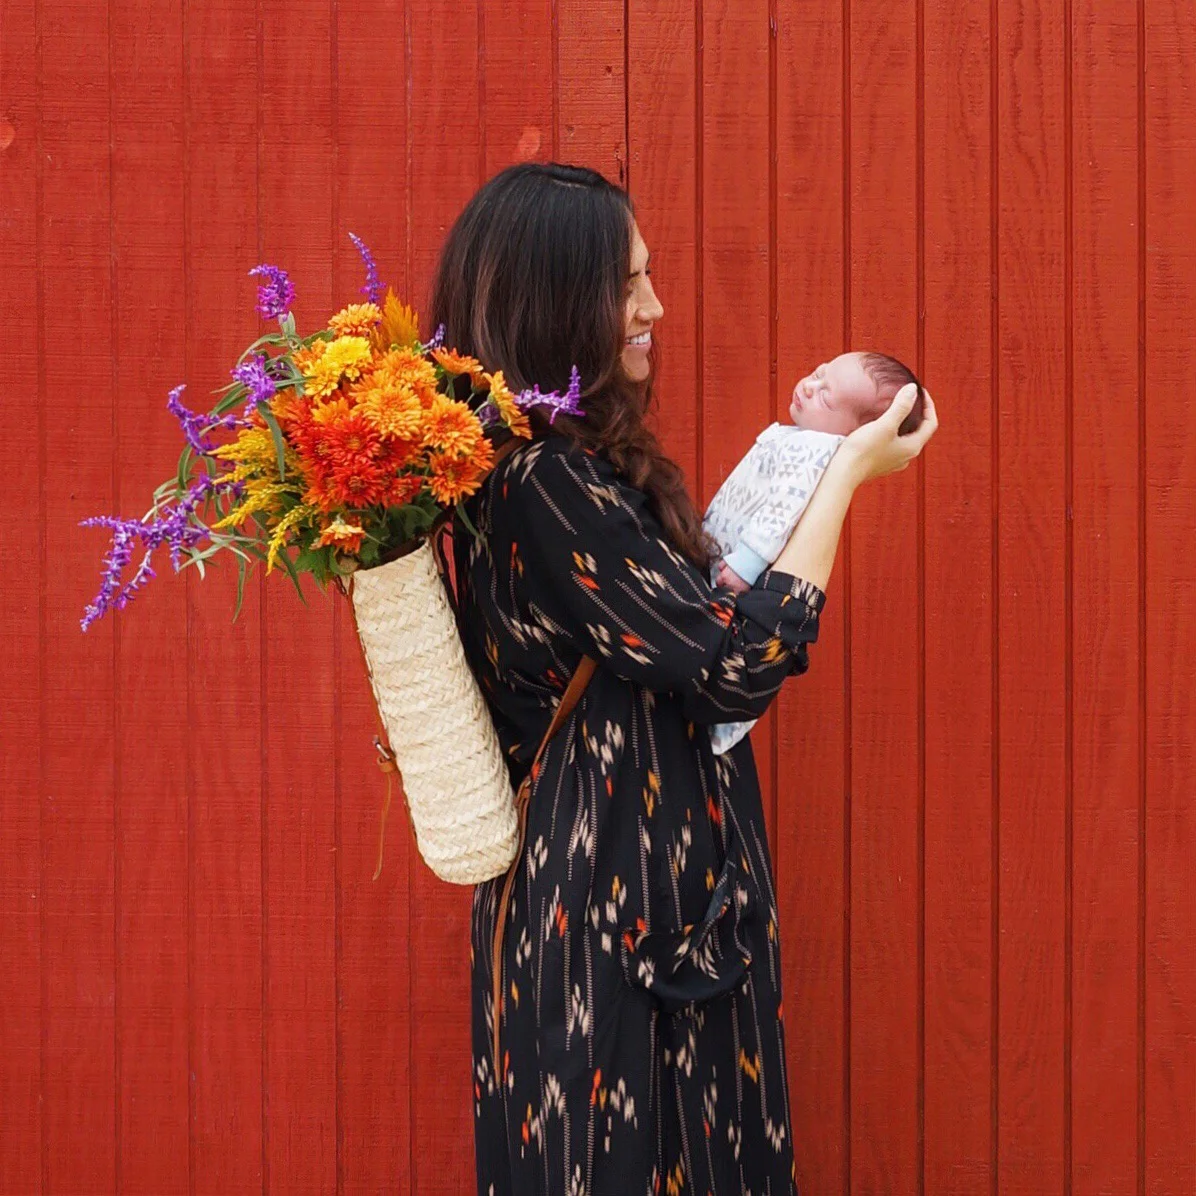
Our newest resident: Baby West!
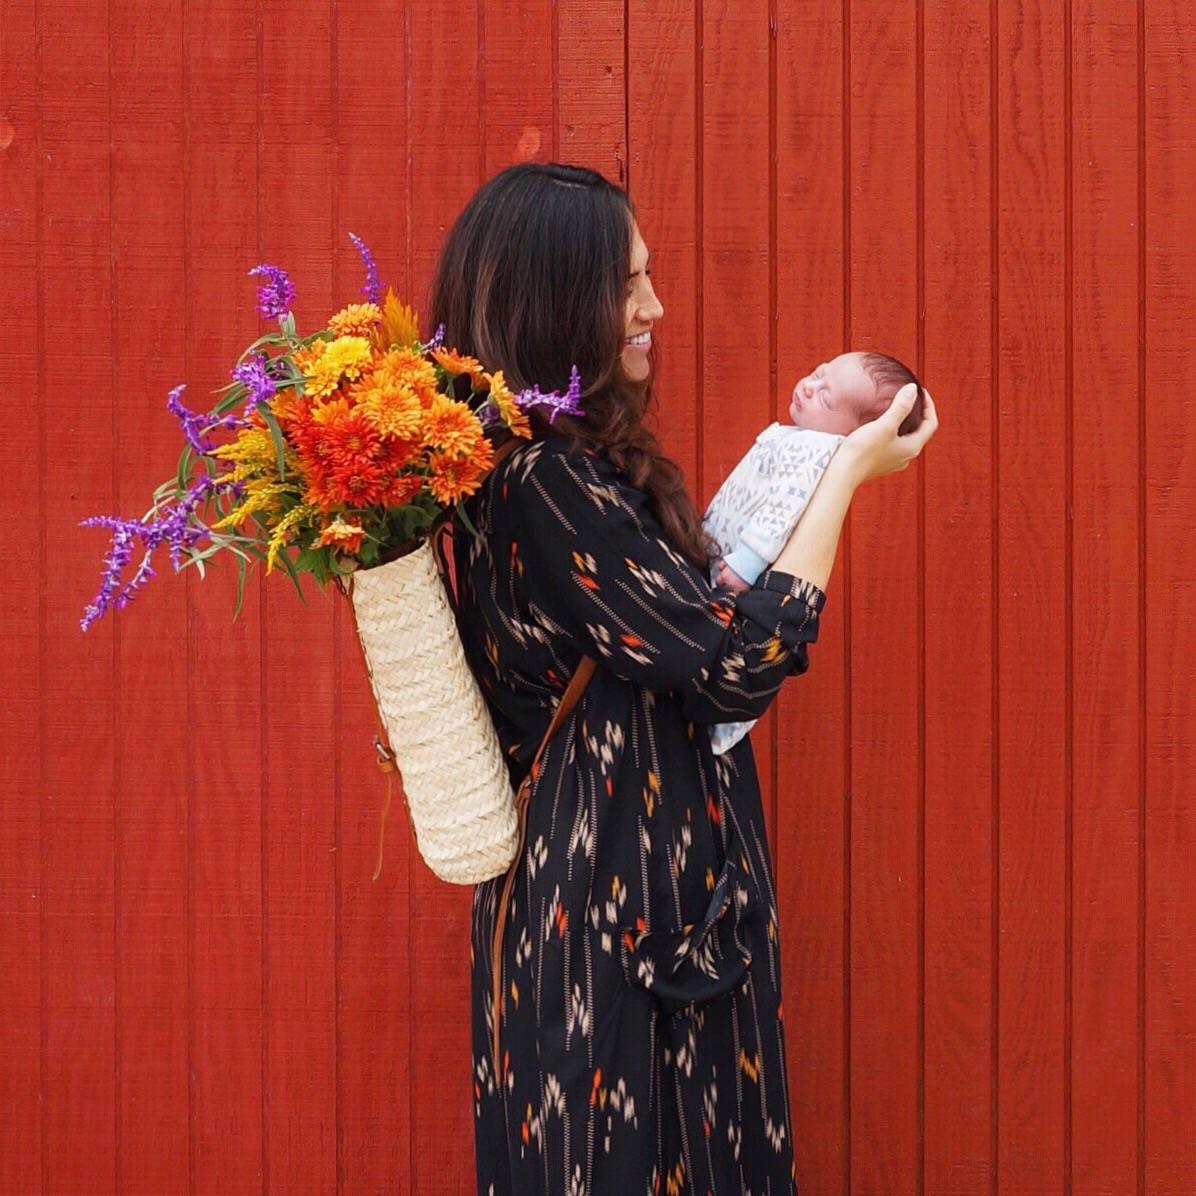
Baby West is here! Our son was born on September 30th, and Adam and I have spent the entire month of October fawning over him here at the Cottage.
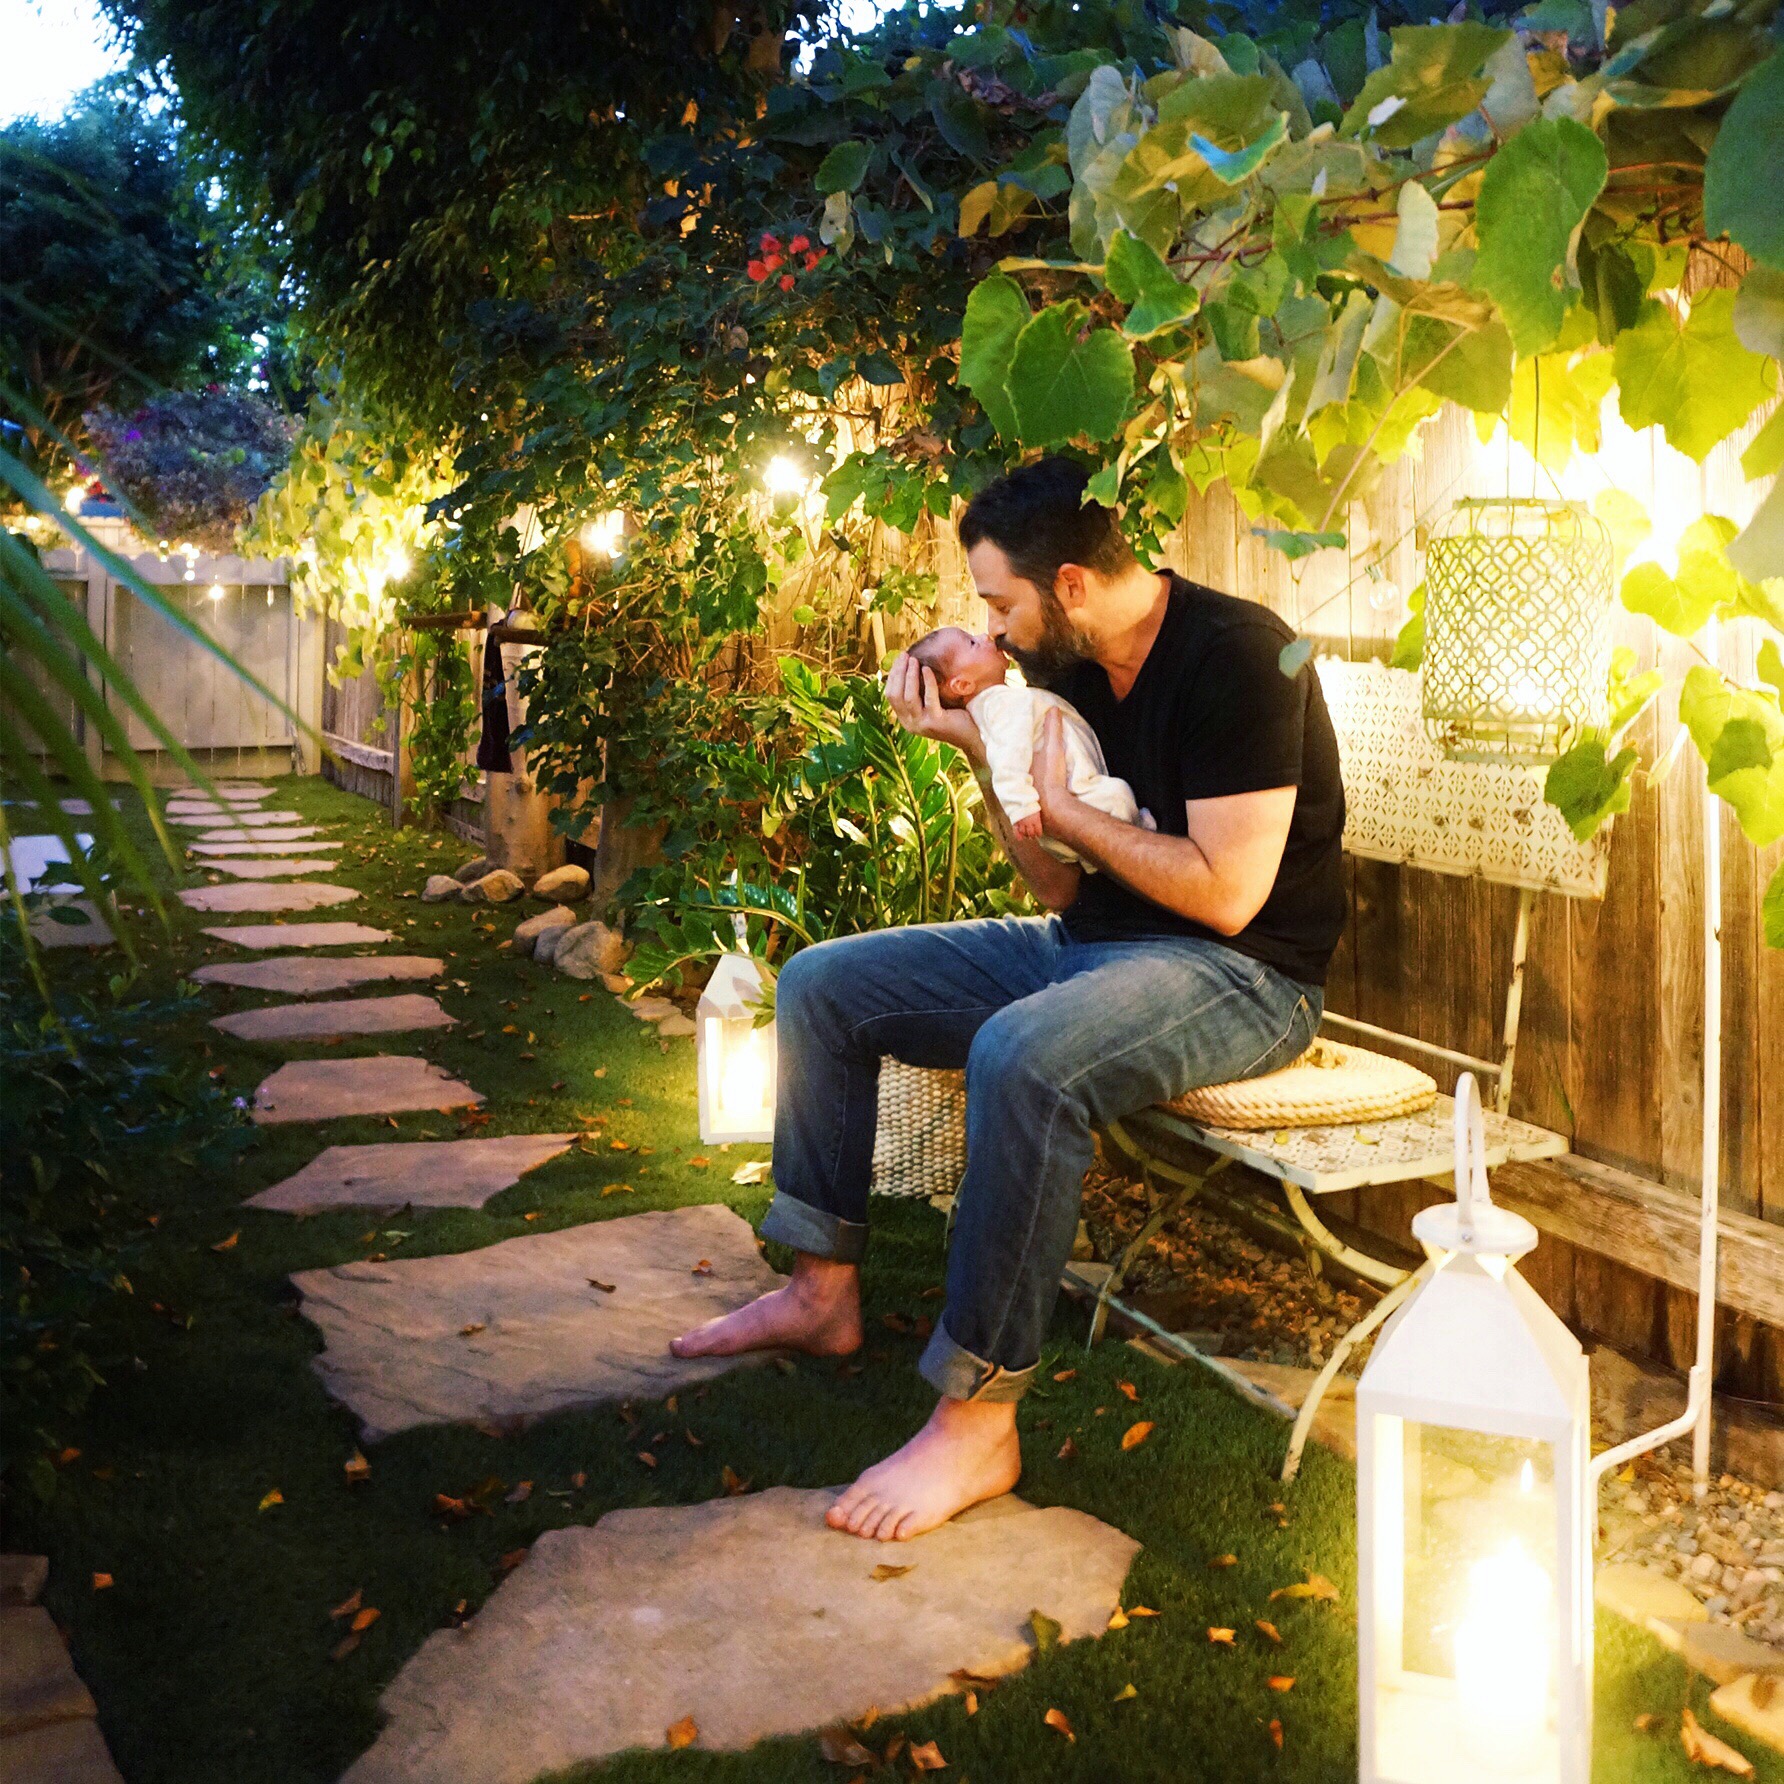
I would’ve loved to have an at-home birth, but since this was my first pregnancy and I’m considered to be of “advanced maternal age,” we decided from the start to play it safe and give birth in a hospital:

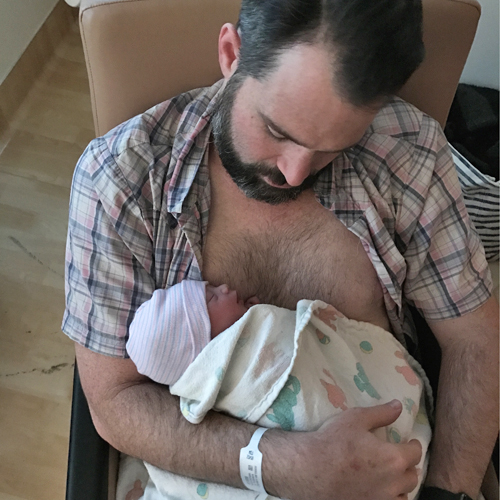


I was in labor for about 24 hours, and had a natural childbirth (on Pitocin). West was healthy and relaxed upon his arrival, and is truly an amazing newborn. I’m happier and more thankful than ever.

The Cottage has been the perfect place for our family of 5 these past weeks, and I am so excited about our family AND home evolving together.

I’ll soon share details on our experience thus far with the tiny house nursery. In the meantime, thank you all for your kind and supportive comments on Instagram— we’ve read them all, and we are so grateful for the outpouring of love!

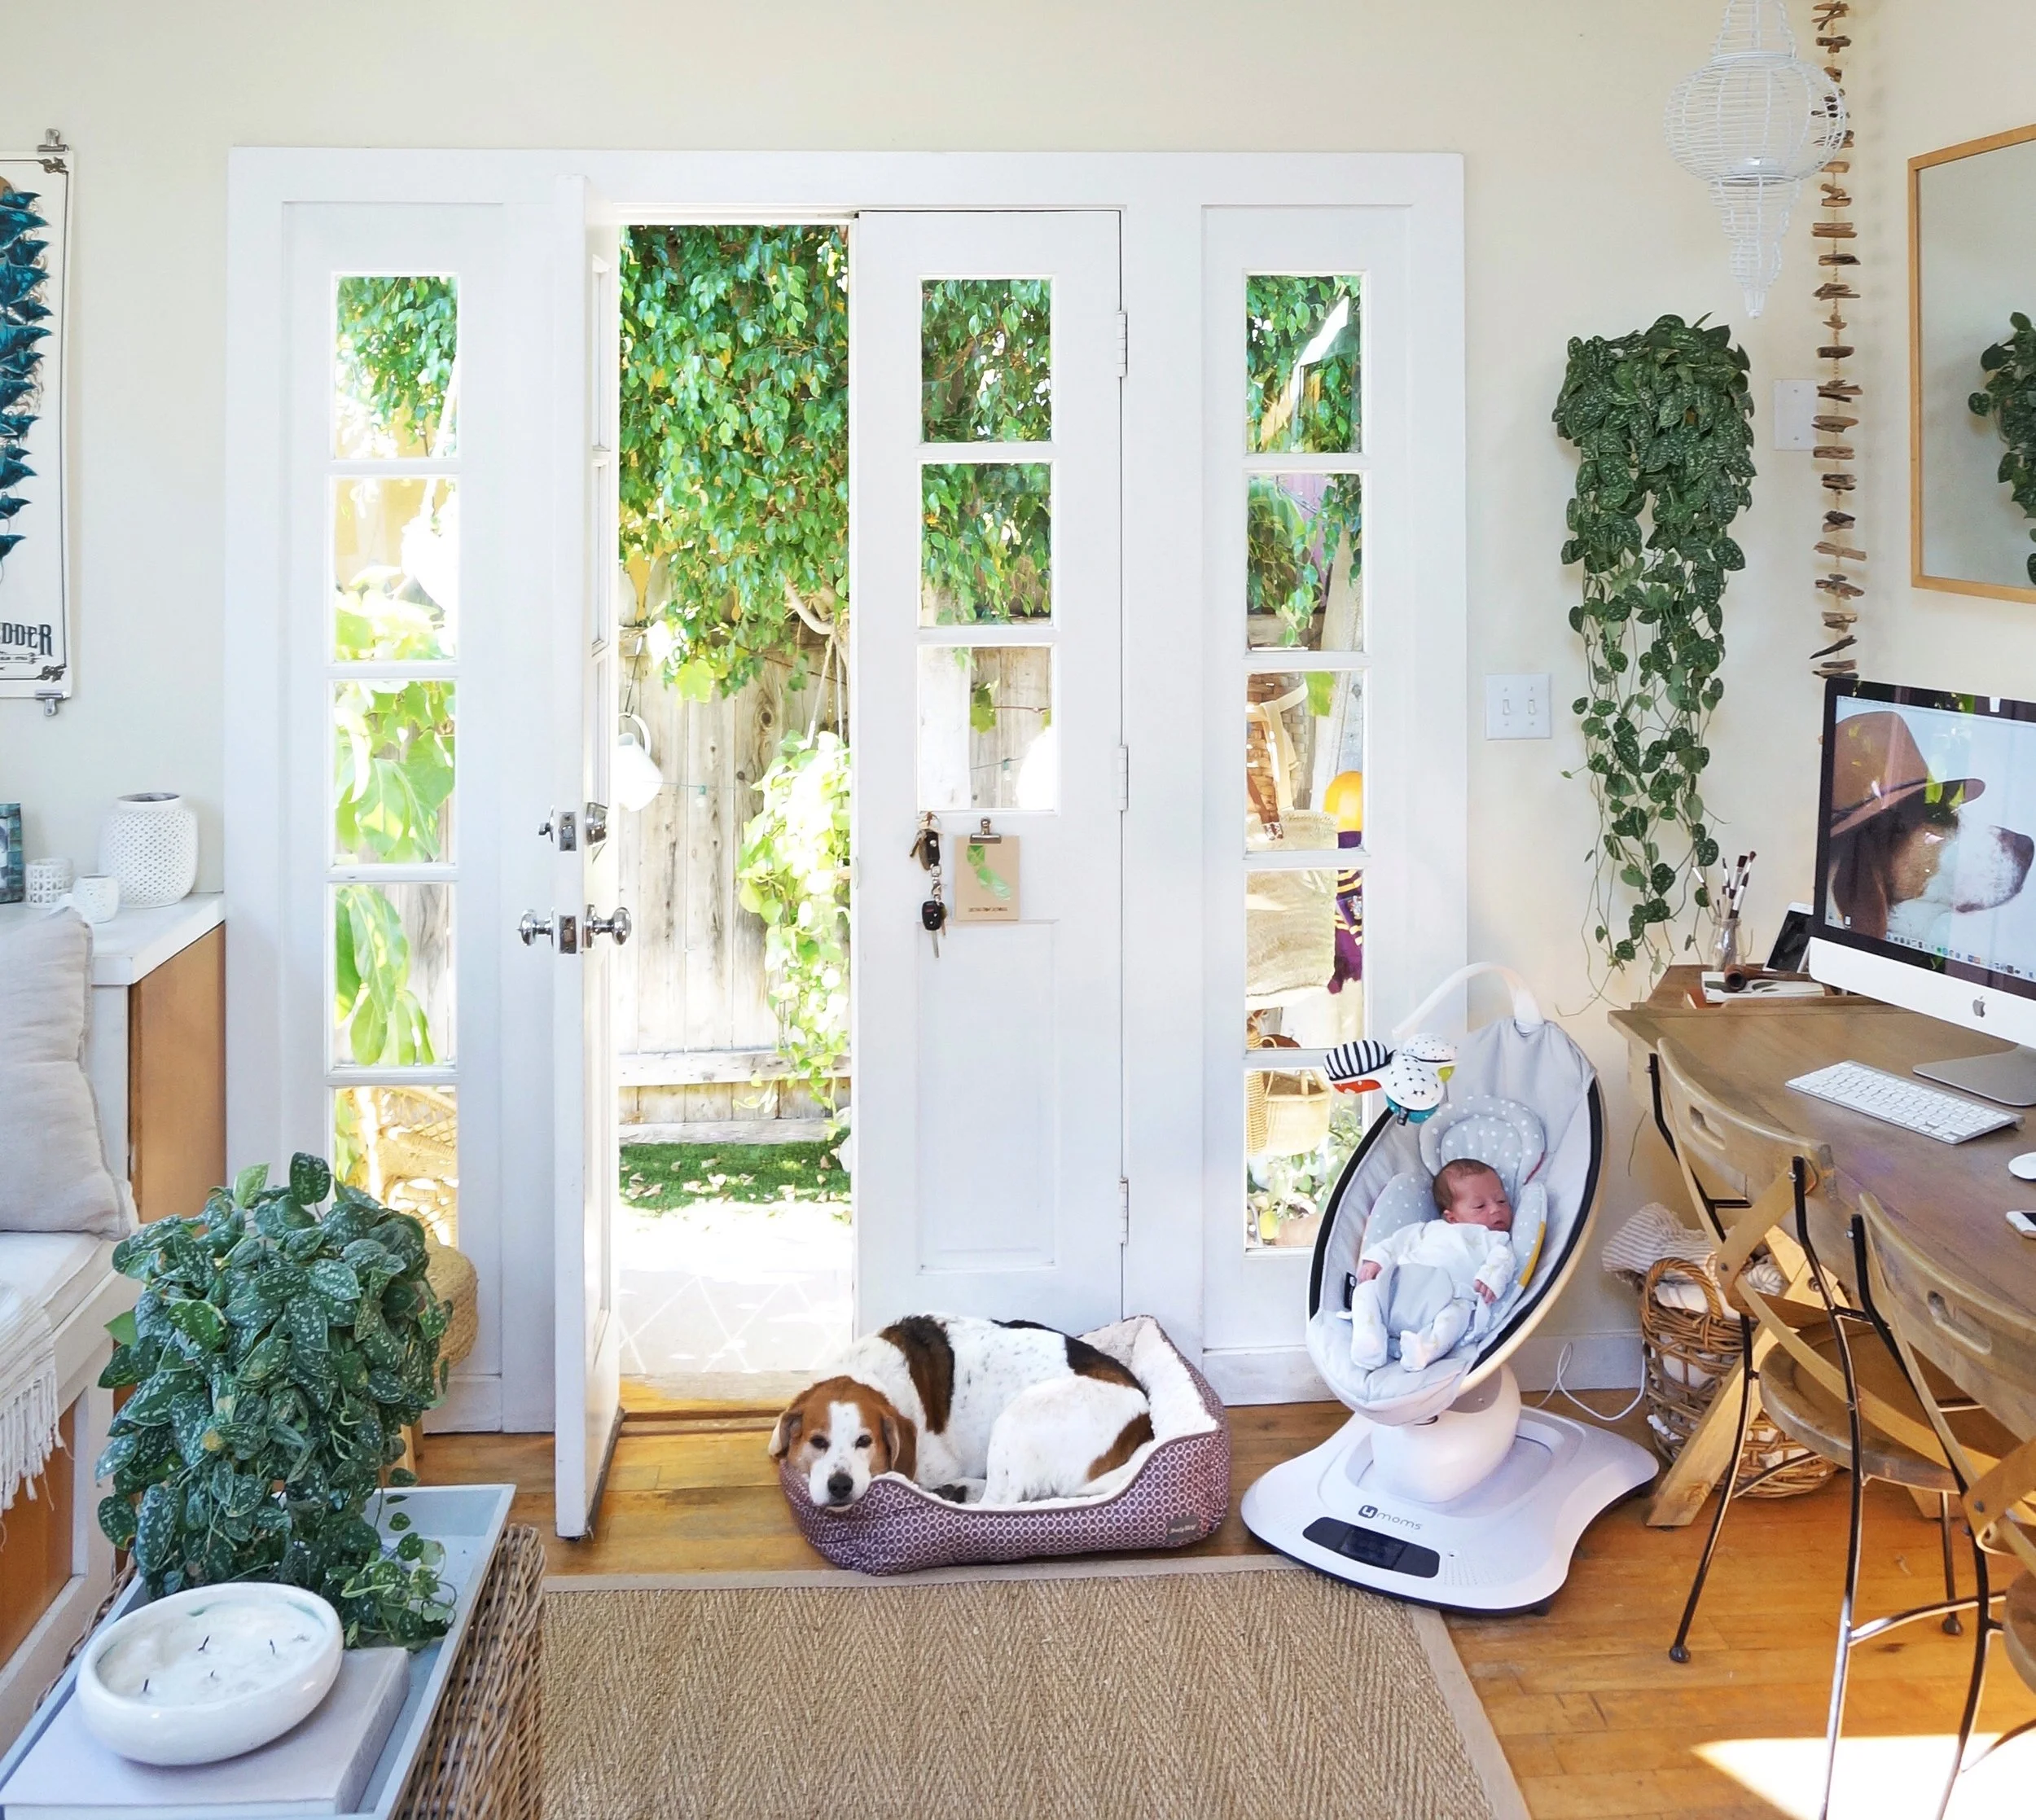

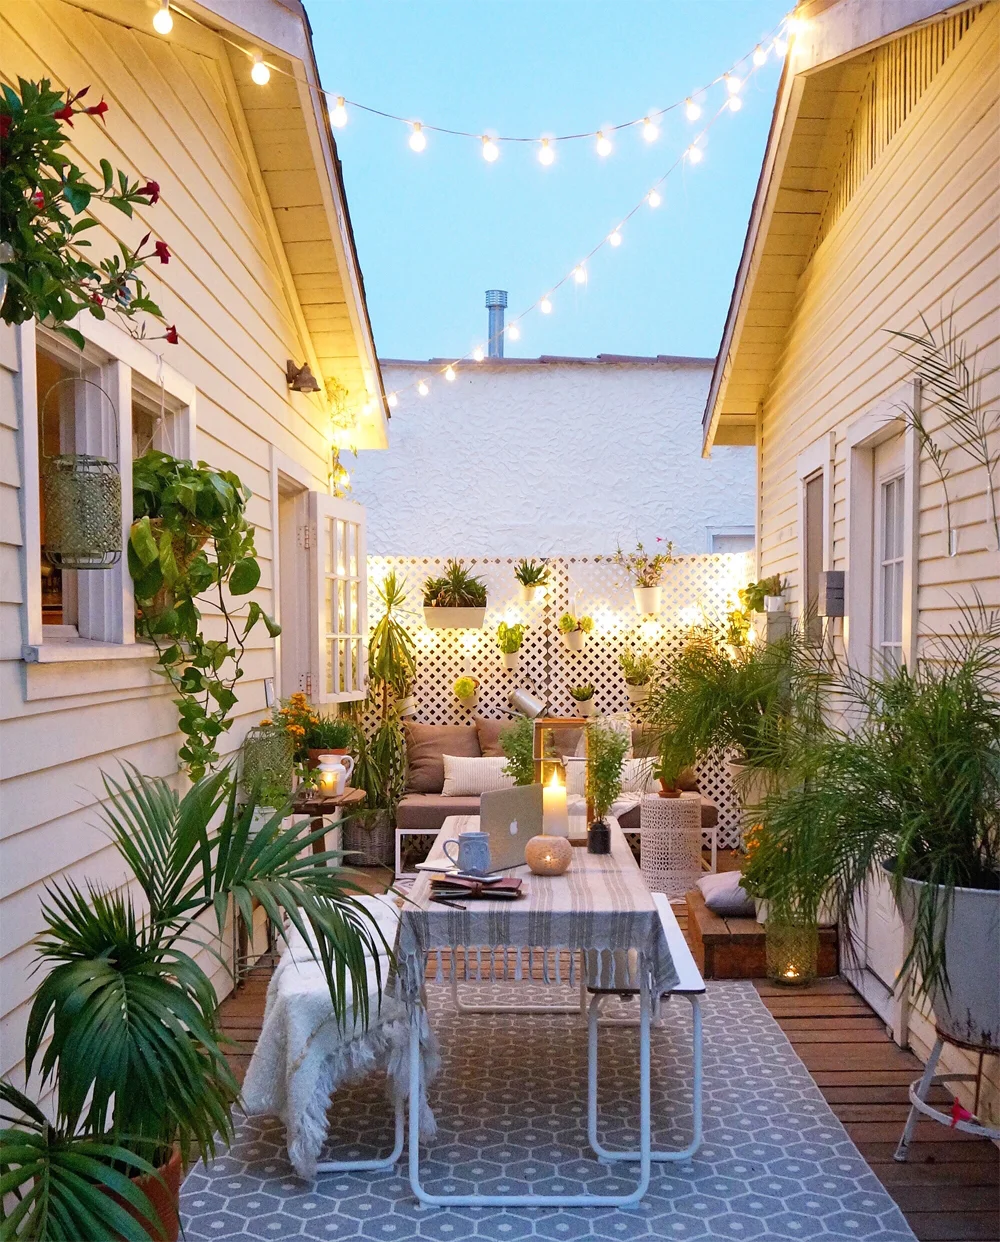
Tiny Updates
With the Cottage nursery finally set up (see previous posts), I wanted to make a few minor updates around the house to allow the spaces blend together a bit more seamlessly.

My main resource for the updates was Couleur Locale. I love the neutral, Earthy tones and textures of their products:

New grass fringe lampshade, as we thought the bare-bulb would be a bit too bright for the baby.


New coconut tea light holders (for real and faux candles, depending on context) and bowls. This way we won't have to worry about glass or porcelain holders breaking once the baby begins to grab things.

New rattan wicker baskets for decor and market goods:


New handmade bedspread from World By Hand:

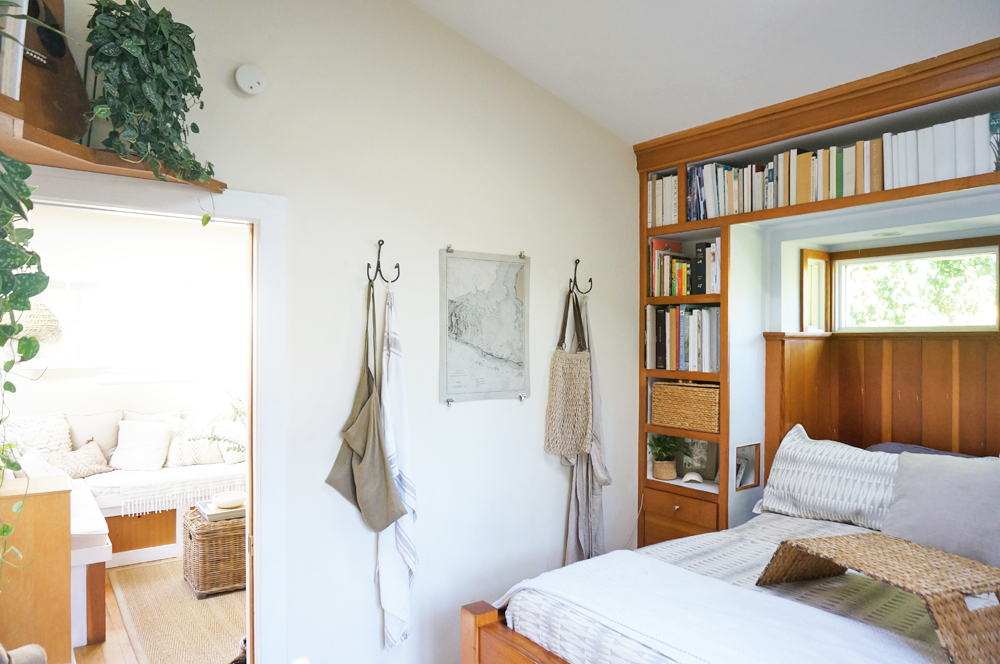
New anchor hooks for the bedroom, to match the subtle, nautical theme in the closet nursery:

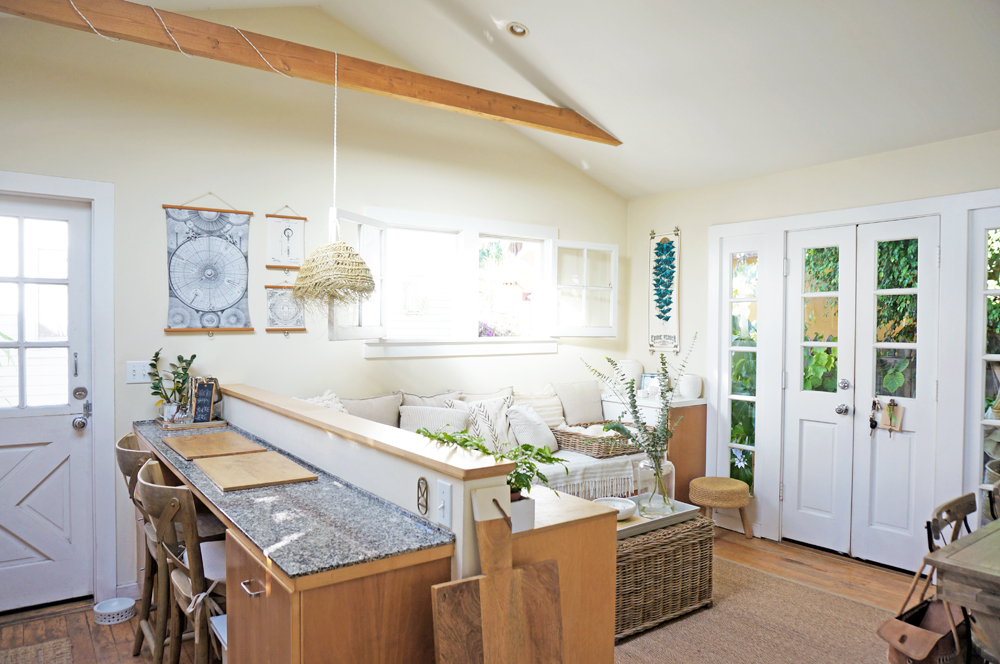
New stools with backs-- we want to feel more secure and supported when holding the baby during our meals at the breakfast counter:
And a few more little accessories, here and there:
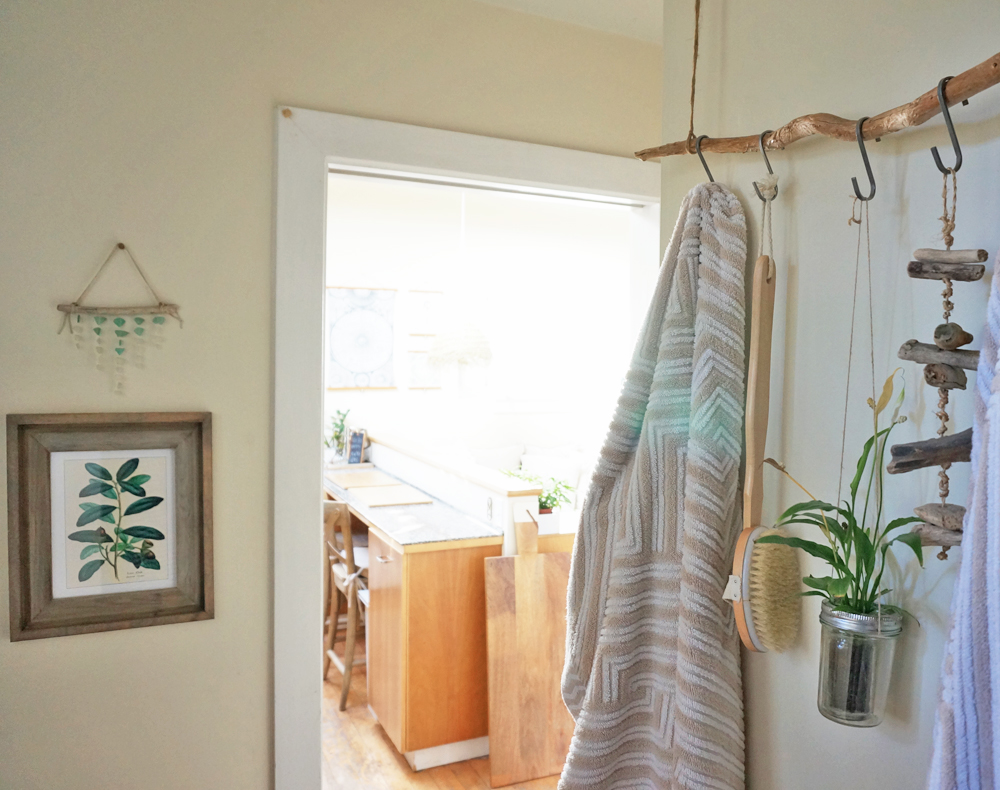
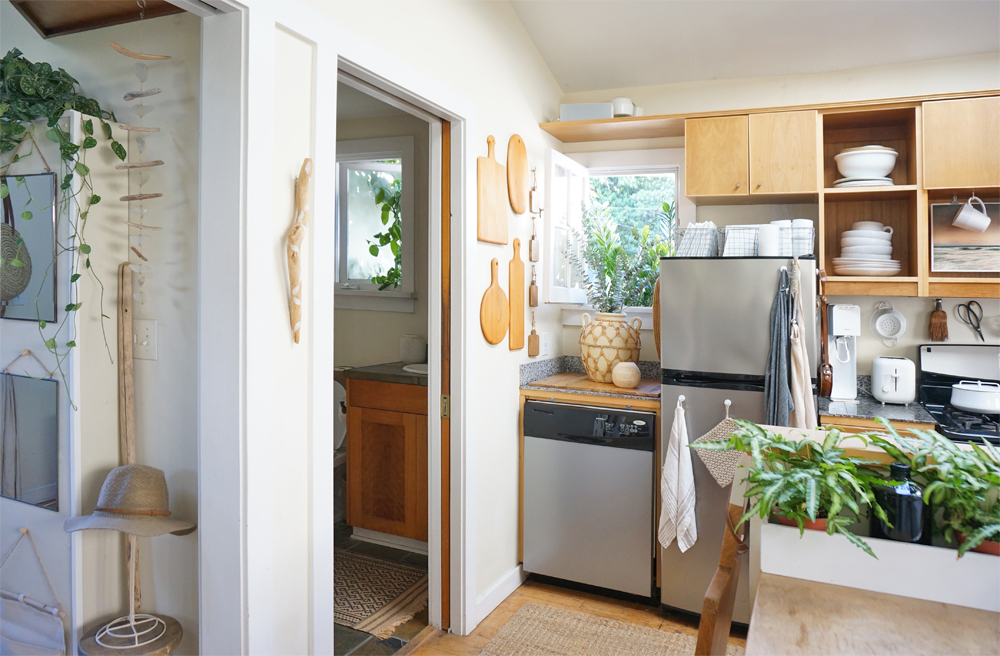

Lil' Kitchen
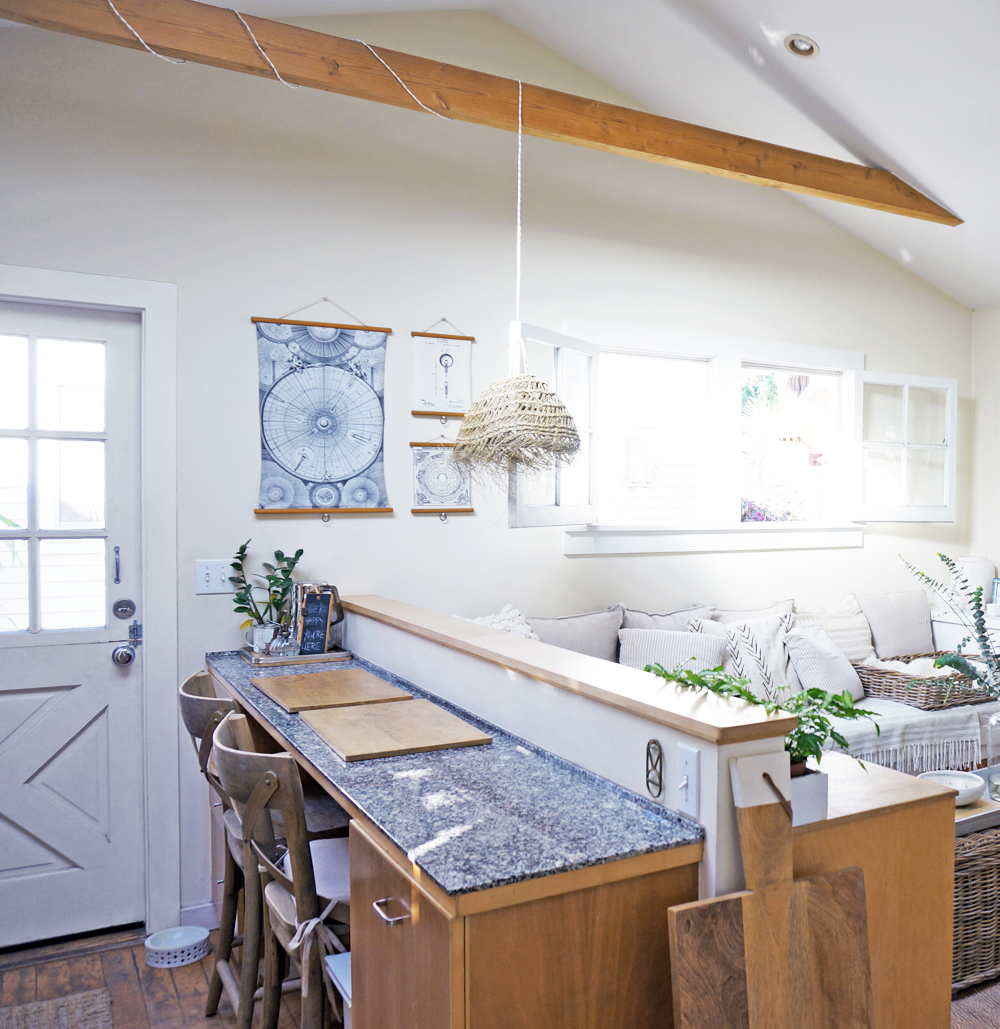
The kitchen at the Cottage isn't actually all THAT tiny... or at least it doesn't feel that way. We have an apartment-size refrigerator, a dishwasher, a standard stove, and a breakfast counter. The skylight overhead, the window under the cabinetry, and the dutch door at the end of the room make it feel bright and spacious to me, regardless of its actual square-footage.

Recently, several people have asked me what appliances, accessories and tips I would recommend for a small kitchen. As always, I'd advise going vertical, and opting for multi-purpose and/or reusable items when possible. Here is a list of my go-to goods from the Cottage kitchen:
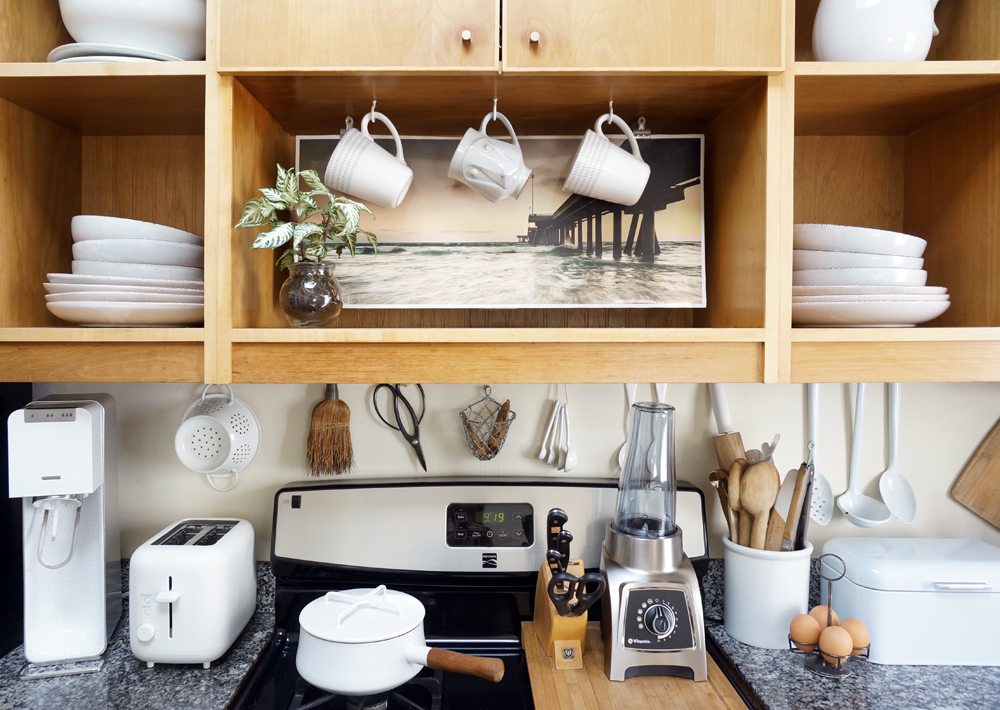
S-Series: Personal Blender by Vitamix (perfect size for those of us with limited counter space)
Compact Pop-Up Toaster by Muji (simple streamlined design)
Over the Sink/Stove Cutting Board (adds counter space over 2 standard-sized burners)
Source Sparkling Water Maker by SodaStream (make your own bubbly water-- there's no need to buy, haul, store, and trash bottles)
Mini Colander (easy to hang on a wall, saving valuable cabinet and drawer space)
Polder Food Storage Box (a bit of extra food storage for your countertops)
Wire Mesh Caddy from West Elm (to store slim plates and mugs-- we keep ours on the top of the fridge)
Slim Cuatro Plates from CB2 (they stack-and-store so easily)
Cutting Boards (for cutting, serving, dining, and decorating)
Otis Wire Wall Basket from Domino (vertical storage for the tiny items you commonly reach for, such as tea strainers, corks, and bag-closure pins)
Hooks, extra-strong magnets, and linens with hanging loops (handy for hanging aprons, artwork, pot holders, dish towels, etc.)

One of these days, I would so love to redo the countertops and backsplash. But for now we're simply working with what we've got, and it's more than enough!

Tiny House Closet Nursery - The Details
My favorite part of putting together the nursery was finding all the little, practical details to use in the space while our son is an infant. My main shopping resource was ETSY, but I discovered incredible products (both new and vintage) from a variety of other makers and vendors as well.

CRIB | The first piece we picked was the crib. We needed a VERY specific size, and this Alma Bloom Mini Crib (on wheels, which is a feature we love and use frequently here,) ended up being absolutely perfect. The crib's platform height is adjustable, and the entire thing is easily collapsable. We couldn't have dreamed up a better design for the baby's Bay.
CLOTHING STORAGE | Next we needed a vertical storage solution for the remaining cubby (to the left of the crib). And again, it had to be a super-specific size. I found a lightweight, simple set of rolling drawers on Amazon. They're well-suited to the space, and we're thrilled with the piece's functionality.
LARGE ITEM STORAGE | The last major element of the Bay to consider was the top shelf. We needed durable storage containers that were roomy enough to hold several items, but we also needed them to be small and soft enough to slide onto and off of the top ledge. (We also had to ensure that whatever we selected would remain secure during an earthquake.) I found three gorgeous jute baskets from The Dharma Door (USA), and not only are they ideal in terms of use, but they're completely beautiful:
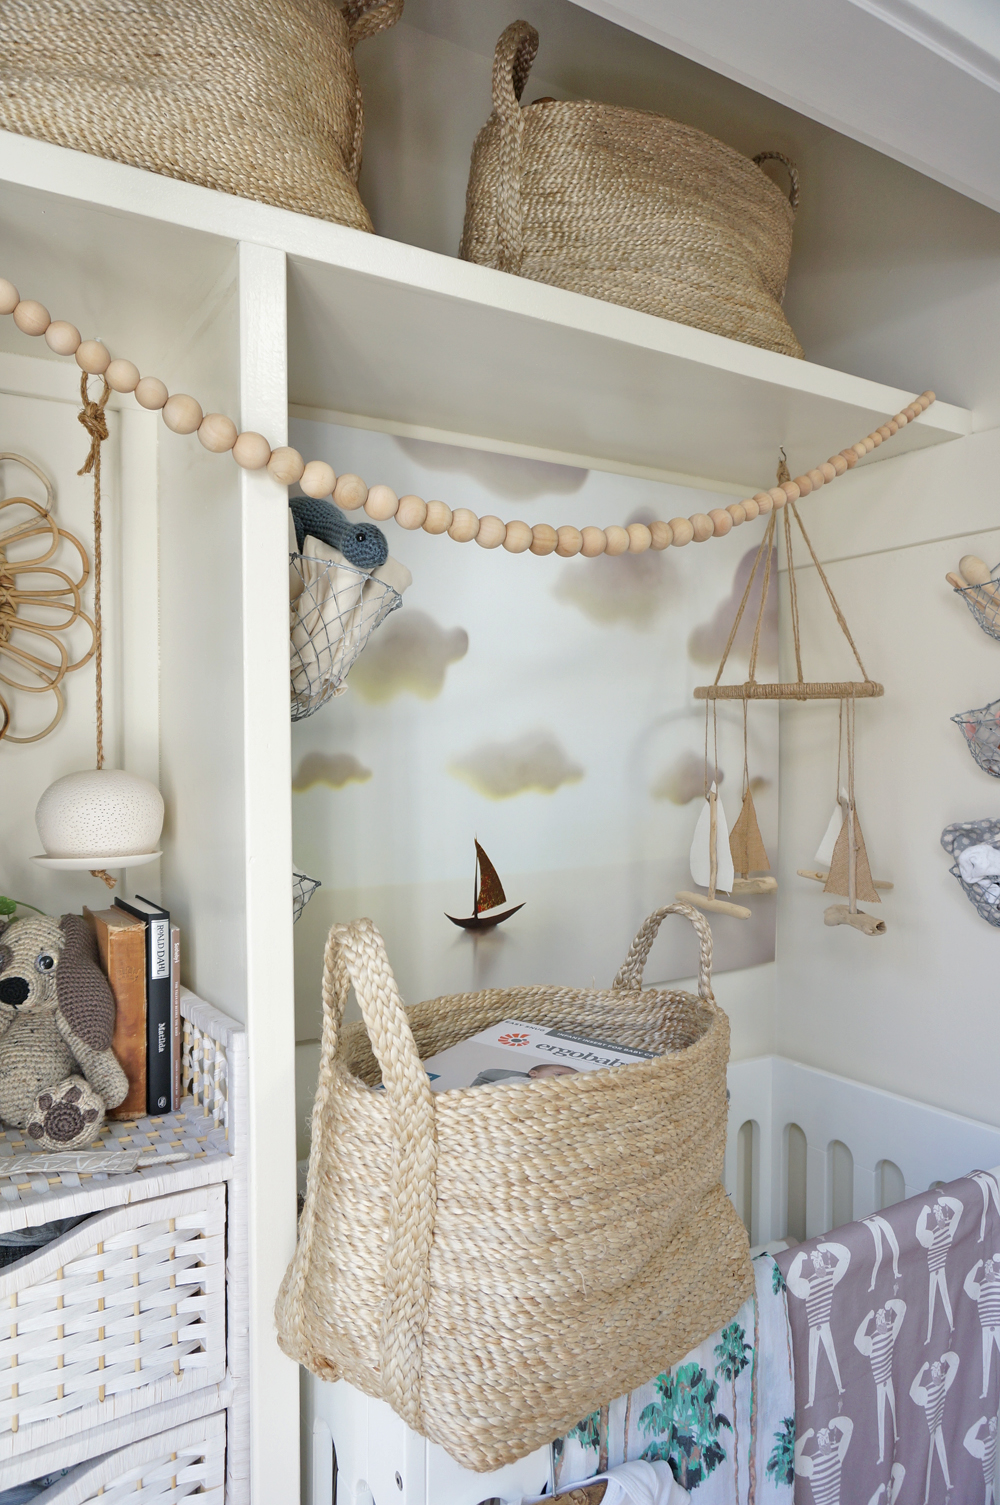
OPTIONAL CLOTHING RACK | We removed the dowel rods from the closet, as we don't intend to hang the baby's clothing in the space. However, in case we do need a place to hang items from time to time, I found a wooden bead garland (to act as a clothing line) via ETSY that I shortened to fit our needs, and then secured to the inner lip of the Bay's top shelf. I can pull the strand out whenever we need to hang something up, and then tuck the strand away again when it's not in use:
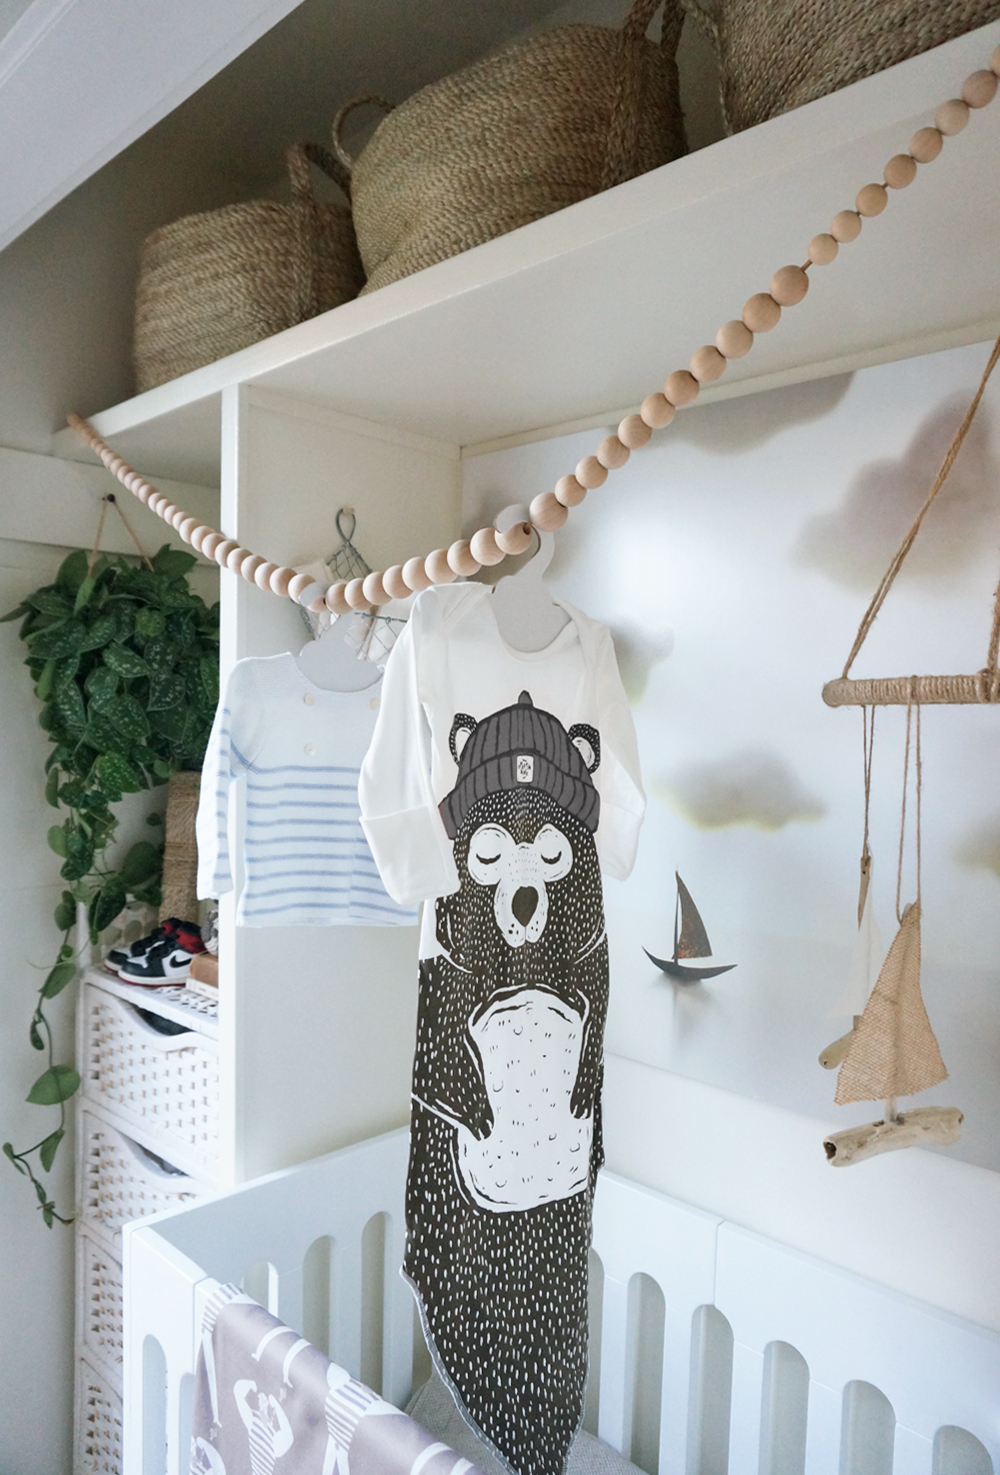
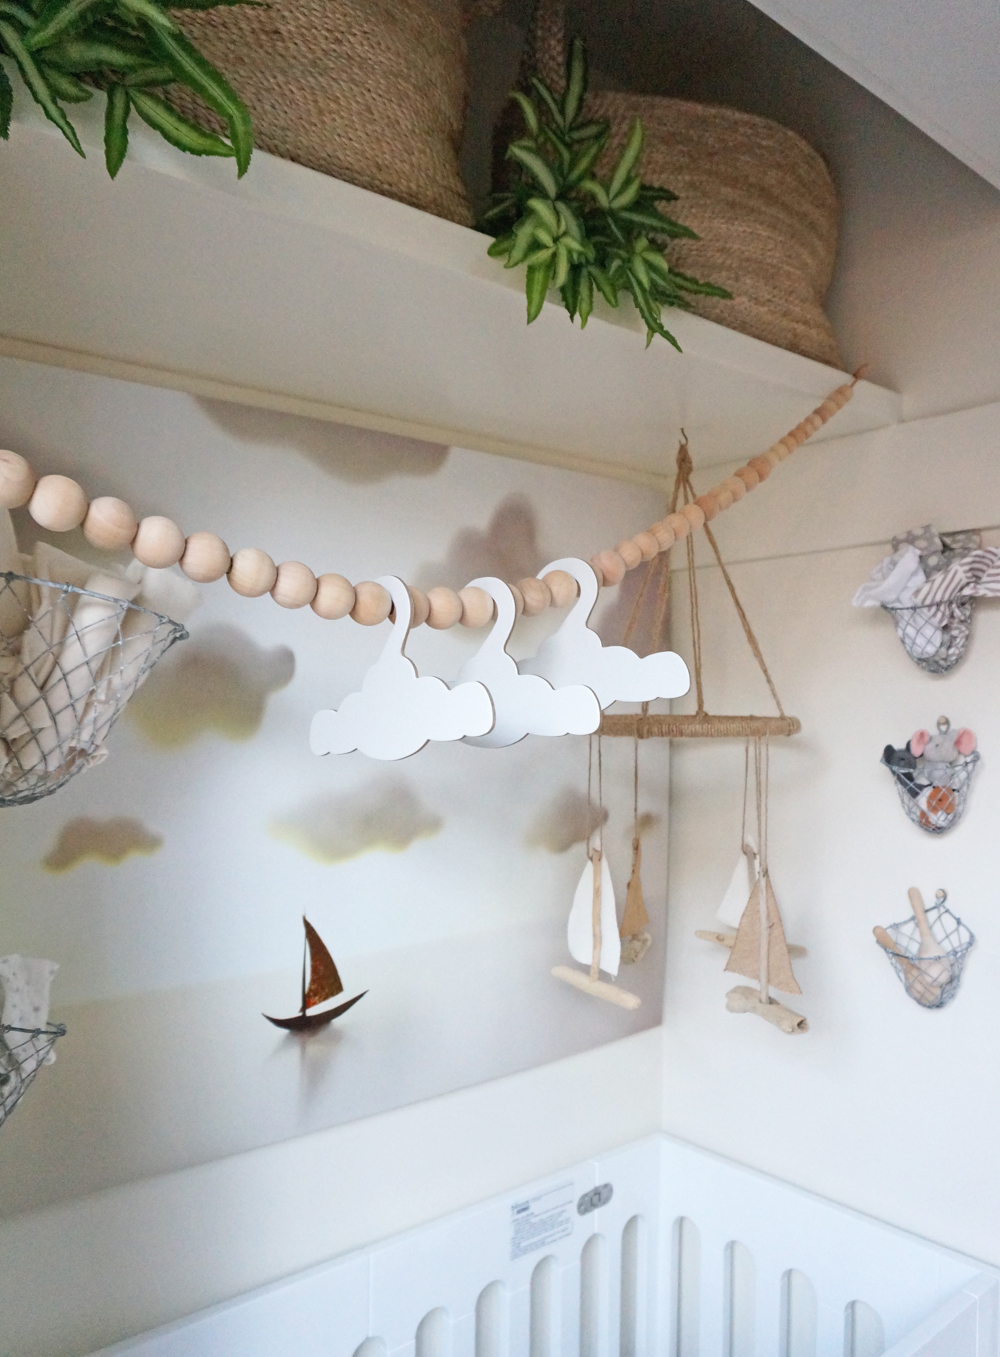
As such, we also needed some small, light hangers. I opted for these adorable cardboard clouds from Little Dundi, as we can recycle them once they're no longer needed:
ARTWORK | Then came the artwork! I wanted the nursery to have dedicated imagery, but for the pieces to compliment the other art within our bedroom. I also toyed with the idea of dark accent walls and/or wallpaper for the Bay. In the end, however, the bright, clean walls decorated simply with the art won me over. (Plus, we want the Bay to be easy to adapt, so it can evolve as our son grows.) I chose the following pieces for the Bay and the bedroom, and kept the possibility of earthquakes in mind when choosing how and where to display them:






Sources:
1. "They Delayed the Workings of the Day..." by Elly MacKay as "Theater Clouds" on ETSY (Link)
2. "Legends" book cover (Vintage)
3. "Homestead" by my friend Gregory Beauchamp as "Beauchamping" on Instagram and ETSY (Link)
4. "Peace Leaves" pen + ink by Britt Fabello as "Sea of Atlas" on Instagram and ETSY (Link)
5. Medium, vintage-reproduction nautical map of the "Reefs of Florida" from Archive Print Co on Instagram and ETSY (Link)
6. Large, vintage-reproduction nautical map of "Old Santa Monica" from Archive Print Co on Instagram and ETSY (Link)
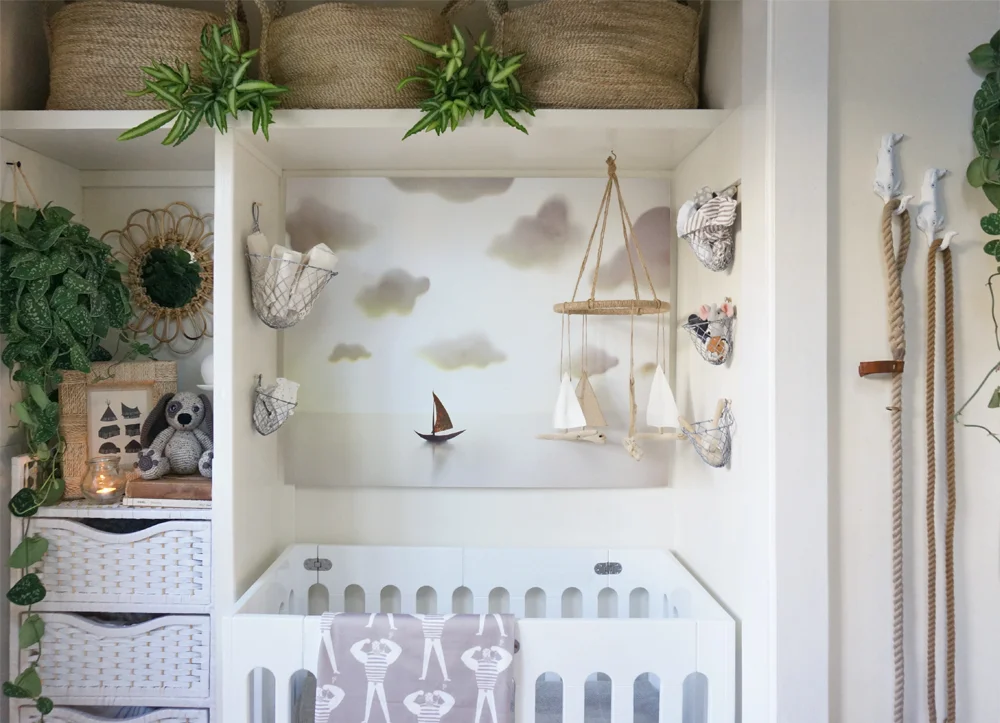
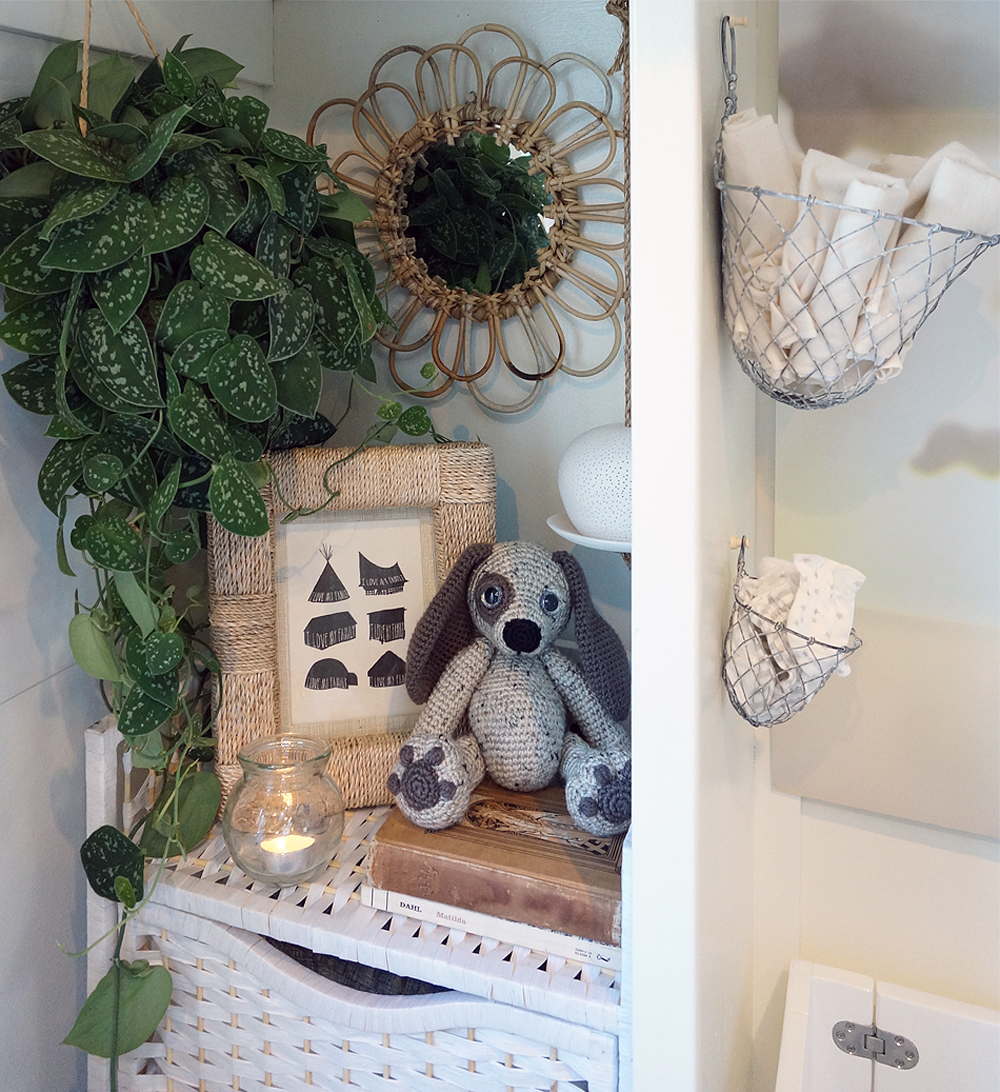
(Also pictured: Handmade beagle plush toy by ADToys via ETSY)

FUNCTIONAL ACCESSORIES
Next on the to-do list was the delightful task of selecting functional accessories to help us easily access and stash various necessities.
I selected these lightweight Otis Wire Wall Baskets that I found on Domino to help hold miscellaneous cloths, tiny clothing, and toys. (As our son grows and begins to be able to reach these baskets, we'll relocate them.)
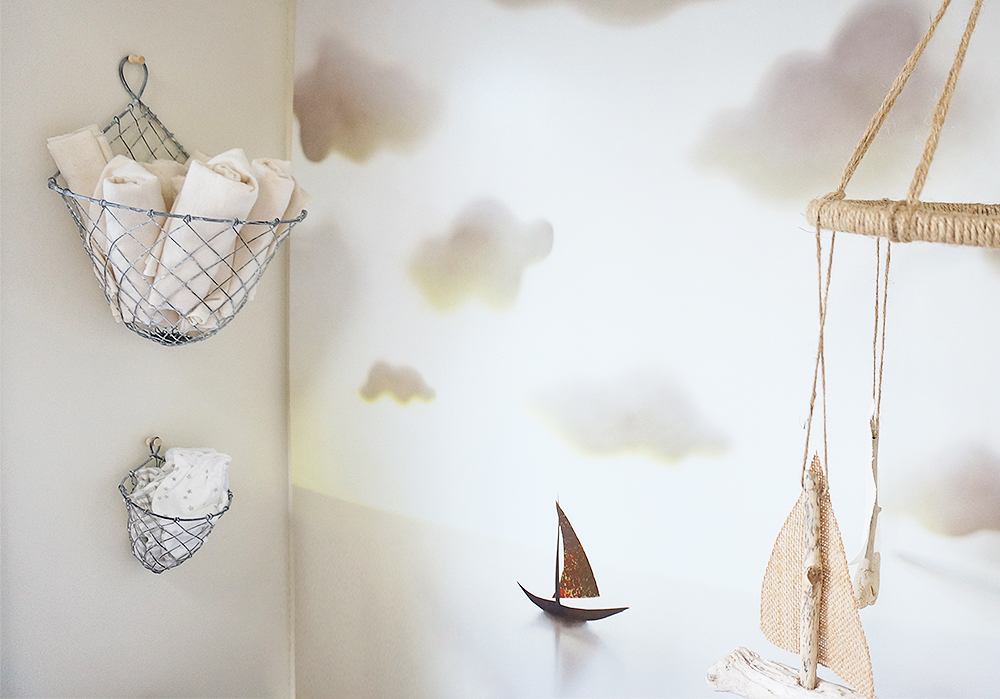
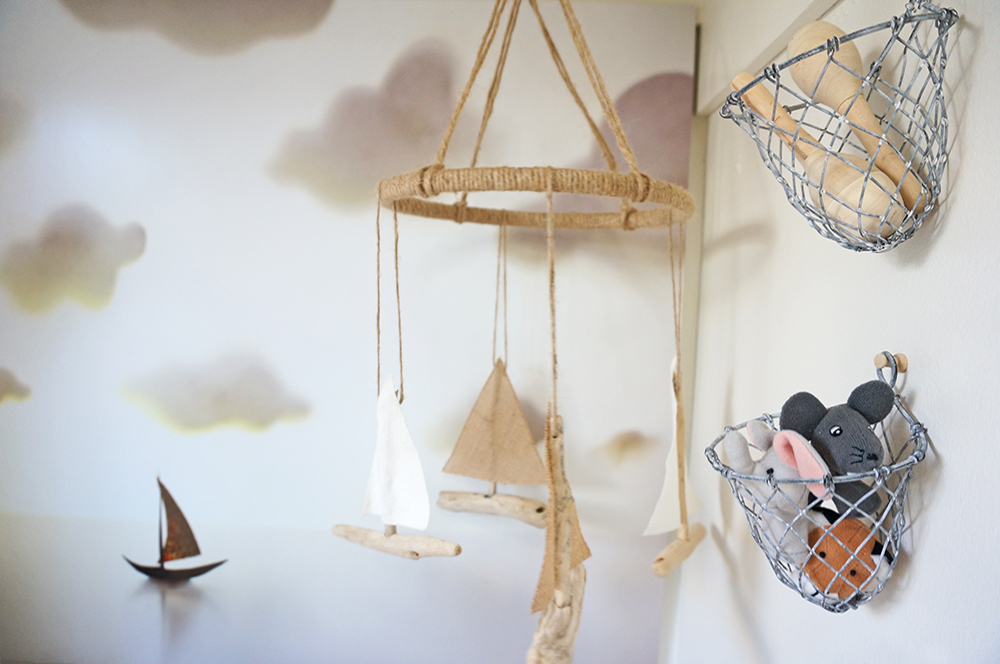
(Also pictured: Small driftwood, burlap and hemp baby mobile-- another ETSY find, via Wiggly William.
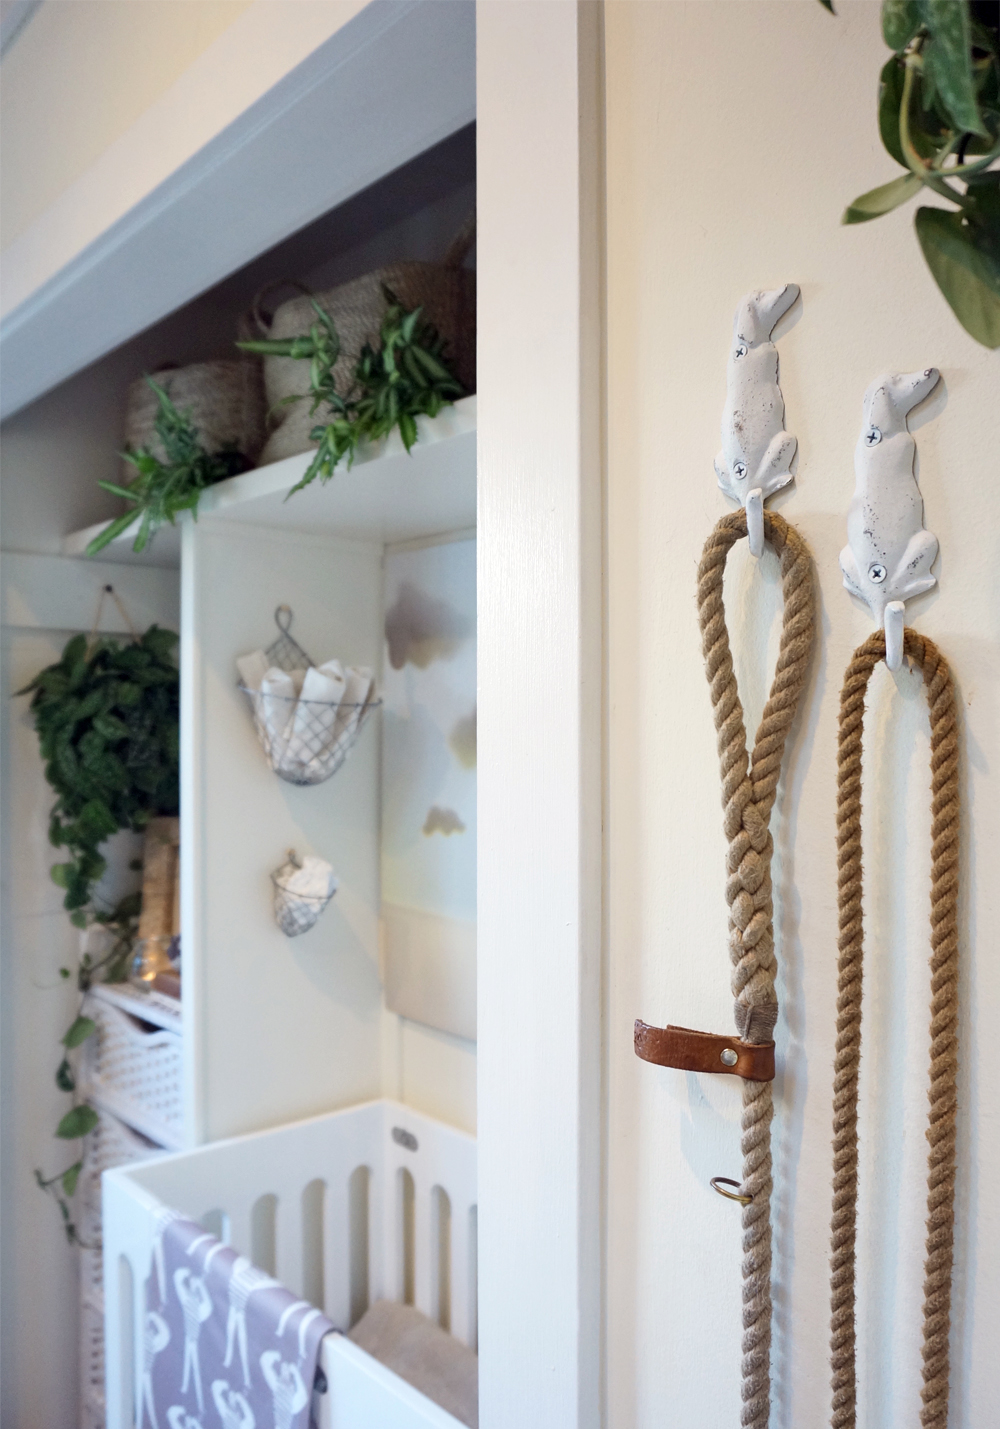
I wanted new hardware to hold Stanlee's and Sophee's leashes next to the Bay. This pair of hound hooks (also from ETSY) were spot on, and blend well with the decor when paired with the nautical rope leashes by Resq Co:
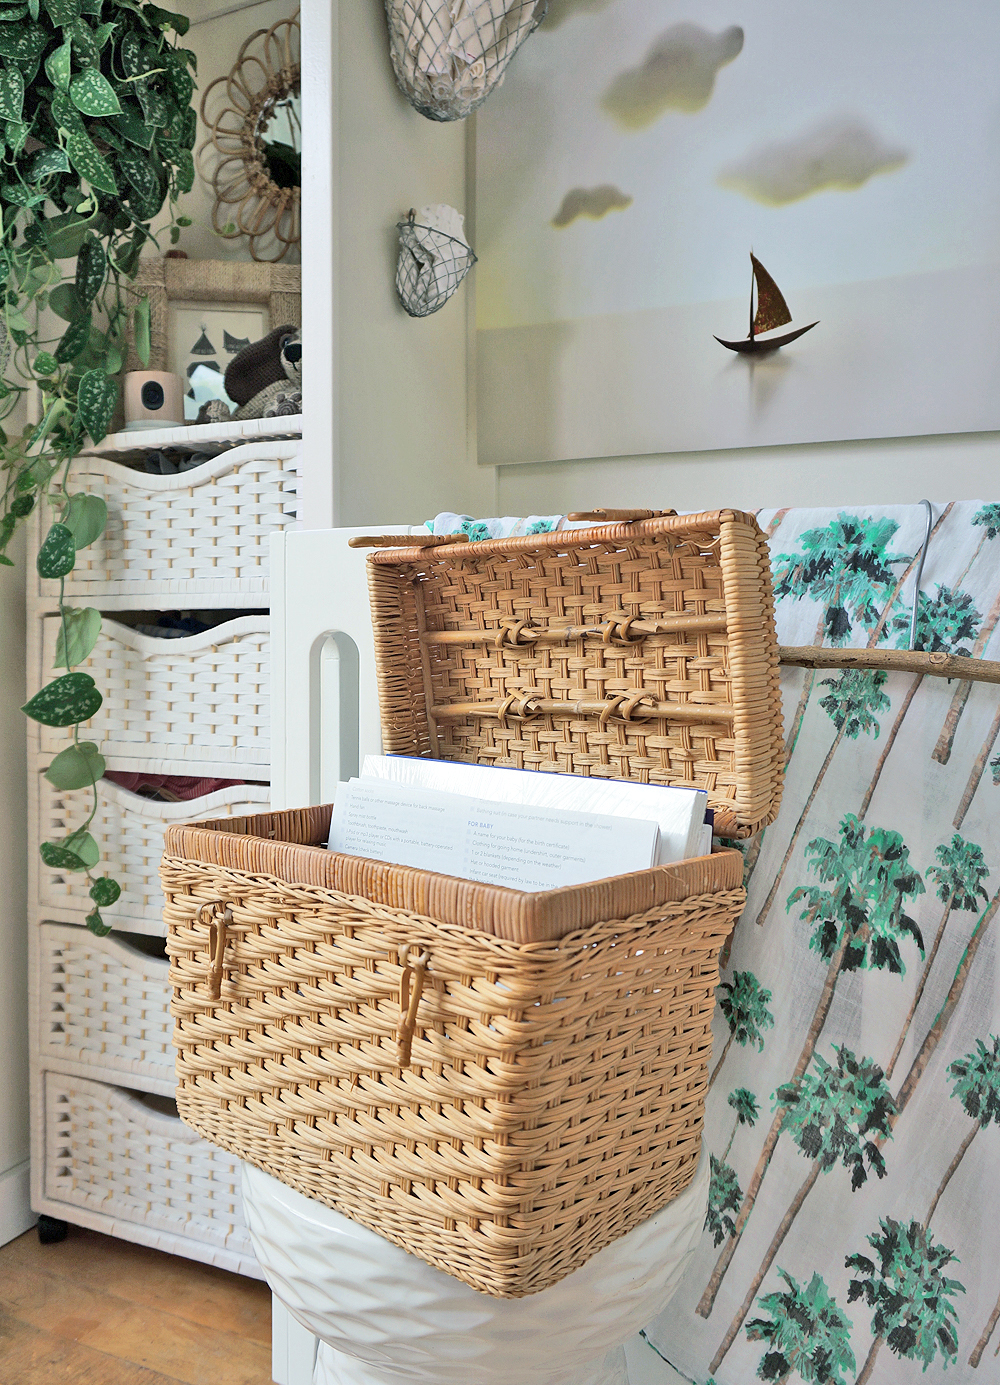
We needed to find a place to stash my prenatal and postpartum paperwork, as well as the baby's ultrasounds and future health records. Rather than opting for another "storage solution" I wanted to find a pretty lil' something that could be left out in the open like an art objet. I stumbled upon a vintage picnic basket at Tower 20 (by Tim Clarke Design) in Santa Monica, and repurposed it into a medical files box:
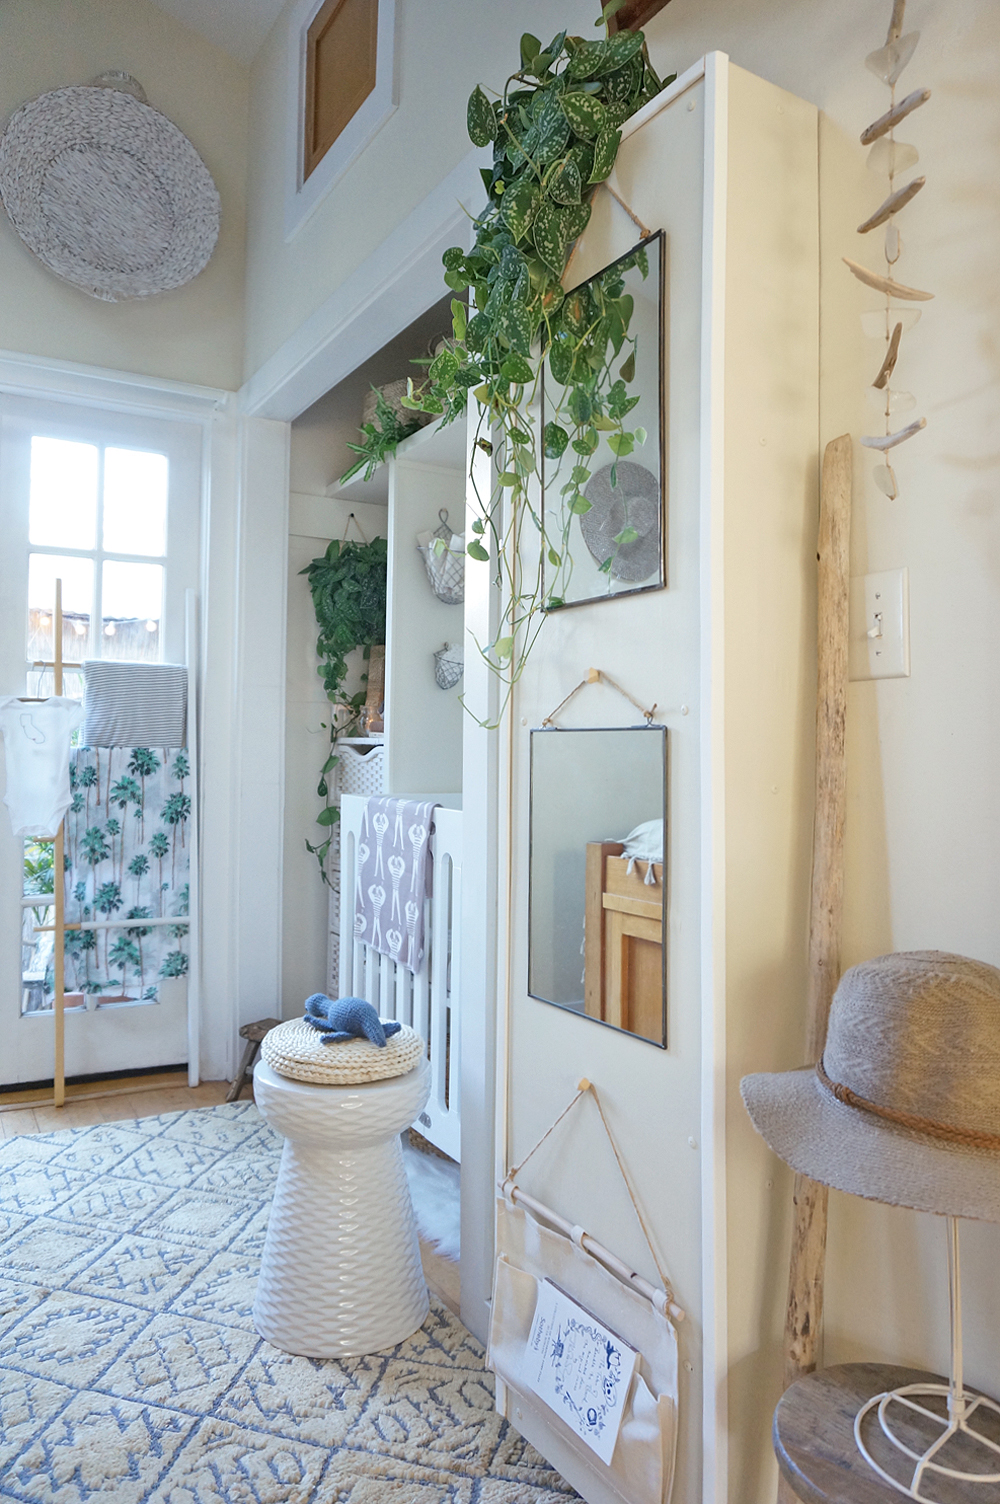
I then decorated the nearby heater cover with lightweight mirrors to help brighten and enlarge the appearance of the space:
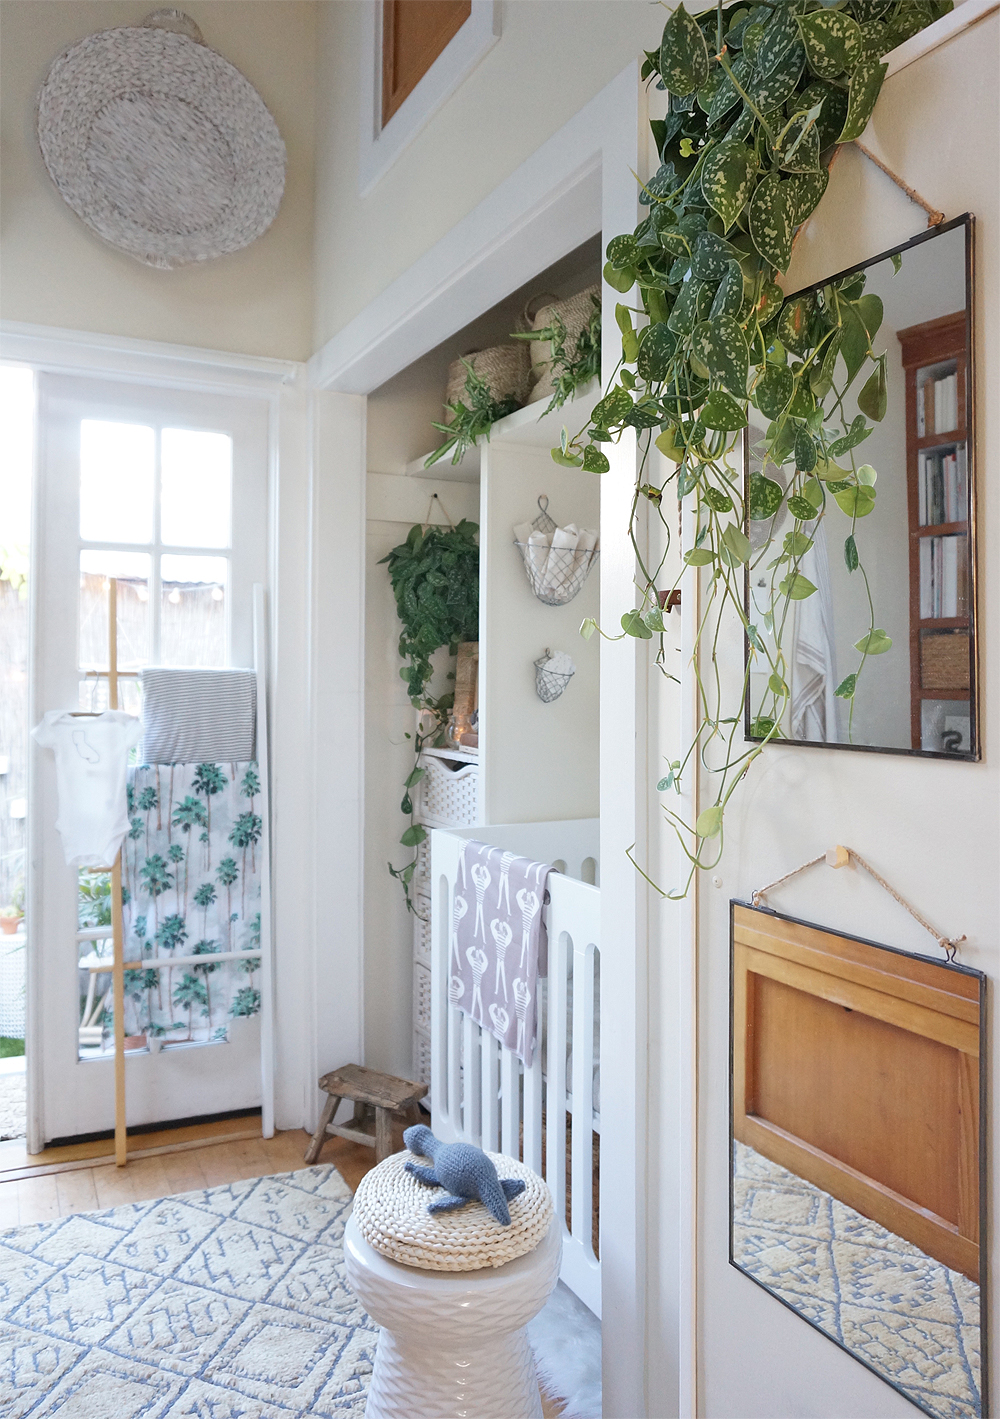
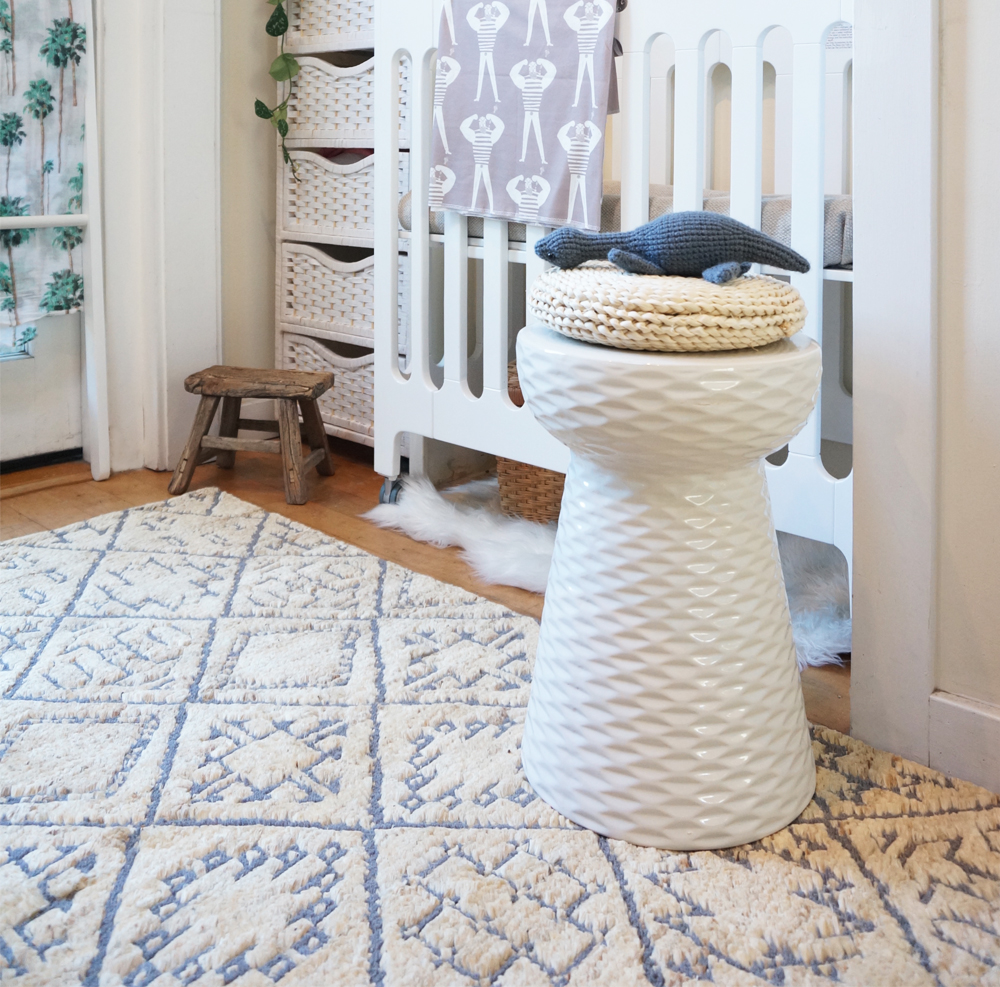
(Also pictured: Handmade Loch Ness monster plush toy by MEVVSAN from etsy // Small wooden stool (vintage) // 2-toned Umbra hub ladder // Daphne white garden stool from home decorators collection // Sailor swaddle by Woolf with me)
We also needed a new, cozy rug to sit on while spending time with the baby. I found the Sahara Rug in Sand via Loloi Rugs, and it's my new favorite item in the bedroom:
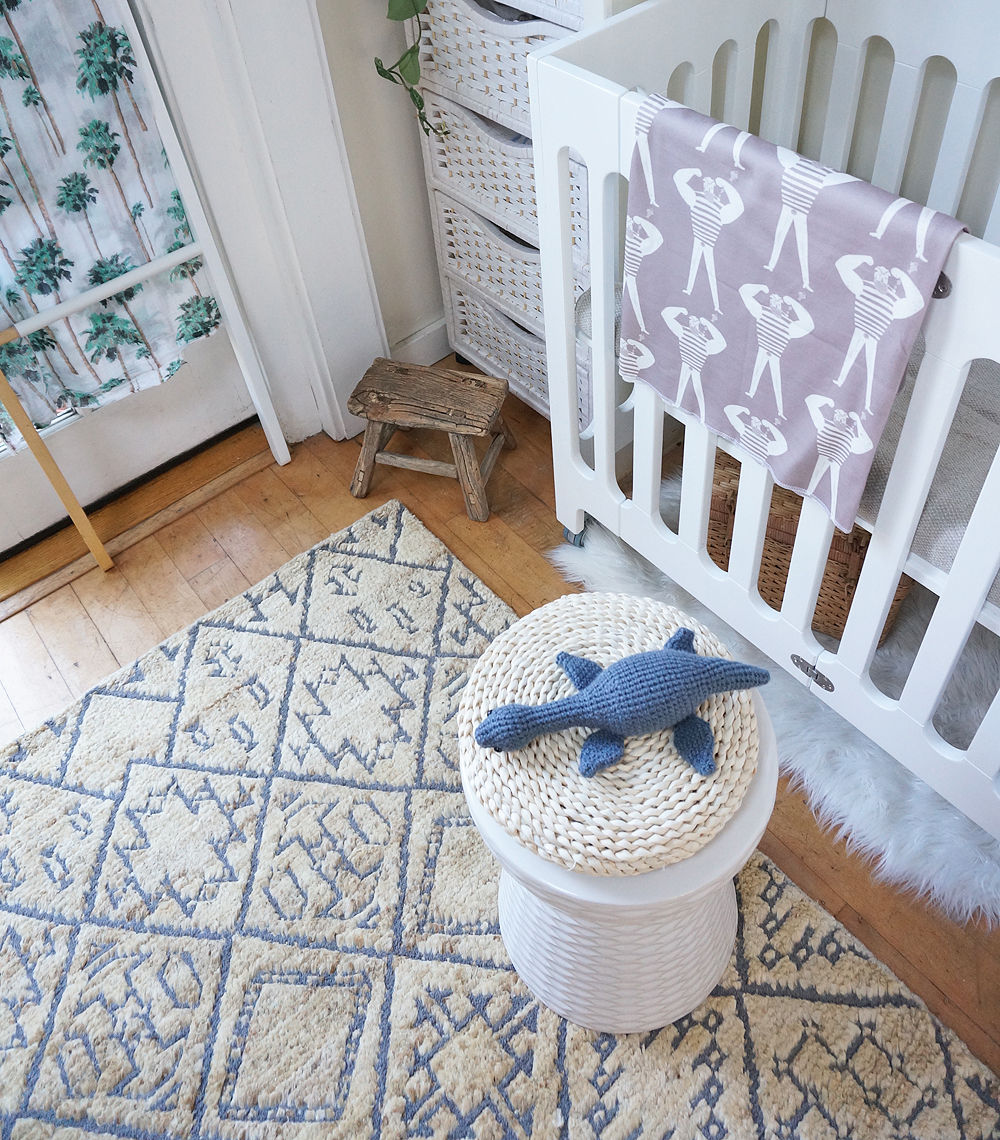
(Also pictured: Handmade Loch Ness monster plush toy by MEVVSAN from etsy // Small wooden stool (vintage) // Daphne white garden stool from home decorators collection // Sailor swaddle by Woolf with me)
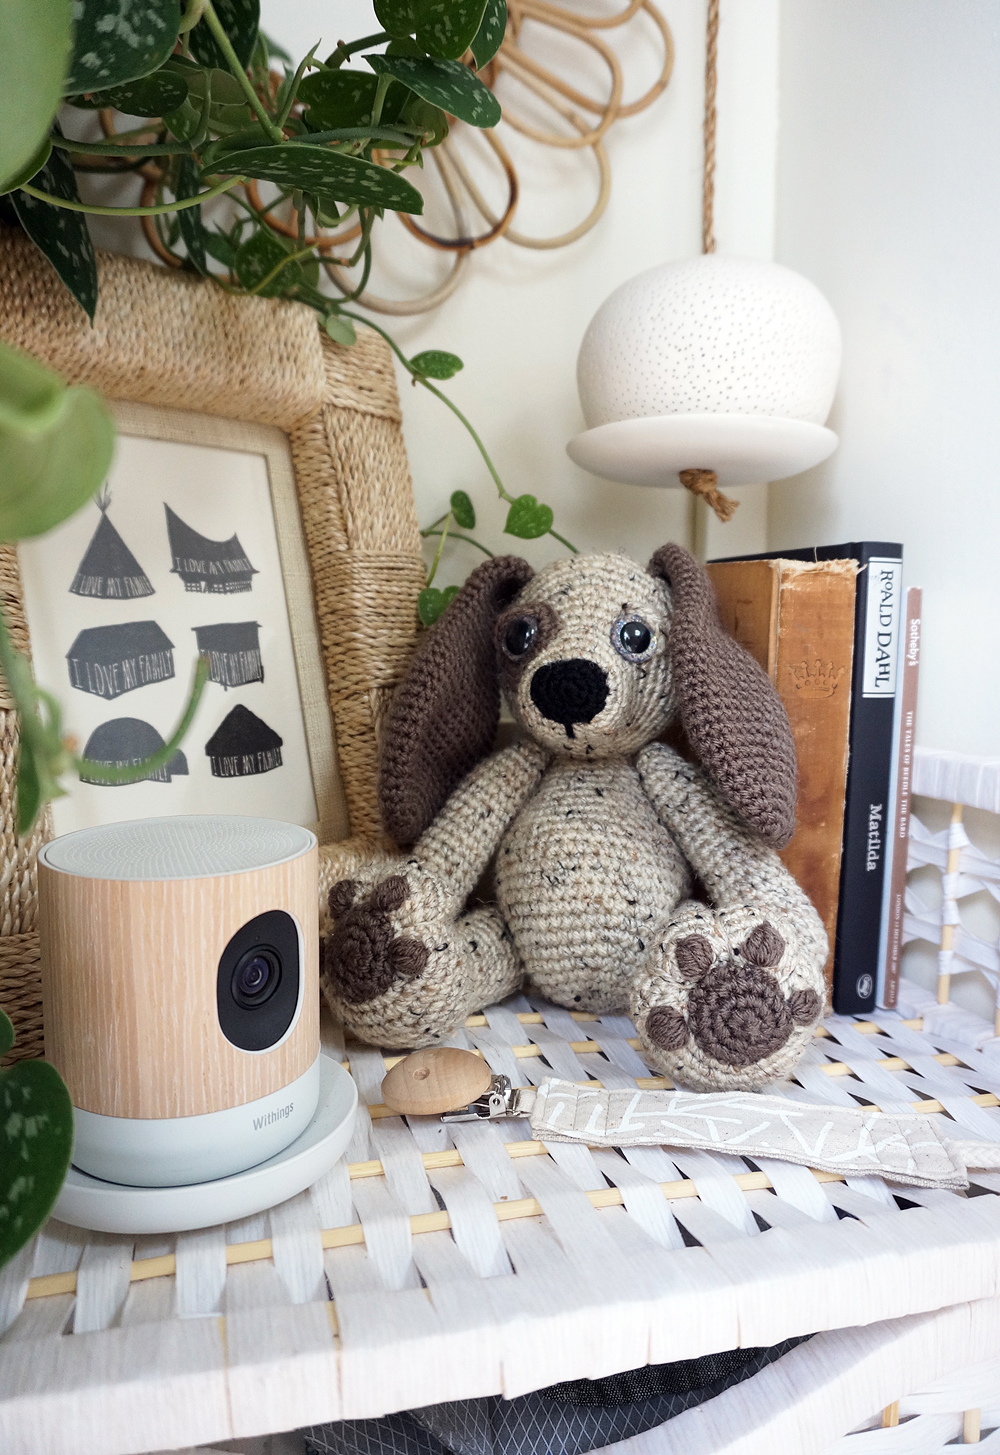
Another item on the checklist was a baby monitor. But we also wanted something that could act as a general security and pet cam when we're out of the house. We love the look of this Withings "Home" camera, and that it has several audio features that we can control with our iPhones. (We've started using it already to speak to the pups when we're out, which is always entertaining.) We'll have to find the perfect place for it once the baby arrives!
CHANGING AND BATHING TABLE (+ ACCESSORIES)
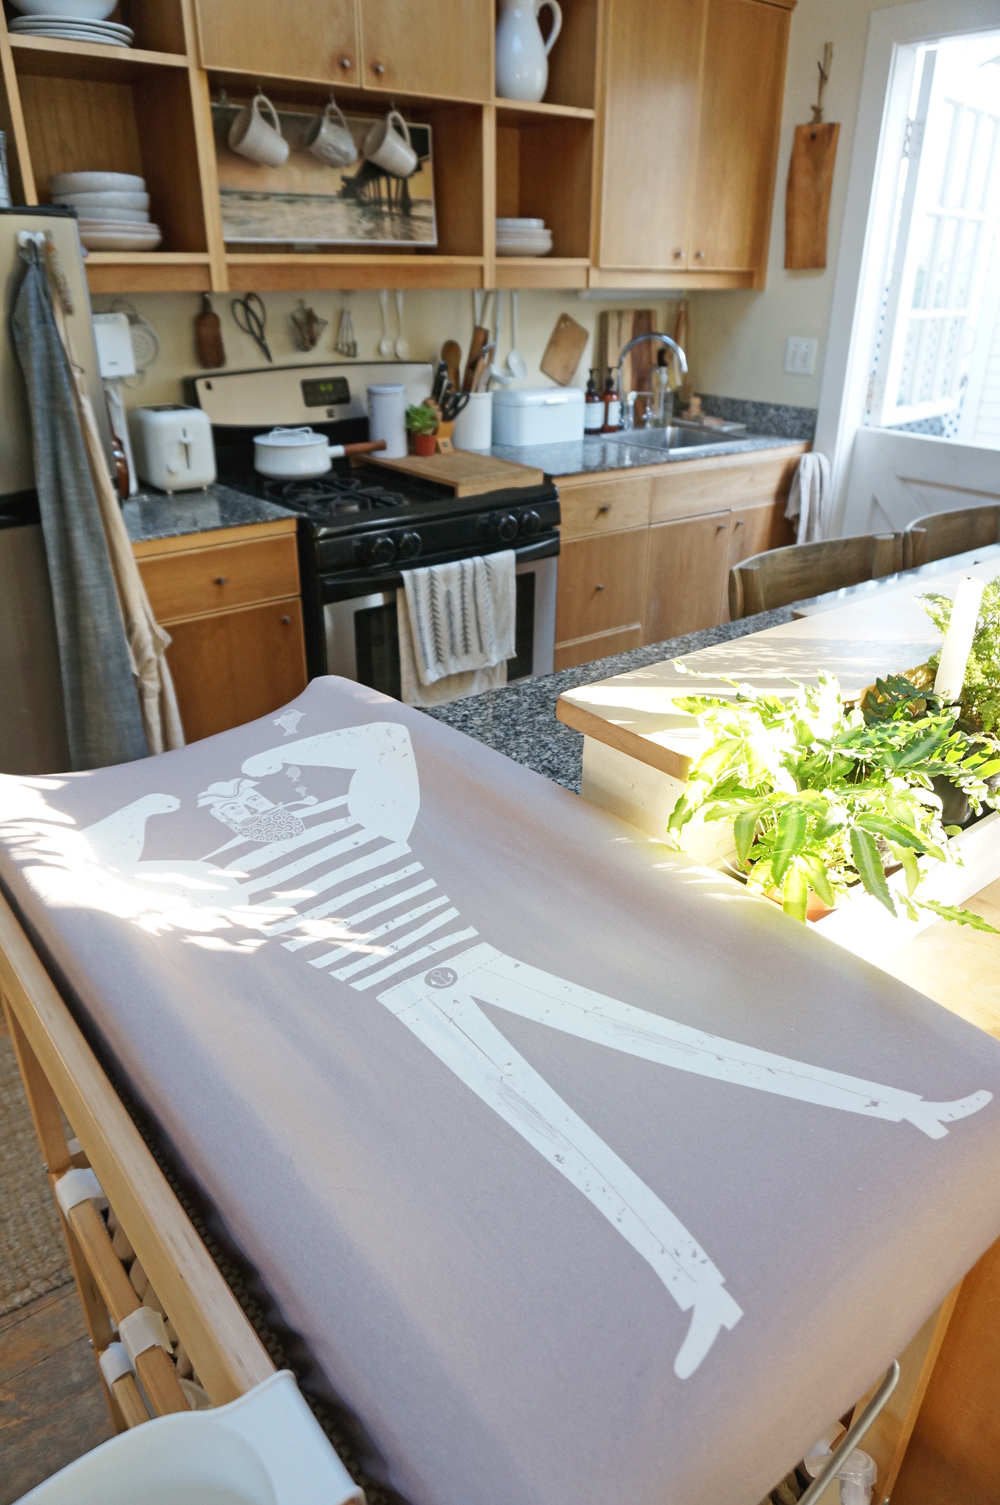
Last but definitely not least, we needed to find a changing table and baby bathing solution. While we could've used any place in the house for changing diapers, we wanted something dedicated and mobile. I am nearly 6' tall, and Adam is even taller, so the idea of bending over a low surface for changing and bathing was completely unappealing to us. Meanwhile, our sinks (bathroom and kitchen) are too small and not properly designed for baby bathing. We don't have room for a changing table AND a bathing solution, but luckily we found a rolling combo piece.
... and no, we aren't keeping the combo table outside-- it's just easier to photograph out of the house! It will be a mobile piece within the Cottage.
How cute is this greige sailor changing pad cover by Woolf With Me?!
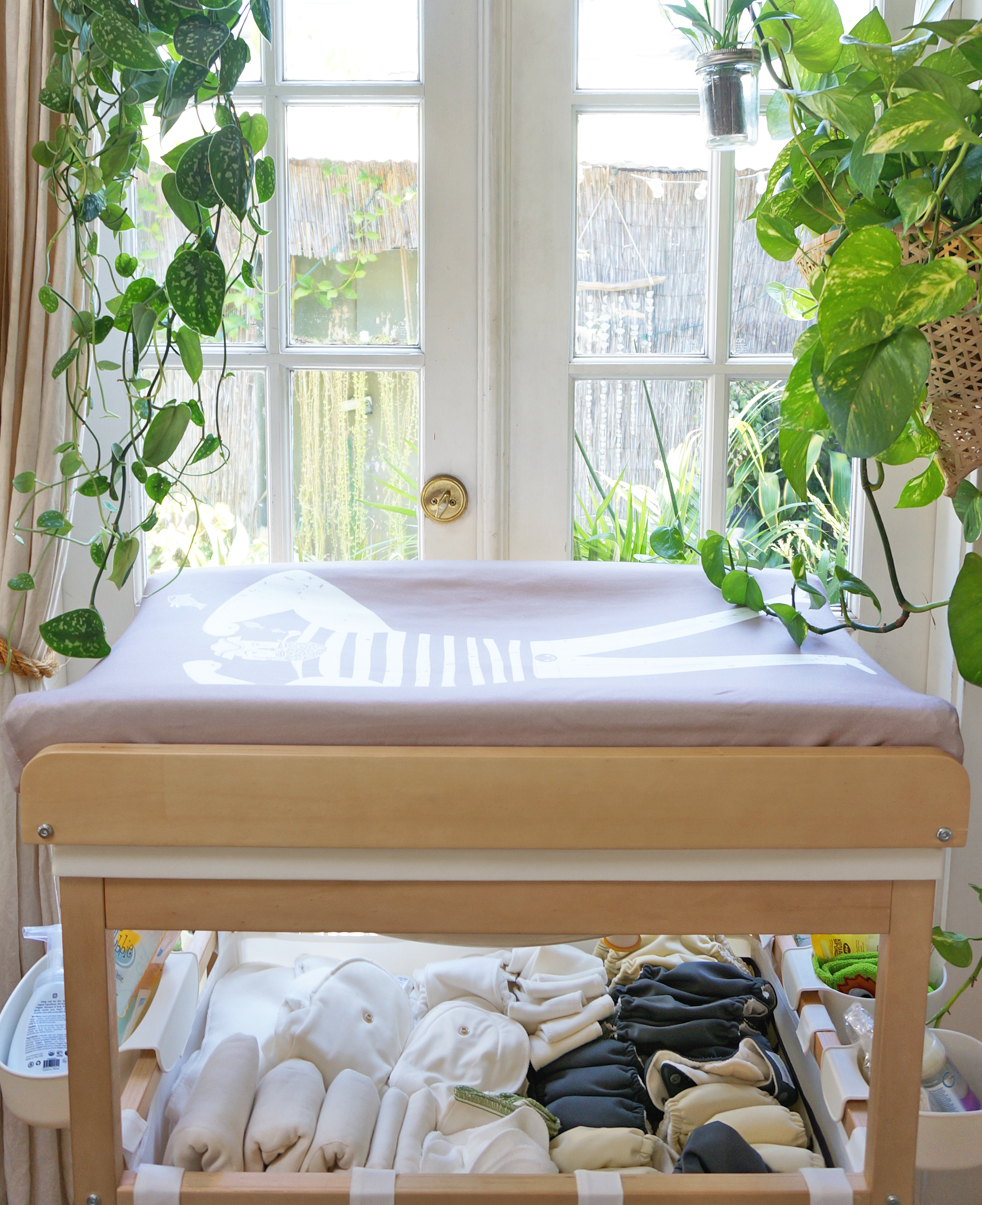
We've already stocked up the cart with multiple diapering systems from GroVia. (We've used them on our nephews who are here frequently, and they've worked wonderfully.)
When we're on the go, we'll use this handmade changing mat from Fawn + Cub. (I bought this a year before we decided to get pregnant. Crazy, I know, but I just loved it so much.)

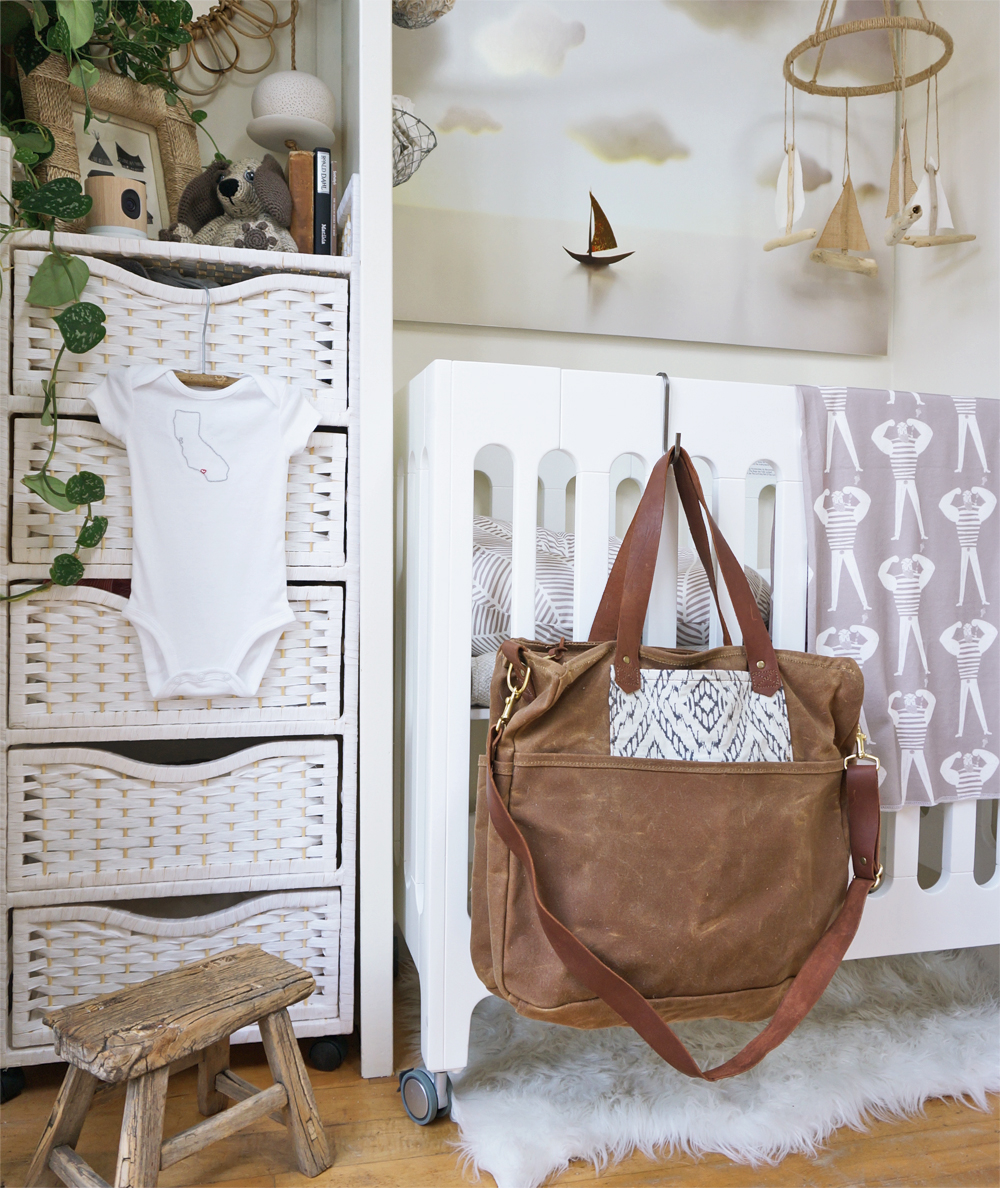
Our diaper tote is also made by an ETSY vendor-- a married couple who run a shop named Kith and Kin. Adam and I love how this unisex bag is both durable and beautifully designed:
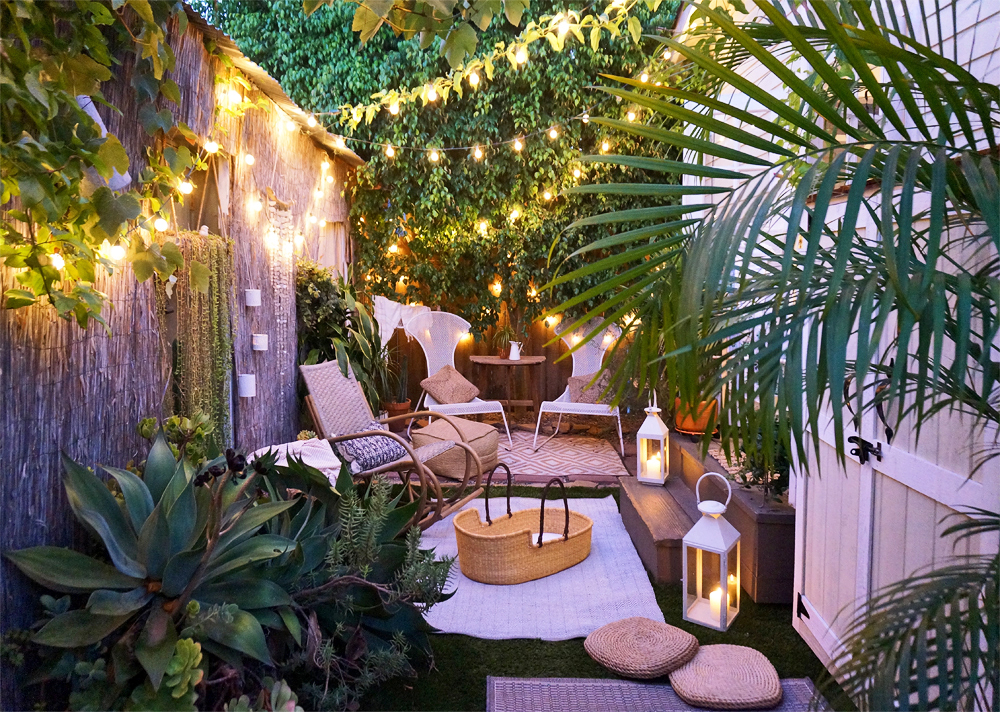
LOUNGING | We don't have the room for a glider inside, so we placed a wicker rocking chair from Joss & Main in the garden just off the bedroom/nursery stoop. We dressed up the space with outdoor rugs, throws, lanterns, and a 5' handmade mobile by Sea & Glass. If the baby isn't in our arms while we're enjoying the garden, he'll be in this gorgeous Moses Basket from Plum + Sparrow:
WHEW. Now I think the only thing we still need is... THE BABY. Hurry up, October! We are can't wait to meet our son and introduce him into this loving, little world of ours.

Tiny House Closet Nursery - The Baby’s Bay
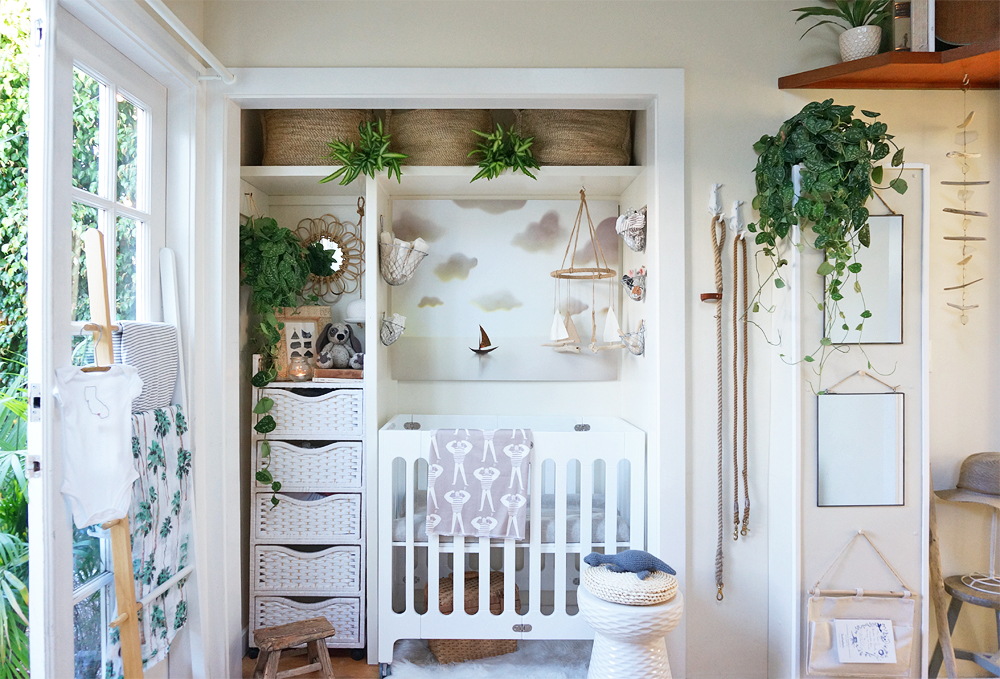
When selecting a dedicated area for our son’s nursery, we did what many small-space dwellers do and opted to convert our closet into his little room. I didn’t intend to have a “theme” for the space, but it happened on its own over time. The colors, textures and prints I selected were sandy and neutral, and the artwork I loved most reminded us of our lives here along the ocean. Before I knew it, we had a subdued coastal vibe going on. As such, I started referring to the little alcove as "The Baby’s Bay."
There were some basic updates that needed to happen before we could safely and practically convert the closet into the Bay. Thankfully they were all simple:
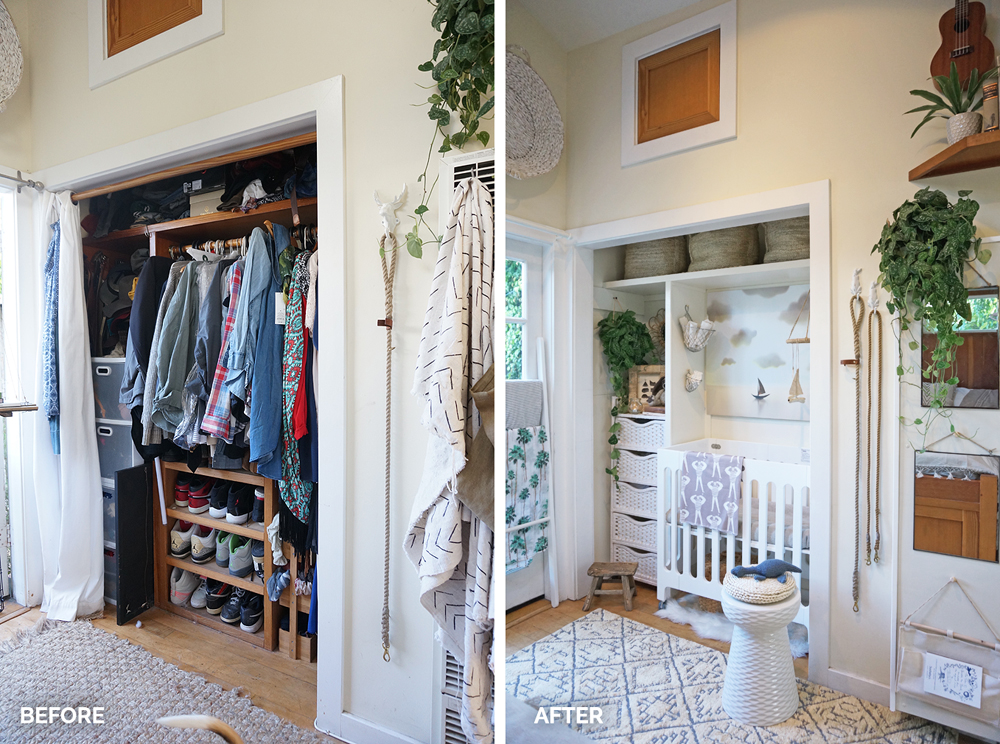
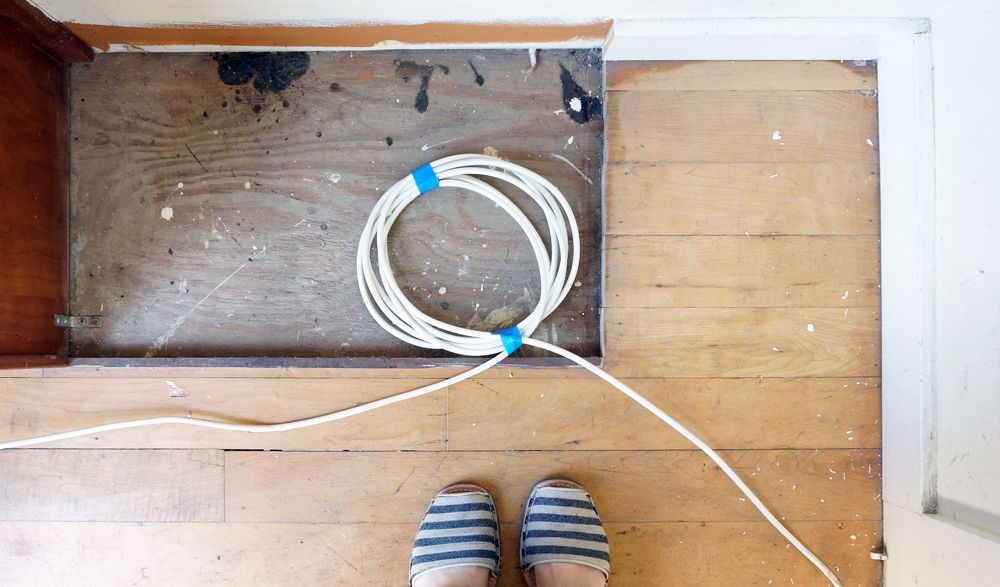
1. Deconstruct the built-in shoe rack, and fill in the gaps left behind after its removal. We hired a local handyman to do this. He ripped out the built-in shoe shelf, and then used a mix of old and new materials to fill in the gap in the floor where the shelf previously stood. Meanwhile, I visited The Home Depot to pick a trim that matched the rest of the closet, and had it cut to fill in the gap in the molding left over from the shoe rack removal:

2. Remove the internet cable cord, which was fastened to the molding on the perimeter of the closet. Our internet provider sent a technician to help us with this process. He removed the ugly cords that sat inside for years, and relocated them to the crawl space under the cottage.
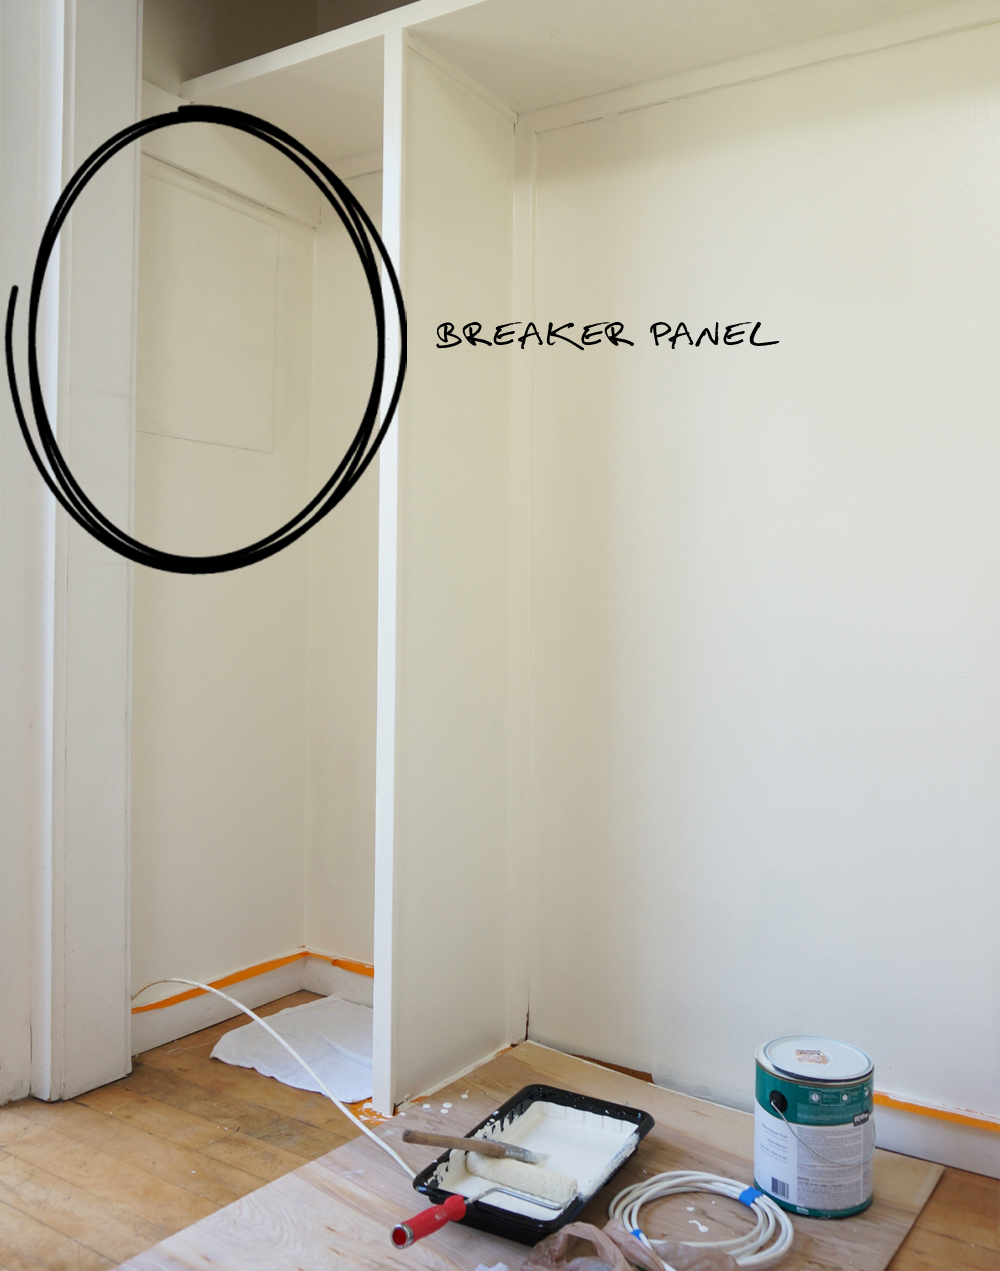
3. Cover the breaker panel, while still leaving it accessible: There’s a standard grey electrical panel on one side of the closet. We need to maintain easy access to the door, but I wanted to cover it up for the nursery. I used a magnetic sheeting overlay to mask the hardware, and painted it to match the color of the wall:
4. Remove the heater control panel box, closet dowels, and miscellaneous hardware. We had an electrician help us with all necessary wiring modifications. Beyond that, it was a simple matter of applying spackle and wood-filler where necessary before repainting everything.
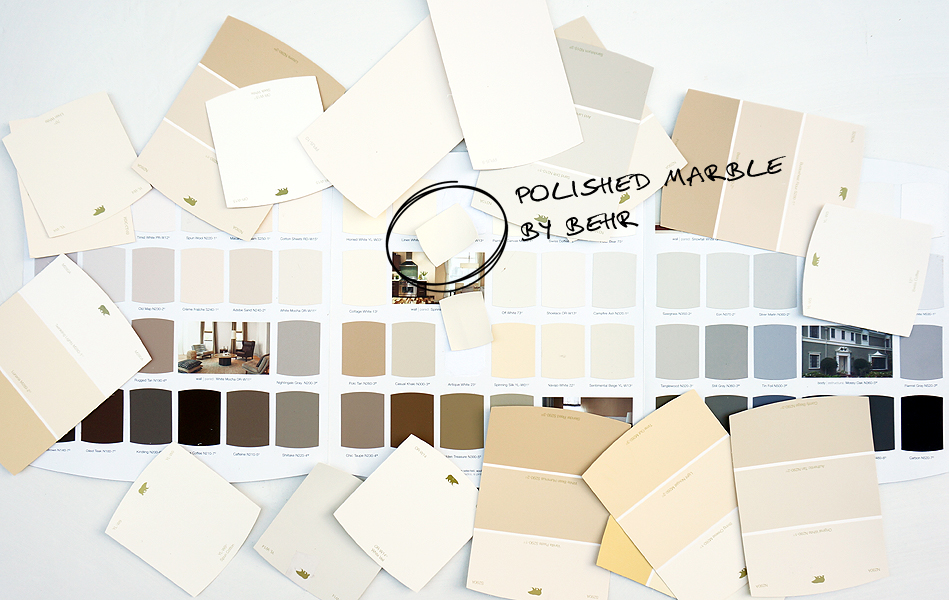
5. Leave the remaining built-ins (a high, closet-wide horizontal shelf and vertical divider) in place to help protect the baby from items that could displace during an earthquake, but better-blend those walls into the overall space. We always planned to leave the remaining built-ins within the closet for safety, and aimed to work with them when outfitting the space. But the dark wood lines drew attention to the dividers, and made the alcove feel even smaller than it is. So we chose a paint color that’s a few shades lighter than our bedroom walls to brighten up the previously shadowy Bay. I selected “Polished Marble” by Behr. I love how it appears to blend with the rest of the room, even though it’s actually quite a bit whiter:
Once we had this new, blank canvas, I could finally visualize the nursery. I found a little white garden stool from The Home Depot’s décor brand, Home Decorator’s Collection. I placed it by the crib, and I sat there rearranging and restyling the room in my mind for hours. The space then came together easily, despite its size.
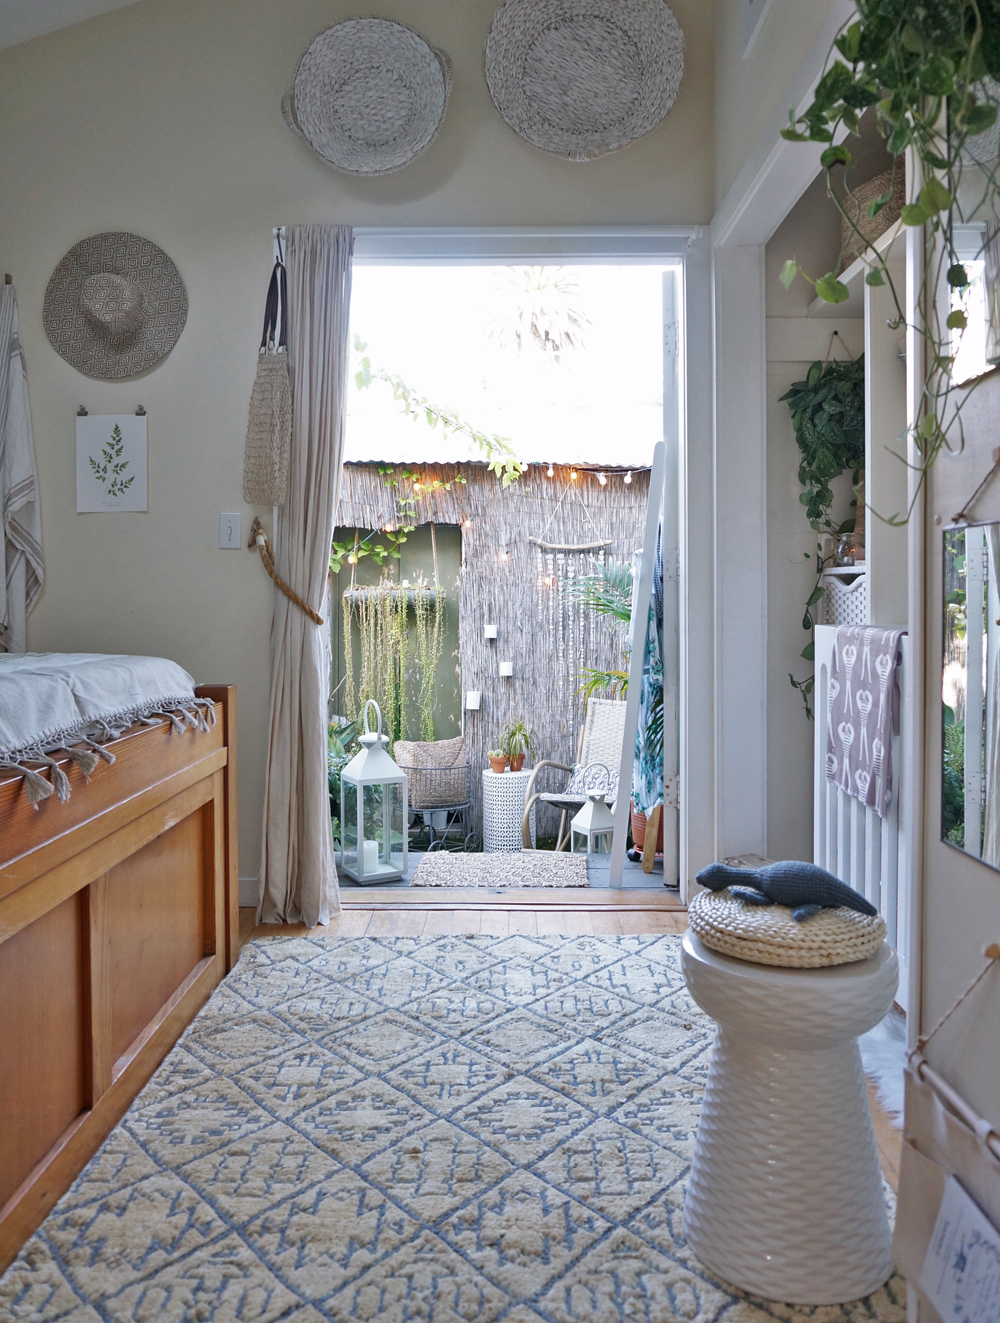
Before we updated the closet, I used to obsessively close our curtains to avoid seeing the overflowing contents behind them. Now the closet is a bright, airy, and happy component of the Cottage. It feels as though it should’ve always been outfitted this way.
You don’t need to start from scratch to transform your existing square-footage into a space that better suits your evolving needs. With a bit of creativity and paint, you can turn a box into a Bay. You don't need to live large to live beautifully!
I acknowledge that The Home Depot is partnering with me to participate in this nursery makeover project. As a part of the project, I am receiving compensation in the form of products for the purpose of promoting The Home Depot. All expressed opinions and experiences on this blog are my own, and are written in my own words. My post complies with the WOMMA Ethics Code and applicable Federal Trade Commission guidelines.
Tiny House Closet Nursery - The Garden Shed Wardrobe
When Adam and I decided to have a child, we knew we wanted to stay here in our tiny home. As we already share the space with our two dogs and my small business, we knew it would be a challenge to add a nursery to the mix, but we were so excited to make it work. Given our budget, we basically had two choices when tackling the nursery project in our tiny house:
Leave nearly everything as-is, downsize our belongings in existing storage spaces to make room for baby care necessities, and rely solely on mobile/rolling nursery components.
Create a dedicated nursery within an existing space by downsizing and relocating our other belongings from that area.
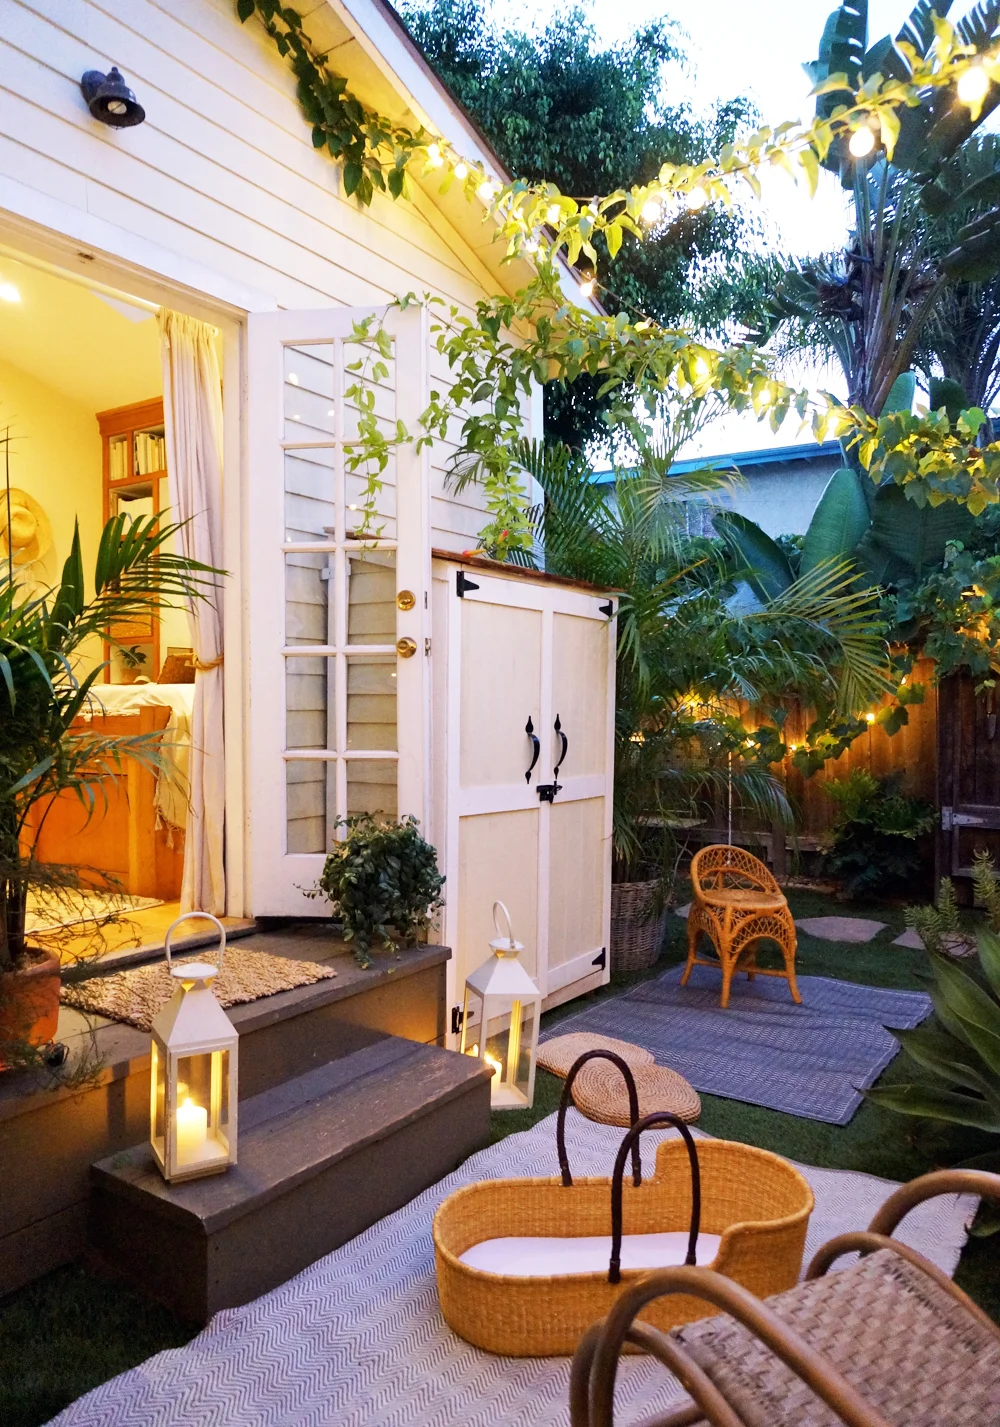
We went with option two, because thanks to the sunny, dry SoCal climate, we knew we could get creative with indoor/outdoor lifestyle and storage solutions. (If we lived somewhere that gets a a fair amount of rain or any snow, we would've stuck with option one.) We decided to convert our bedroom closet into the nursery, by downsizing and relocating part of our wardrobe to a 2'x4' cedar garden shed from The Home Depot.
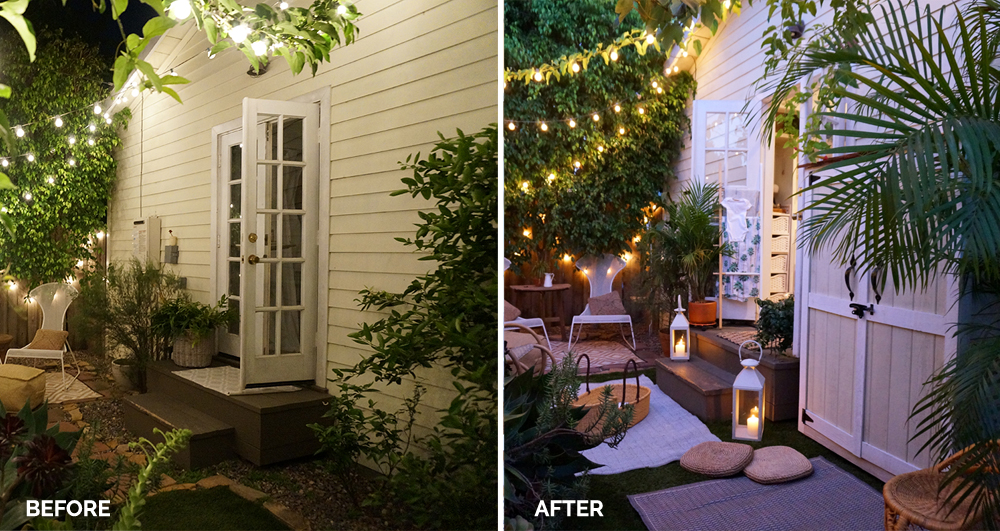
It's important to note that it VERY RARELY rains in Los Angeles, and the weather usually hovers somewhere around the 50°s to the 70°s. As such, our patio furniture stays outside and uncovered year-round, while select garden decor and accessories come indoors in the unusual event of rain. We've been using our outdoor spaces in this manner for over 5 years now, which gave us the confidence that we could pull off an unusual outdoor closet solution. Here’s how we did it.
DOWNSIZING
While storage solutions are obviously important in homes of all sizes, the clearest path to living simply is to not own too many things. While we extended our usable storage space at the Cottage via our new 2x4’ shed, Adam and I were able to make the wardrobe relocation project work by getting rid of nearly 1/2 of our clothing. Giving away belongings is second nature to us now, but it definitely took some practice at the beginning. For those of you struggling to let go with your unnecessary belongings, I recommend exploring The Life-Changing Magic of Tidying Up by Marie Kondo. (Try reading the digital version rather than the print edition and VOILA! You’re already on the path to reducing your physical possessions!)
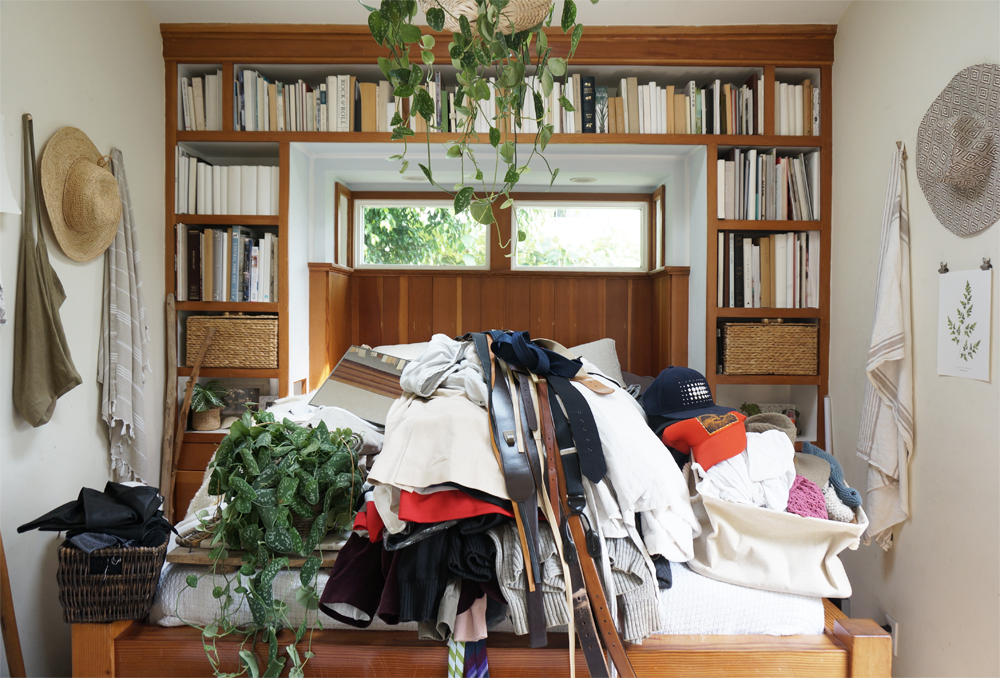
We removed everything from our shared closet, and created four piles:
The Giveaway Stack - I keep a folding bin from The Home Depot’s décor brand, Home Decorator’s Collection, in the laundry unit we share with our neighbor. Adam and I place our donation items in the bin weekly, and then drop its contents off at Goodwill and/or our local community housing organization about twice a month. We filled this bin (along with several other bags,) when cleaning out our closet for the nursery. I found that the start of my third trimester was the ideal time to tackle this undertaking. I hadn’t been able to wear my “regular” clothes for months due to the baby bump. It was therefore fairly easy to assess what I missed and needed, vs what I did not.
Infrequently Used but Useful Clothing - We put our winter/travel coats, scarves and other such infrequently used but handy clothing in two plastic, lidded storage bins. (The bins are now stowed at the bottom of the shed, beneath our hanging clothes.)
Weekly Wear to Hang - I had about 18”w of hanging clothes (dresses, tunics, etc) that needed to remain on hangers. We suspended those in a cedar wardrobe from Home Decorator’s Collection within the new shed, alongside Adam’s work shirts and sweaters. (Photo below.)
Daily Wear to Fold - I eliminated everything I didn’t need, and fit all of my daily casual dresses, tops and pants into one of the two trundle-drawers built into our bed. (Photo below.) The neighboring trundle was, and still is, our hamper. Adam bested me by downsizing his clothes even further— he managed to find a home of the rest of his pieces in the drawers that are part of the bed frame, beneath the bookshelves on his side of the bed.
We now keep all of our shoes in the built-in cubbies beneath the couch. (Photo below.) Socks, swimwear and underwear fit into the drawers that are part of the bed frame, beneath the bookshelves on my side of the bed


The fun (yet tricky) part of this project was finding a shed that was juuuuuust riiiiight for our little garden. We didn’t want to build on to the house— we just needed a simple shelter that was about 2’ deep by 4’ wide by 6’ high. Luckily we found this shed from The Home Depot, which was the perfect size for our needs:
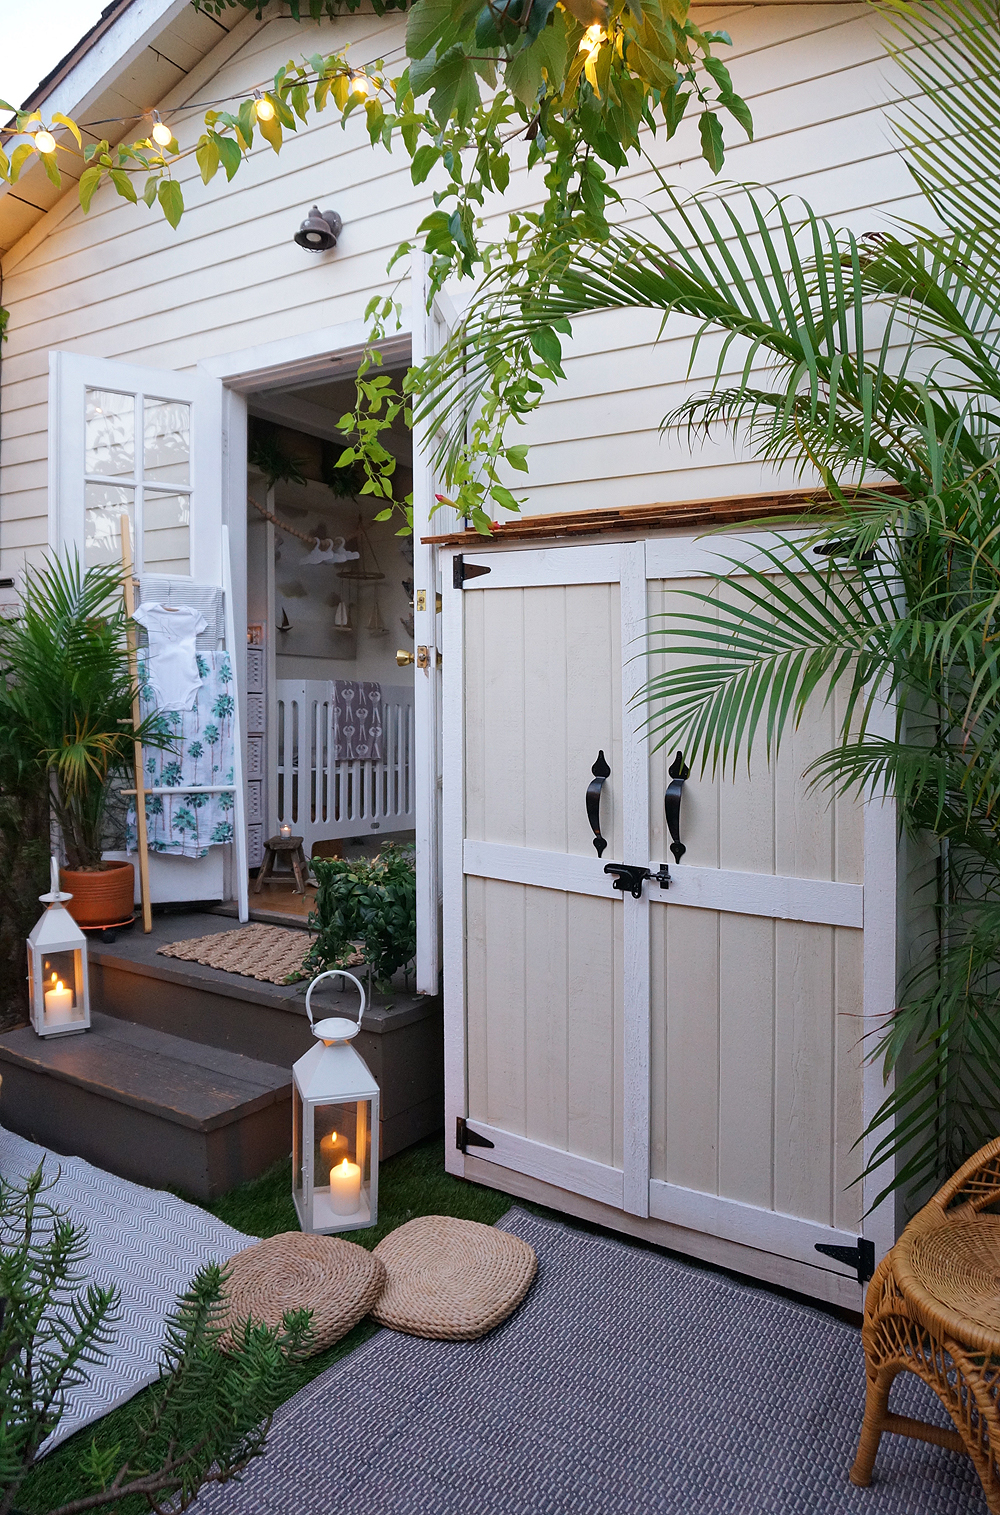
We carefully weather-proofed the shed’s seams, and painted the exterior to match the Cottage with contrasting Behr Paint colors on the panels and trim. Next, we installed a custom-cut dowel rod for our hangers, and selected this cedar wardrobe in which to stash our hanging “weekly wear.” Lastly, we secured the shed to the side of the house for safety, in case of earthquakes.


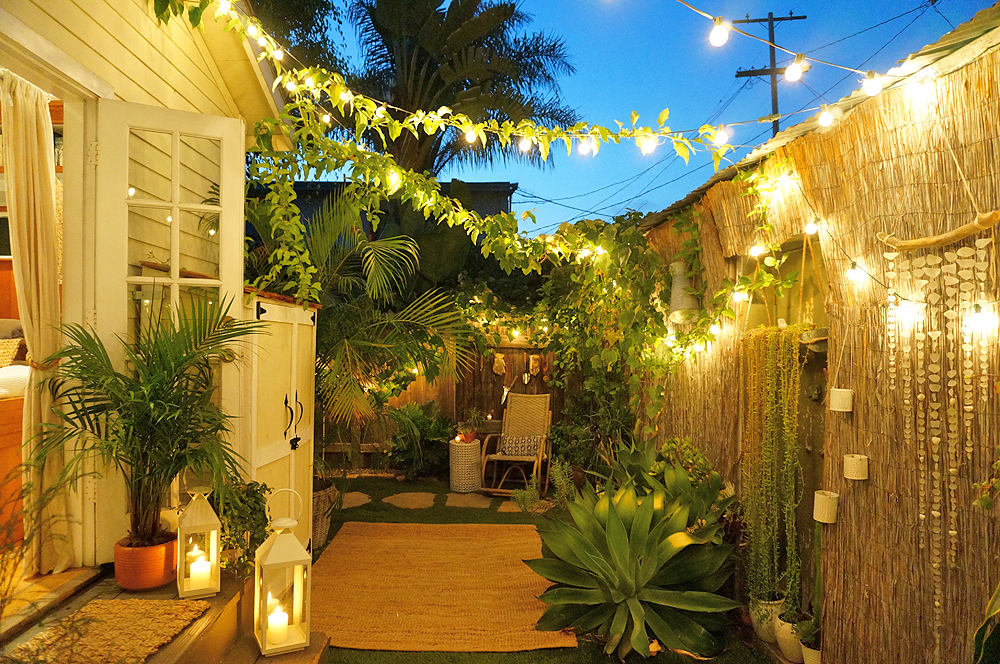
The entire process took about a day, from unpacking the shed at the start, to hanging up our belts and hats at the finish. We added some accessories— such as this outdoor rug— to make this part of the garden feel more like a room, and to tie it into the nursery’s outdoor lounge area.
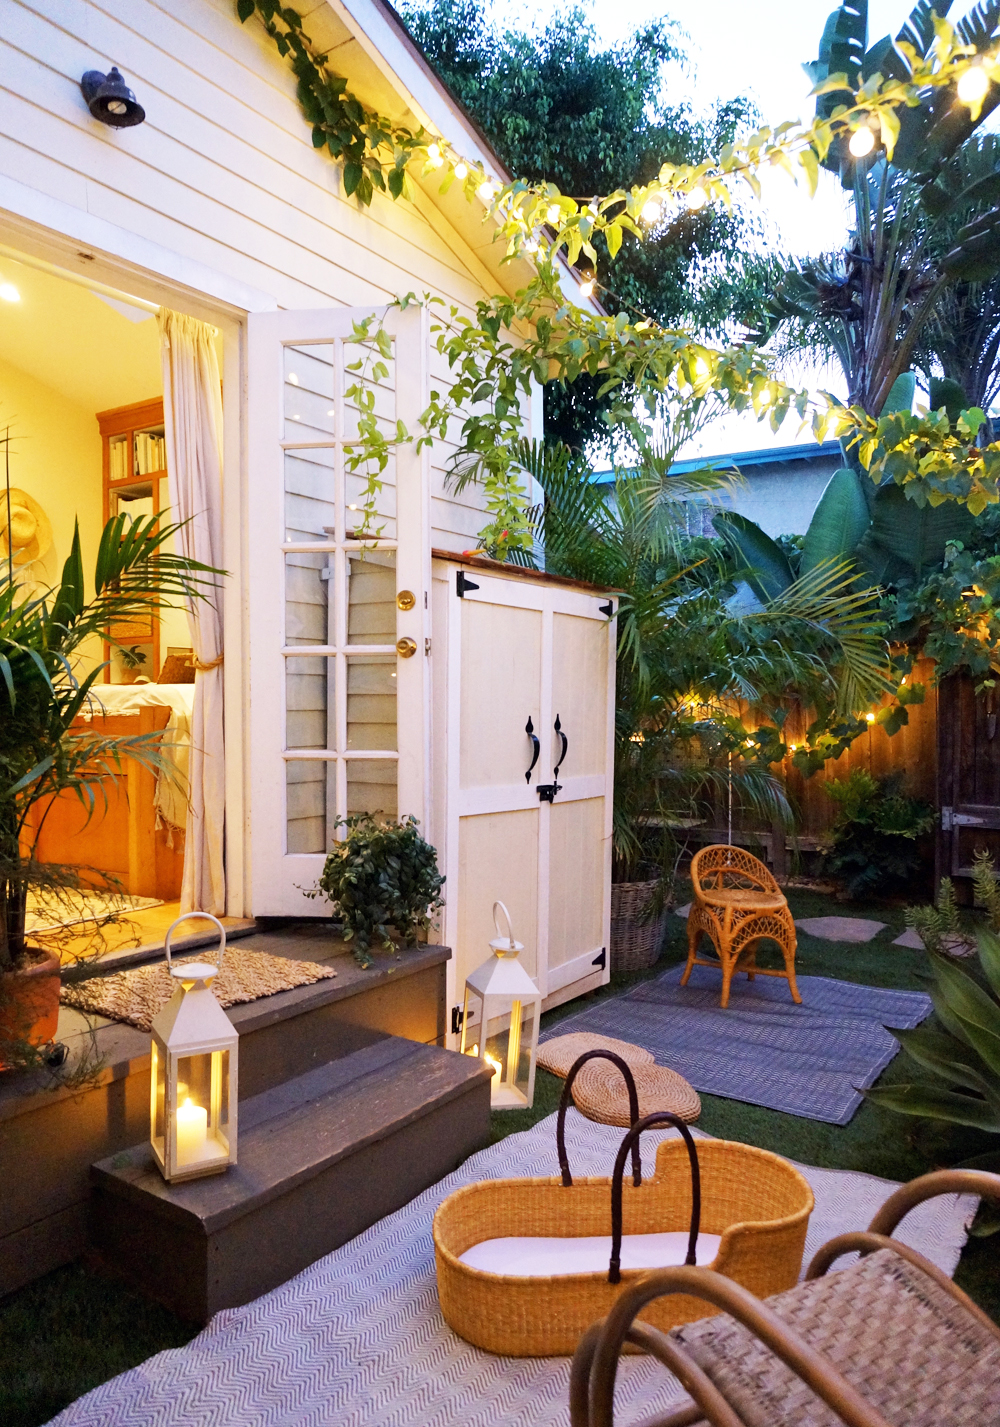
The shed is only five steps from the bedroom closet, so it’s no inconvenience. Adam and I joke that our clothes are probably actually better protected now that they’re living outside in a sealed shed and garment bag, seeing as how we keep our house wide open 10 months out of the year. Our clothes have pretty much been living an indoor/outdoor lifestyle for 5 years anyway!
I acknowledge that The Home Depot is partnering with me to participate in this nursery makeover project. As a part of the project, I am receiving compensation in the form of products for the purpose of promoting The Home Depot. All expressed opinions and experiences on this blog are my own, and are written in my own words. My post complies with the WOMMA Ethics Code and applicable Federal Trade Commission guidelines.

Tiny House Closet Nursery - The Heater Cover
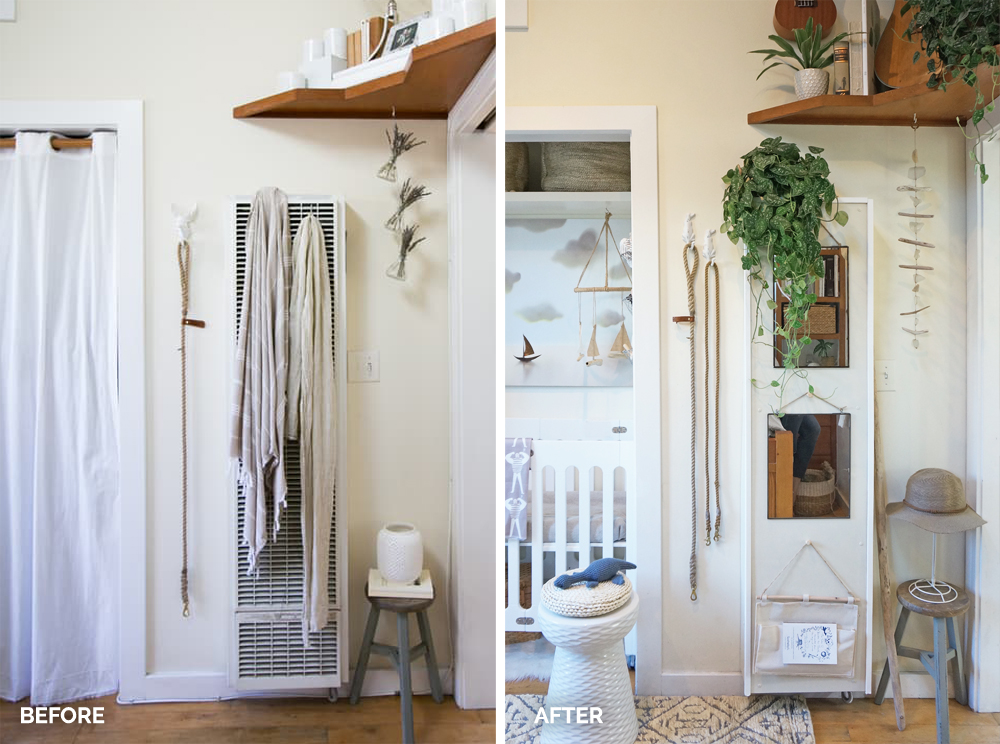
We moved into the Cottage over five years ago, and every day since then our vertical wall heater (located in the bedroom) has driven me insane. Not only is it a total eyesore, but it collects dust and dog hair, and needs to be cleaned off regularly. We rarely need a heater in our home, as “winter” in Los Angeles doesn’t really exist. In the past when we’ve used the wall unit, it only seemed to blast hot air to the top of our bedroom, frying our bookshelf, drying out our plants, and leaving the temperature in the rest of the house seemingly unchanged.
When redoing our bedroom to accommodate the nursery, we didn’t want to remove the unit completely— we’re legally required to have a heating source built into the house anyway. But since the grate is only about a foot from the nursery, I wanted to update the facade so it wouldn’t continue to stab at my eyeballs. Plus the ugly temperature gauge stuck out into the closet, preventing the crib from rolling in and out of its dedicated space, so the little control box had to go. We opted to create a custom heater cover with basic materials that we found and and customized at The Home Depot, which is just down the road from our home next to Adam’s office.
Of course we were very careful to make sure that the heater was completely off and disconnected from the gas before covering it. And we had an electrician visit the house to safely manage the wires beneath the heater and behind the control panel before we sealed everything up.
In order to create the custom cover (which basically acts like a shoebox top over the heater), we really only needed the following items, all of which we got at The Home Depot:
Three custom-cut plywood panels to cover the sides and front of the heater
Decorative and functional molding to join the seams of the panels
Paint (and corresponding paint supplies) for the panels and molding (we chose to match the bedroom walls and trim with Behr paints)
The drill and screws to hold it all together

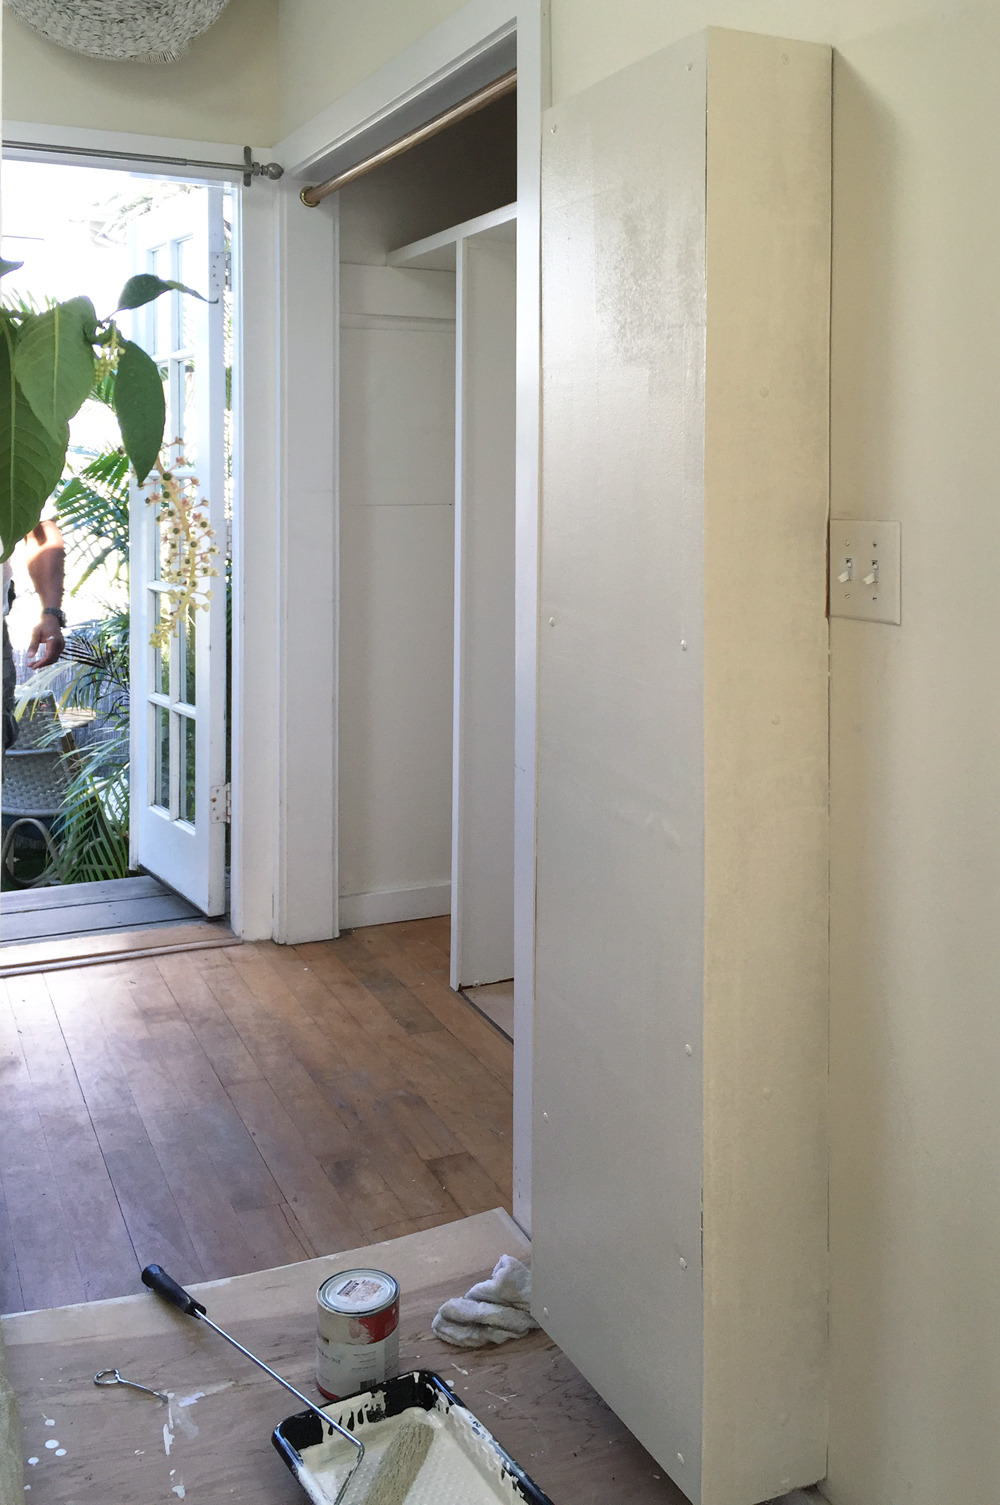
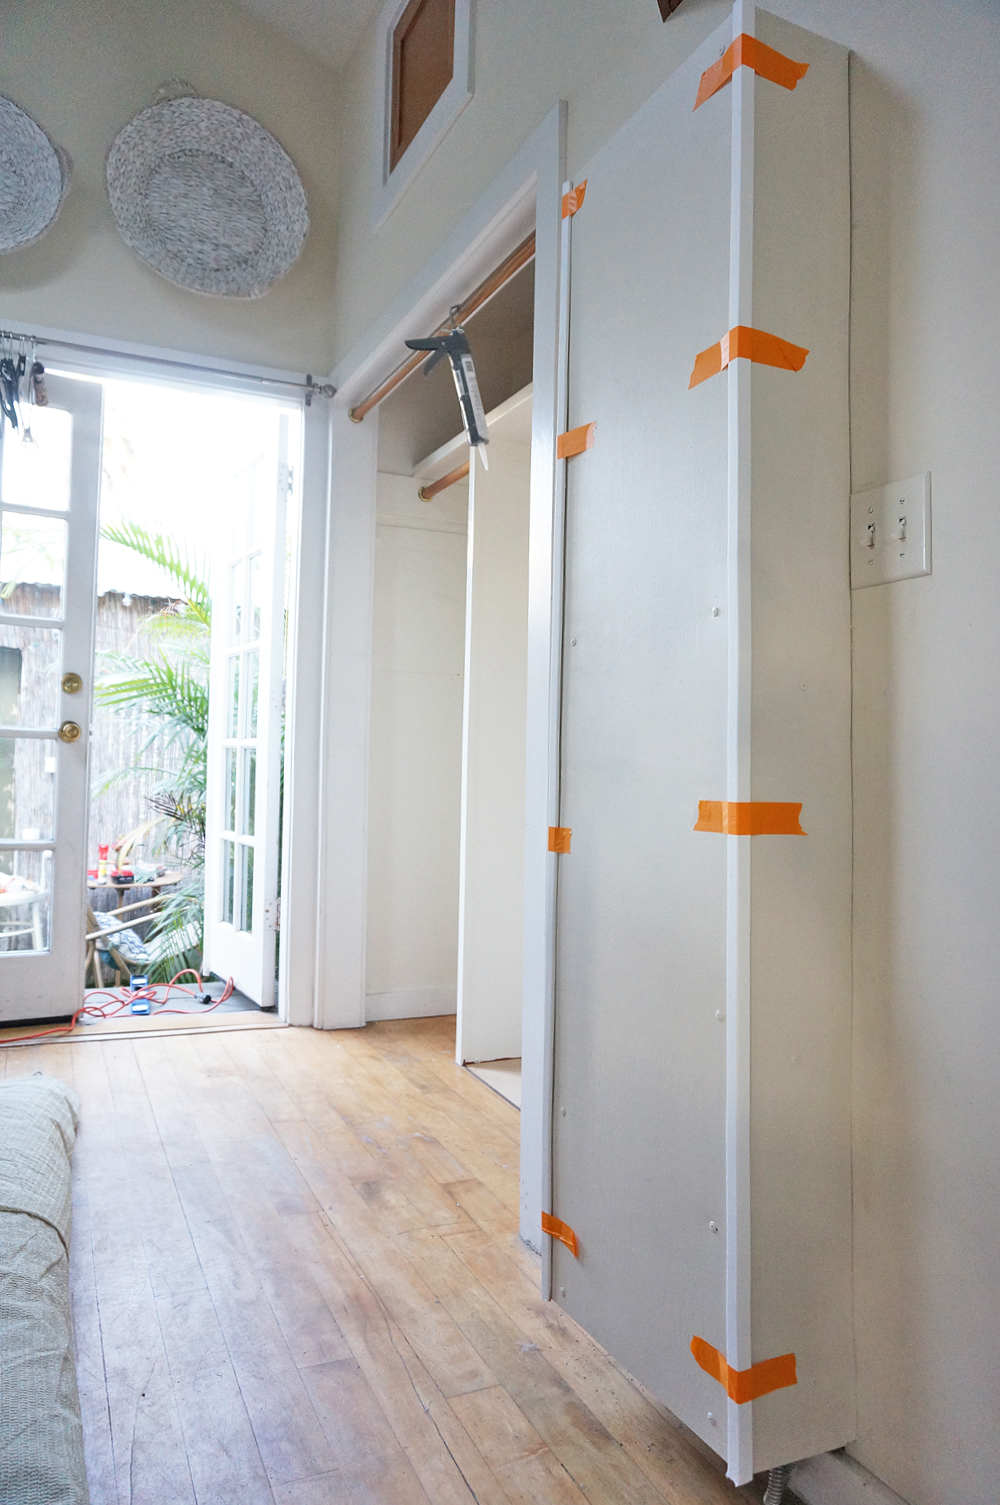
The whole process of covering, painting and decorating the heater took about three hours. You can see nearly all the steps required via the images above. I can’t believe I waited YEARS to it.
The end result is a simple, smooth surface from which I can now hang wall decor, linens, plants, artwork, and/or lightweight storage pockets. Until the baby starts walking and grabbing things, I’ve opted to hang 2 lightweight mirrors, which help bounce light off the wall and make the room feel more spacious. I also added a 1-pouch magazine rack, where I’ll keep the baby’s daily health log during his first months:
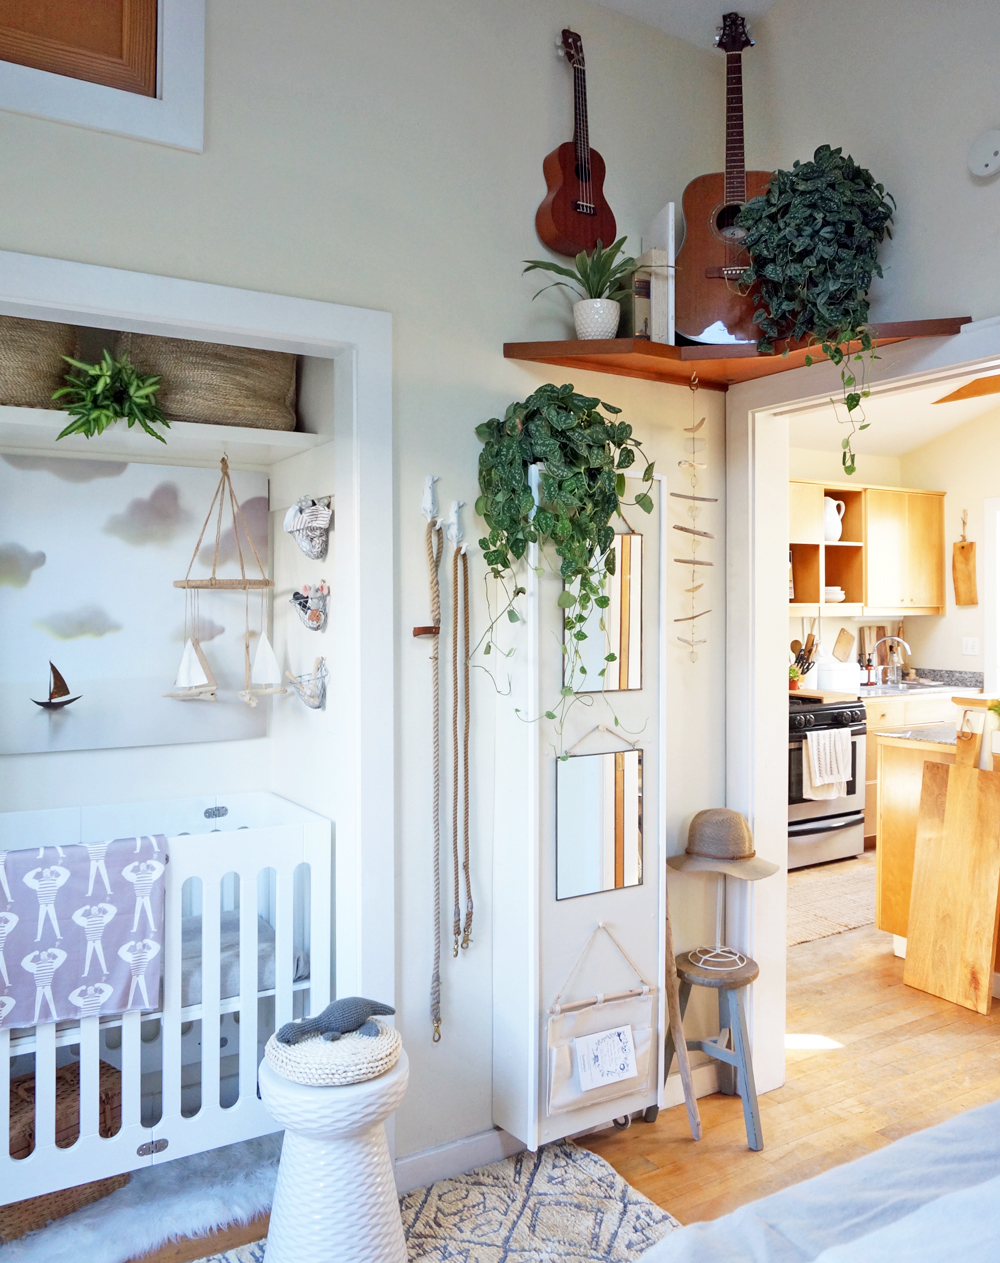
The heater now blends perfectly and purposefully into the nursery, and I love it. During the brief, mild LA winters, we’ll use a modern, compact, energy-efficient space heater instead of the wall unit to better keep our family of 5 comfortable. Win-win!
I acknowledge that The Home Depot is partnering with me to participate in this nursery makeover project. As a part of the project, I am receiving compensation in the form of products for the purpose of promoting The Home Depot. All expressed opinions and experiences on this blog are my own, and are written in my own words. My post complies with the WOMMA Ethics Code and applicable Federal Trade Commission guidelines.

Fall Hosting at the Cottage with One Kings Lane
It's becoming evident that autumn is just around the corner-- even in sunny SoCal. Personally I can't wait. Not only am I excited about the cooler air and softer light, but it means Adam and I are getting VERY close to finally meeting our son (who is due in early October)!
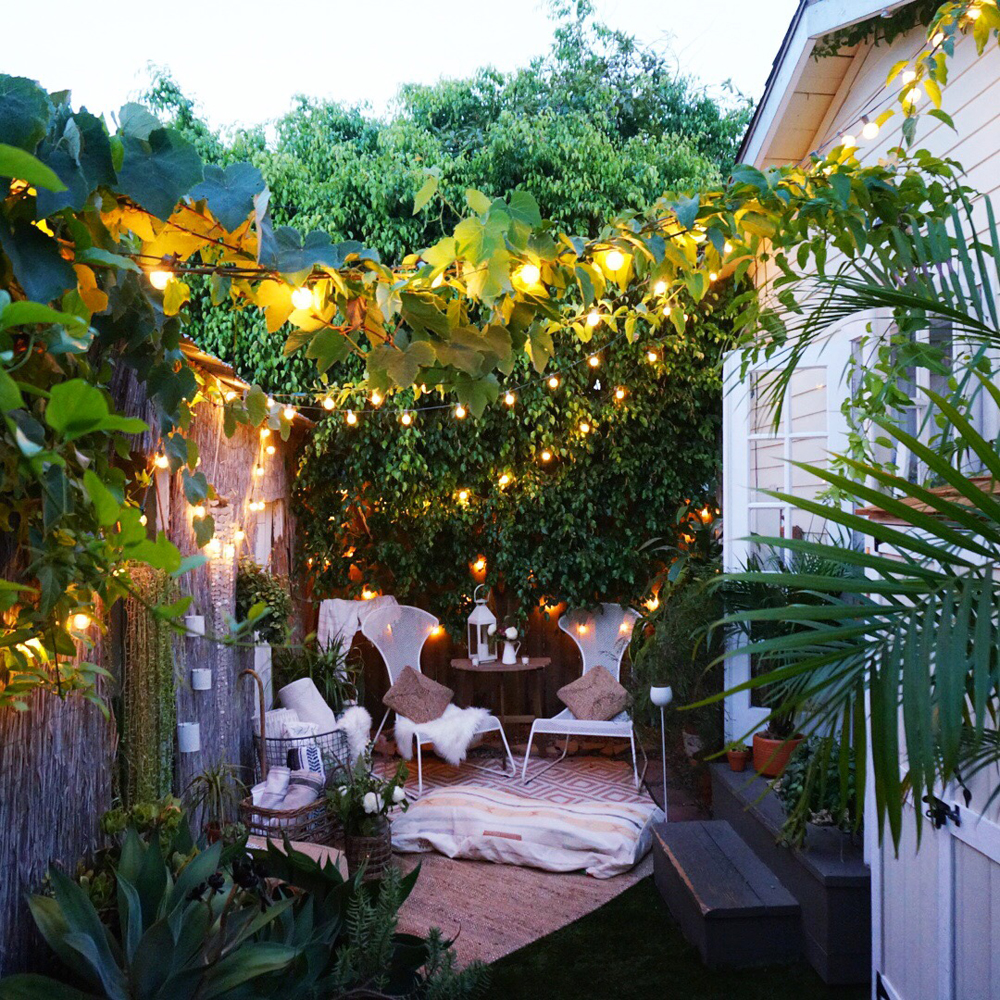
Recently I had the joy of celebrating the change of seasons with One Kings Lane here at home. We hosted a mini-gathering throughout the outdoor sections of the Cottage, and we toasted (mocktails, of course!) to the release of their new magazine, "Small Space Style" (which features our tiny home in a multi-page spread).

Click here to view the full story, "Entertaining for a Crowd in a Space Made for Two." And follow @onekingslane on Instagram today to see behind-the-scenes IG "Stories" from the event! (Additional photos below.)

Mocktail recipe by Rachel Mae Furman

We served an array of appetizers from Urban Palate, including roasted brussels-sprout salad, parsnip pomme frites, and Pink Lady apple bruschetta (my personal favorite). While I enjoyed homemade Pear and Rosemary Spritz Mocktails with the other pregnant guests, we also served "Sexy Rosé" from The Butcher's Daughter.


Select photos by Kimberly Genevieve for One Kings Lane, with additional imagery by Whitney Leigh Morris.

The Cottage on Architectural Digest
We were surprised and delighted to discover that our Cottage was recently featured on Architectural Digest! (Click here to view.)


Market Friday
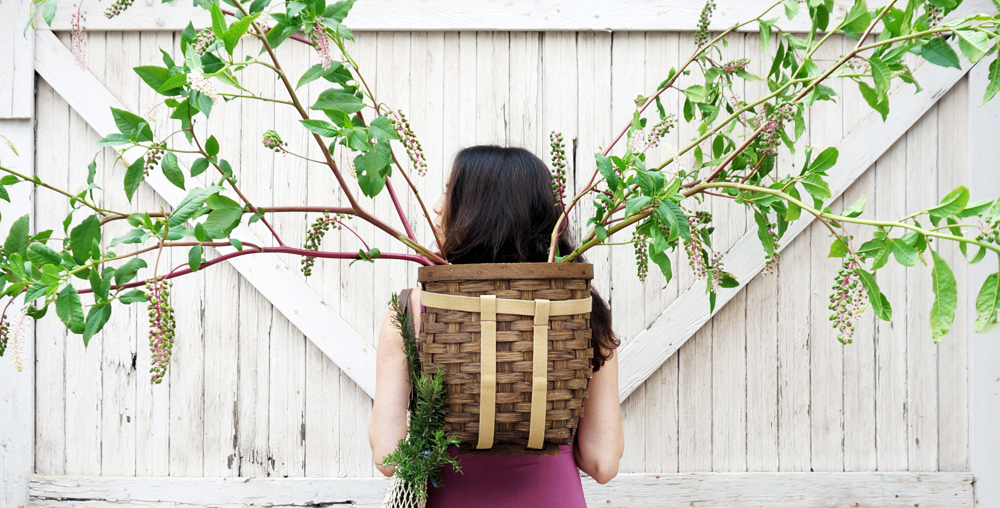
Today was a particularly successful one for me at the Venice Farmer's Market. Look at this pokeweed! EPIC. (Folks with kids and pets-- be careful if you put this branch in/around your home, as it's toxic. Luckily our pups aren't interested in trying to eat it.) This is my favorite branch to use in the house-- it's full and leafy, yet simple to cut and arrange. Plus it doesn't shed. The subdued plum-rose tone of the vines adds a pop of color without being too noisy for those of us who lean towards neutral tones.
I love to liven up our home with market greenery, as it allows me to change up the look as frequently as I want, without causing clutter, creating waste or costing much money. These branches were $10 total, and will last for at least a week.

I also stocked up on fresh produce for the weekend. At nearly 31 weeks pregnant, the baby and I are craving citrus, watermelon and peaches these days. There was no need to buy berries-- as you can see, we have PLENTY of grapes growing in our tiny garden right now!
